If you've ever stood in a bank trying to decide whether Blessed d'hide is worth the switch from Black d'hide, or wondered whether that 20M GP Necklace of Anguish is actually doing anything for your account right now, this guide is for you. I've built Ranged setups on more accounts than I'd like to admit, from a level-3 pure grinding Sand Crabs in leather chaps to a main clearing Colosseum wave in fortified Masori. I've bought armours I regretted, and sat on upgrades I should have grabbed months earlier.
This guide walks Ranged armour progression from level 1 to the true endgame, slot by slot: body armour, jewellery, capes, boots, and off-hands, with the level requirements, where each piece actually comes from, and, most importantly, when it's actually worth upgrading versus when you're paying for a number that doesn't move the needle. I call out specific pieces at specific levels throughout, because "it depends" doesn't help much when you're standing at the Grand Exchange with your bank open.
Let's get into it!
Why Ranged Armour Progression Actually Matters
Weapon and ammo upgrades get all the attention in Ranged guides, and for good reason: they move your DPS the most. But armour progression is where many players either waste money or leave free performance on the table. Here's why I think it deserves its own guide:
- Ranged Strength is rare, and it's king. Most armour pieces before level 80 give you zero Ranged Strength, pure accuracy, and defence. The moment gear starts offering flat Ranged Strength (Masori, Zaryte Vambraces, the top-tier jewellery), your max hit jumps in a way weapon upgrades alone can't match.
- Jewellery and off-hand slots punch above their weight. A ring or amulet often costs less than an armour piece and gives comparable or better bonuses. I underrated this slot for years.
- Hybrid pieces save serious money. Void Knight set lets budget accounts compete with far more expensive setups at the content they're designed for.
- The wrong upgrade is an expensive trap. Full Armadyl armour looks like a big step up from Blessed d'hide on paper. It isn't; more on that in the mistakes section.
Ranged Body, Legs & Head Armour Progression
This is the backbone of your loadout: body, legs, and head pieces, in the order you'll naturally unlock them. I've corrected a couple of requirement errors that float around other guides (noted inline), and below the table I've broken the whole progression into four level ranges so you can see how each bracket actually plays out.
Overview
Level Req. | Armour Set | Key Pieces | Source |
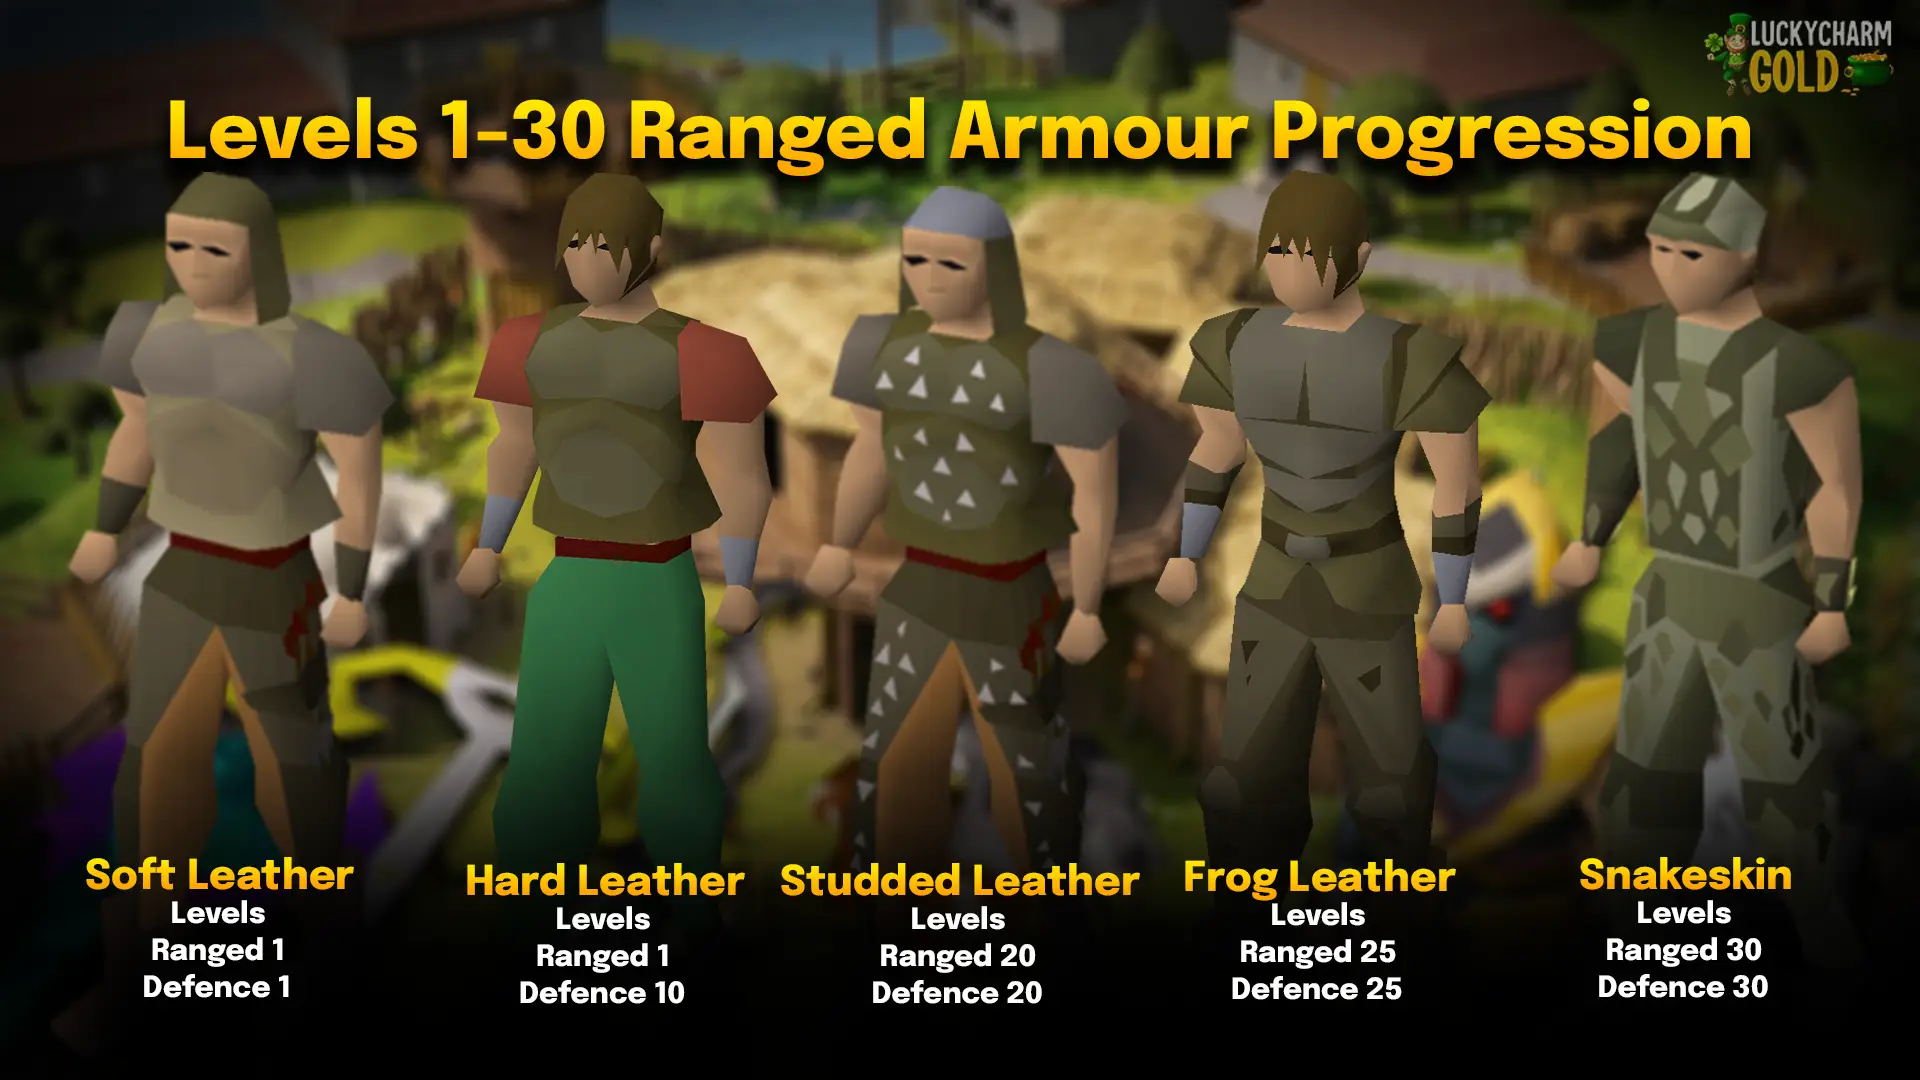
1 Ranged | Soft Leather Armour | Cowl, body, chaps, gloves, vambraces, boots | Crafted or bought cheaply |
1 Ranged / 10 Def | Hard Leather Armour | Body, shield | Crafted or bought |
20 Ranged / 20 Def | Studded Leather Armour | Body, chaps | Crafted or bought |
25 Ranged / 25 Def | Frog-leather Armour | Body, chaps, boots | Bought from Reldak, Dorgesh-Kaan or GE |
30 Ranged / 30 Def | Snakeskin Armour | Bandana, body, chaps, vambraces, boots, shield | Crafted from snakeskins |
40 Ranged / 40 Defence | Green Dragonhide | Body (req. Dragon Slayer I), chaps, vambraces, shield | Crafted by members or bought |
42 Combat / 22 Prayer | Void Knight Equipment | Ranger helm, top, robe, gloves | Pest Control (850 points total) |
Same, + Elite upgrade | Elite Void Knight | Elite top, elite robe (upgrade) | Pest Control (+400 points on top of base set) |
50 Ranged / 40 Defence | Blue Dragonhide | Body, chaps, vambraces, shield | Crafted by members or bought |
60 Ranged / 40 Defence | Red Dragonhide | Body, chaps, vambraces, shield | Crafted by members or bought |
60 Ranged / 50 Def | Mixed Hide Armour | Top, legs, boots, cape | Crafted (68–72 Crafting), or supplied to Pellem |
70 Defence / 50 Agility | Crystal Armour | Helm, body, legs | Requires Song of the Elves; made from crystal armour seeds + shards |
70 Ranged / 40 Def | Black Dragonhide | Body, chaps, vambraces, shield | Crafted by members or bought |
70 Ranged / 40 Def | Blessed Dragonhide (6 god variants) | Coif, body, chaps, bracers, boots, shield | Hard clue scrolls, or bought from players |
70 Ranged / 40 Def | Hueycoatl Hide Armour | Coif, body, chaps, vambraces | Dropped by the Hueycoatl boss (Varlamore) |
70 Ranged / 70 Def | Karil's Set (Barrows) | Coif, leathertop, leatherskirt | Barrows minigame reward chest |
70 Ranged / 70 Def | Armadyl Armour | Helmet, chestplate, chainskirt | Dropped by Kree'arra and bodyguards, God Wars Dungeon |
75 Ranged / 50 Def | Eclipse Moon Armour | Helm, chestplate, tassets | Lunar Chest reward, Neypotzli (Varlamore) |
80 Ranged / 30 Def | Masori Armour (Normal) | Mask, body, chaps | Reward drop from Tombs of Amascut (ToA) |
80 Ranged / 80 Def | Fortified Masori Armour | Mask (f), body (f), chaps (f) | Fuse base Masori + Armadyl plates at an anvil; requires 90 Crafting |
Armour Breakdown by Level Range
Levels 1–30: Soft Leather to Snakeskin Armour
At level 1 Ranged, your armour options are Soft Leather: a cowl, body, chaps, gloves, vambraces, and boots you can craft or buy for pocket change. It's not exciting, and it isn't supposed to be. The accuracy and defence bonuses barely register against anything you're fighting this early. Hard Leather Armour unlocks a body and shield at 10 Defence, worth grabbing only if you already have the Defence for it. Studded Leather at level 20 Ranged is a small step up and a common F2P-to-members bridge. Frog-leather Armour, sold by Reldak in Dorgesh-Kaan, is a solid alternative if you're already down there for other reasons, and Snakeskin Armour at level 30 rounds out this bracket with a full set including a shield. Honestly, spend as little time and gold on this whole tier as you can. None of these pieces is destinations; they're just what you wear on the way to something better.
Levels 40–50: Green Dragonhide to Blue Dragonhide
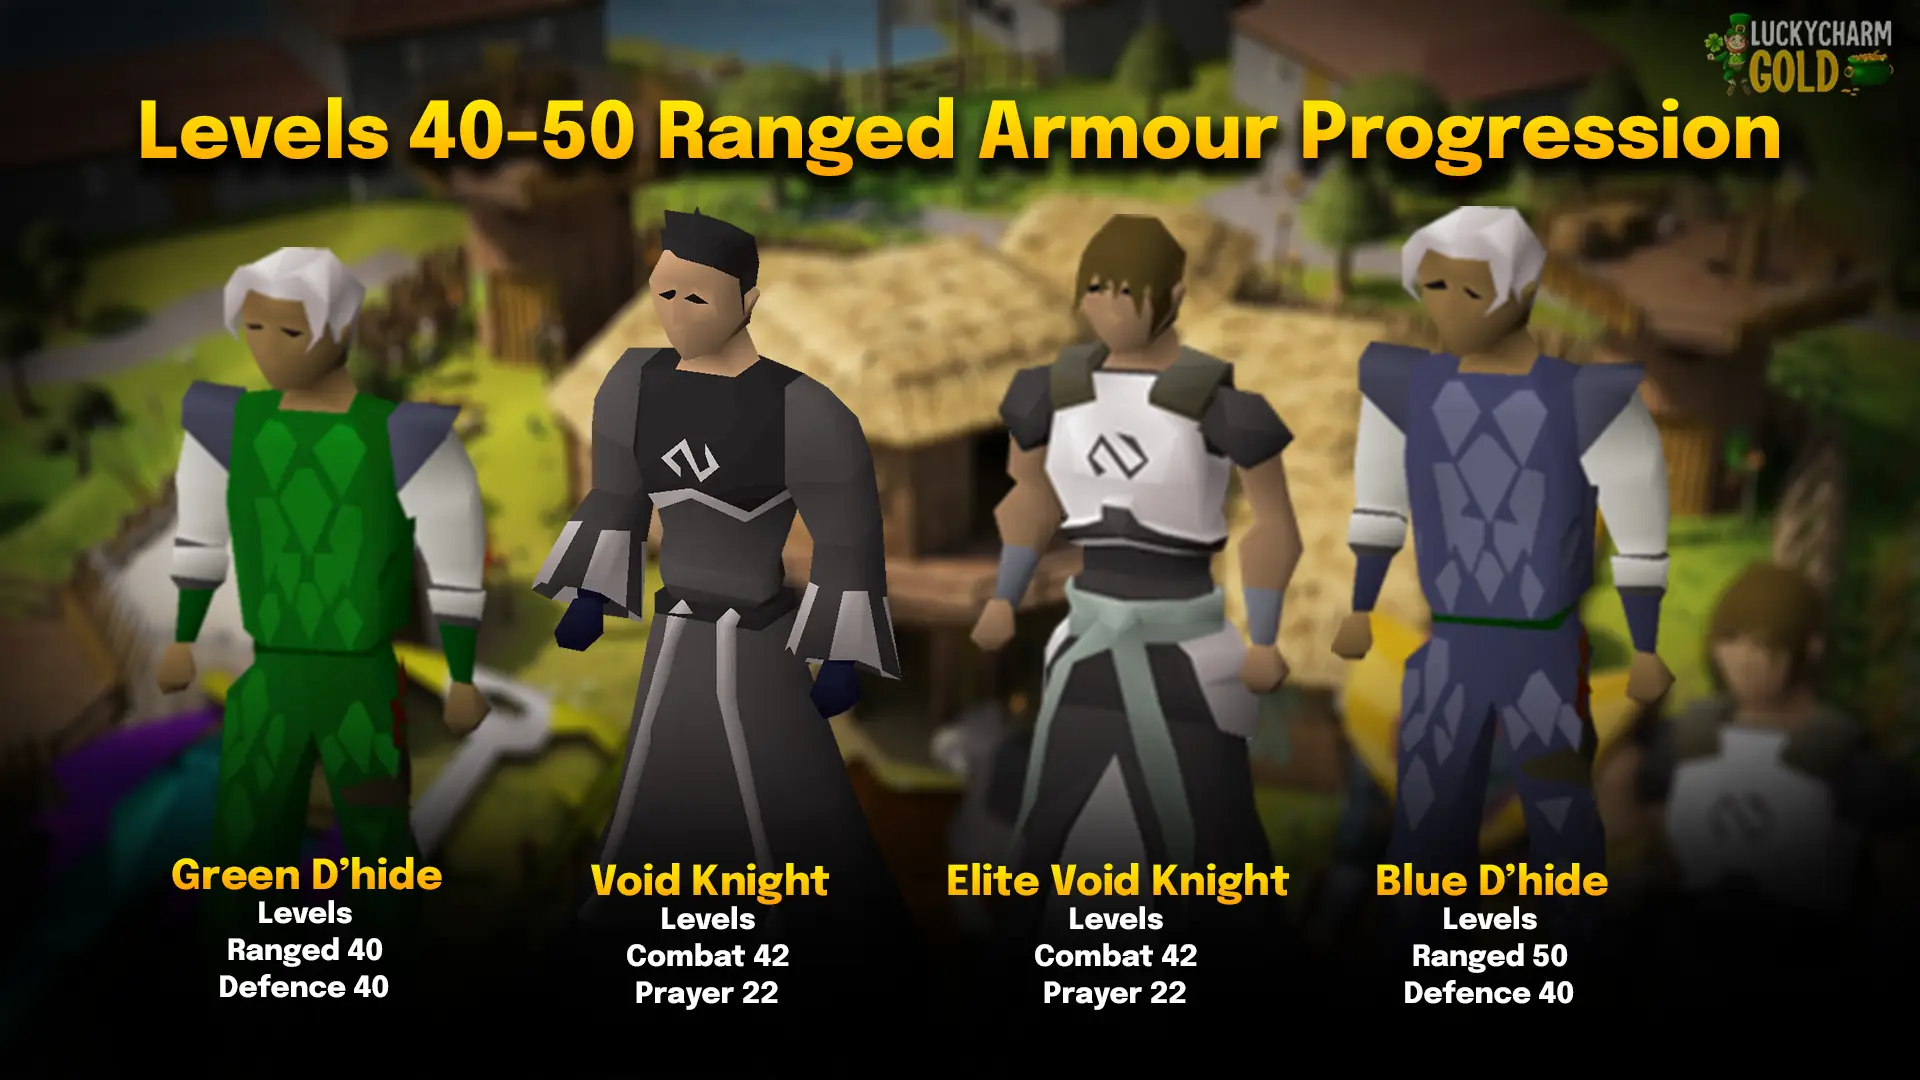
Level 40 is where things start getting interesting. Green Dragonhide is the one I'd actually go for the moment you hit 40 Ranged and finish Dragon Slayer I: cheap, effective, and the real starting line for members' Ranged gear. If you've got 42 combat stats and 22 Prayer, Void Knight Equipment from Pest Control (850 points) is worth grinding for even on a main, since the ranger helm's damage bonus is excellent value, and the Elite upgrade is a further 400 points once you can afford it. Blue Dragonhide at 50 Ranged and 40 Defence is a straightforward upgrade from Green with no new requirements to worry about.
Levels 60–70: Red Dragonhide to Blessed Dragonhide
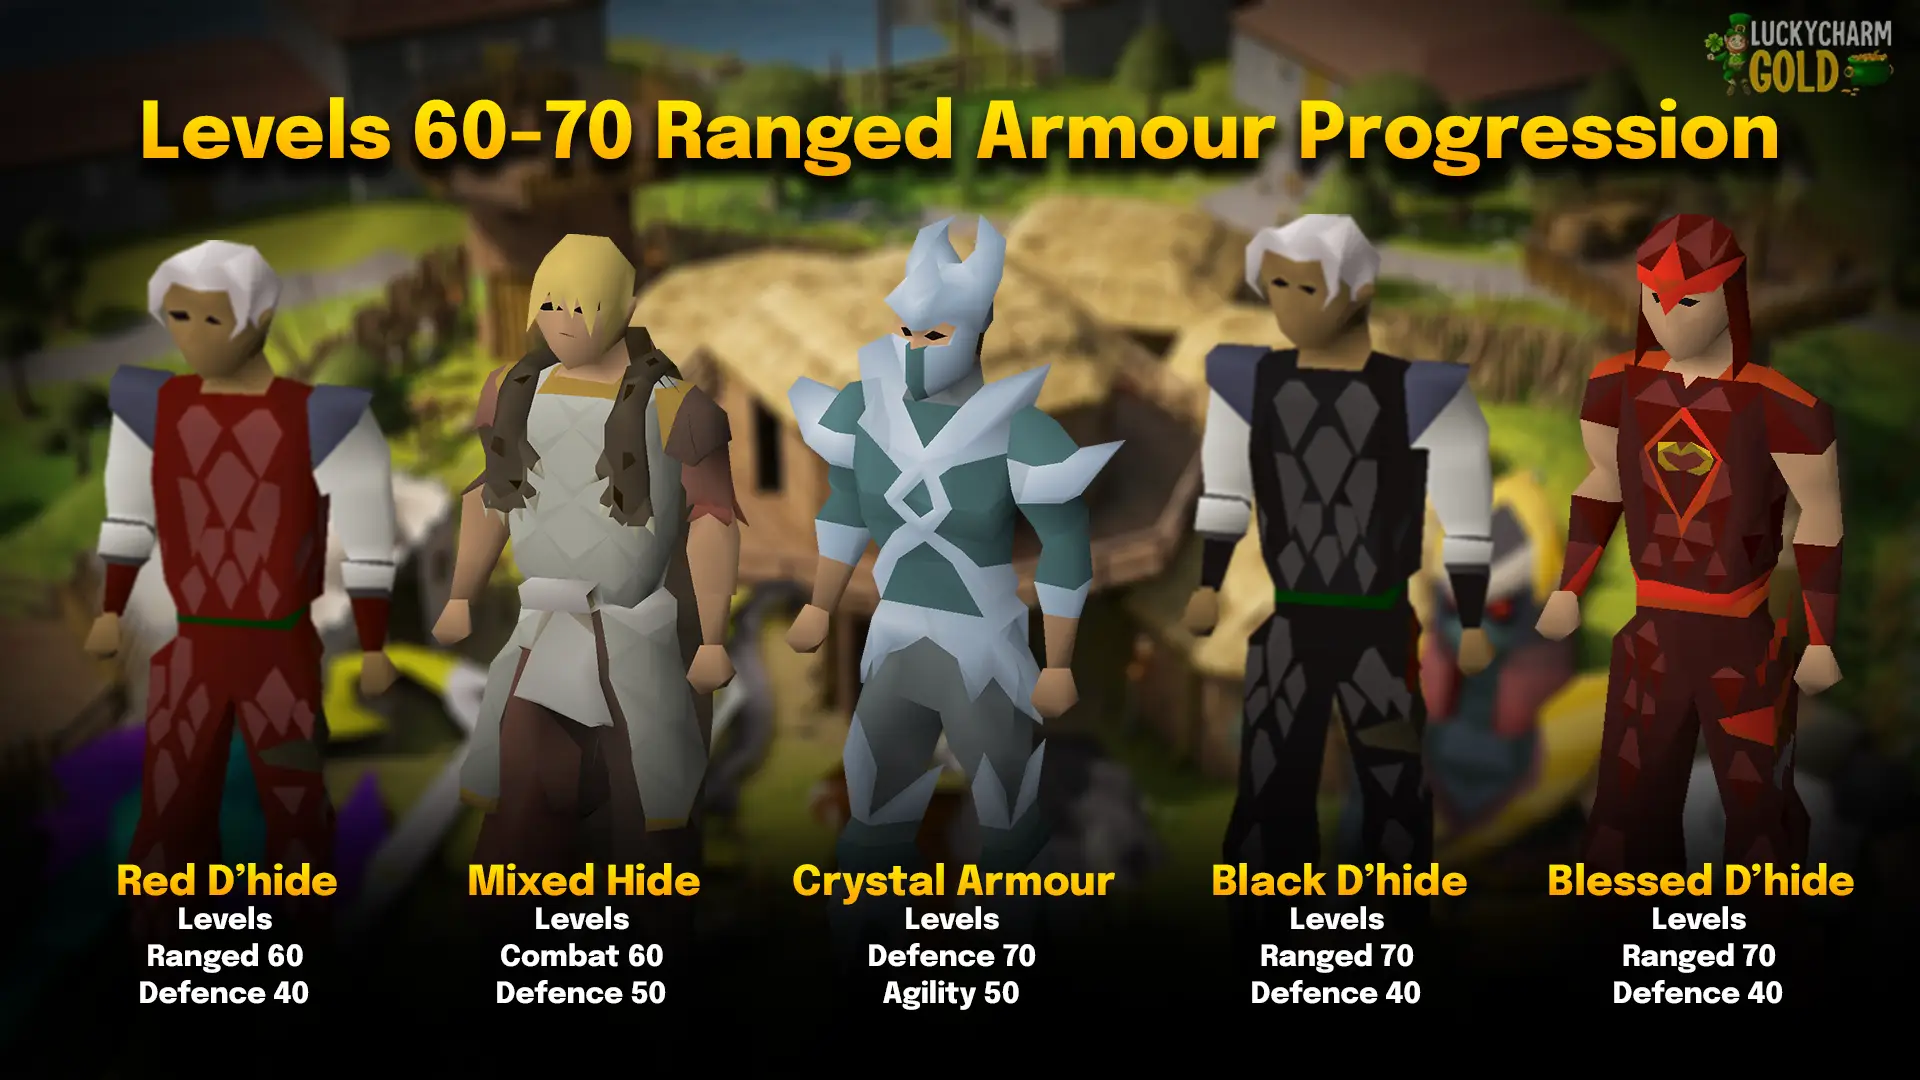
Red Dragonhide at 60 Ranged and 40 Defence continues the dragonhide line with no surprises. Craft it or buy it and move on. Mixed Hide Armour, requiring 50 Defence, is a hybrid piece from Varlamore's Hunter content that blends melee and ranged bonuses. I consider it niche rather than essential unless you're already engaged with that content. Crystal Armour is a bigger commitment: it requires 70 Defence, 50 Agility, and completing Song of the Elves, combining crystal armour seeds with crystal shards, but it pairs with crystal weapons like the Bow of Faerdhinen for meaningful accuracy and damage bonuses, so I'd prioritise it if that's your weapon path. Black Dragonhide at 70 Ranged is the last dragonhide tier worth wearing on its own. Blessed Dragonhide, sourced from hard clues or bought from players, gives identical accuracy to Black Dragonhide but noticeably better defence and a small Prayer bonus. I'd take it over Black Dragonhide whenever the price gap is reasonable.
Levels 70–80: Hueycoatl Hide Armour to Fortified Masori
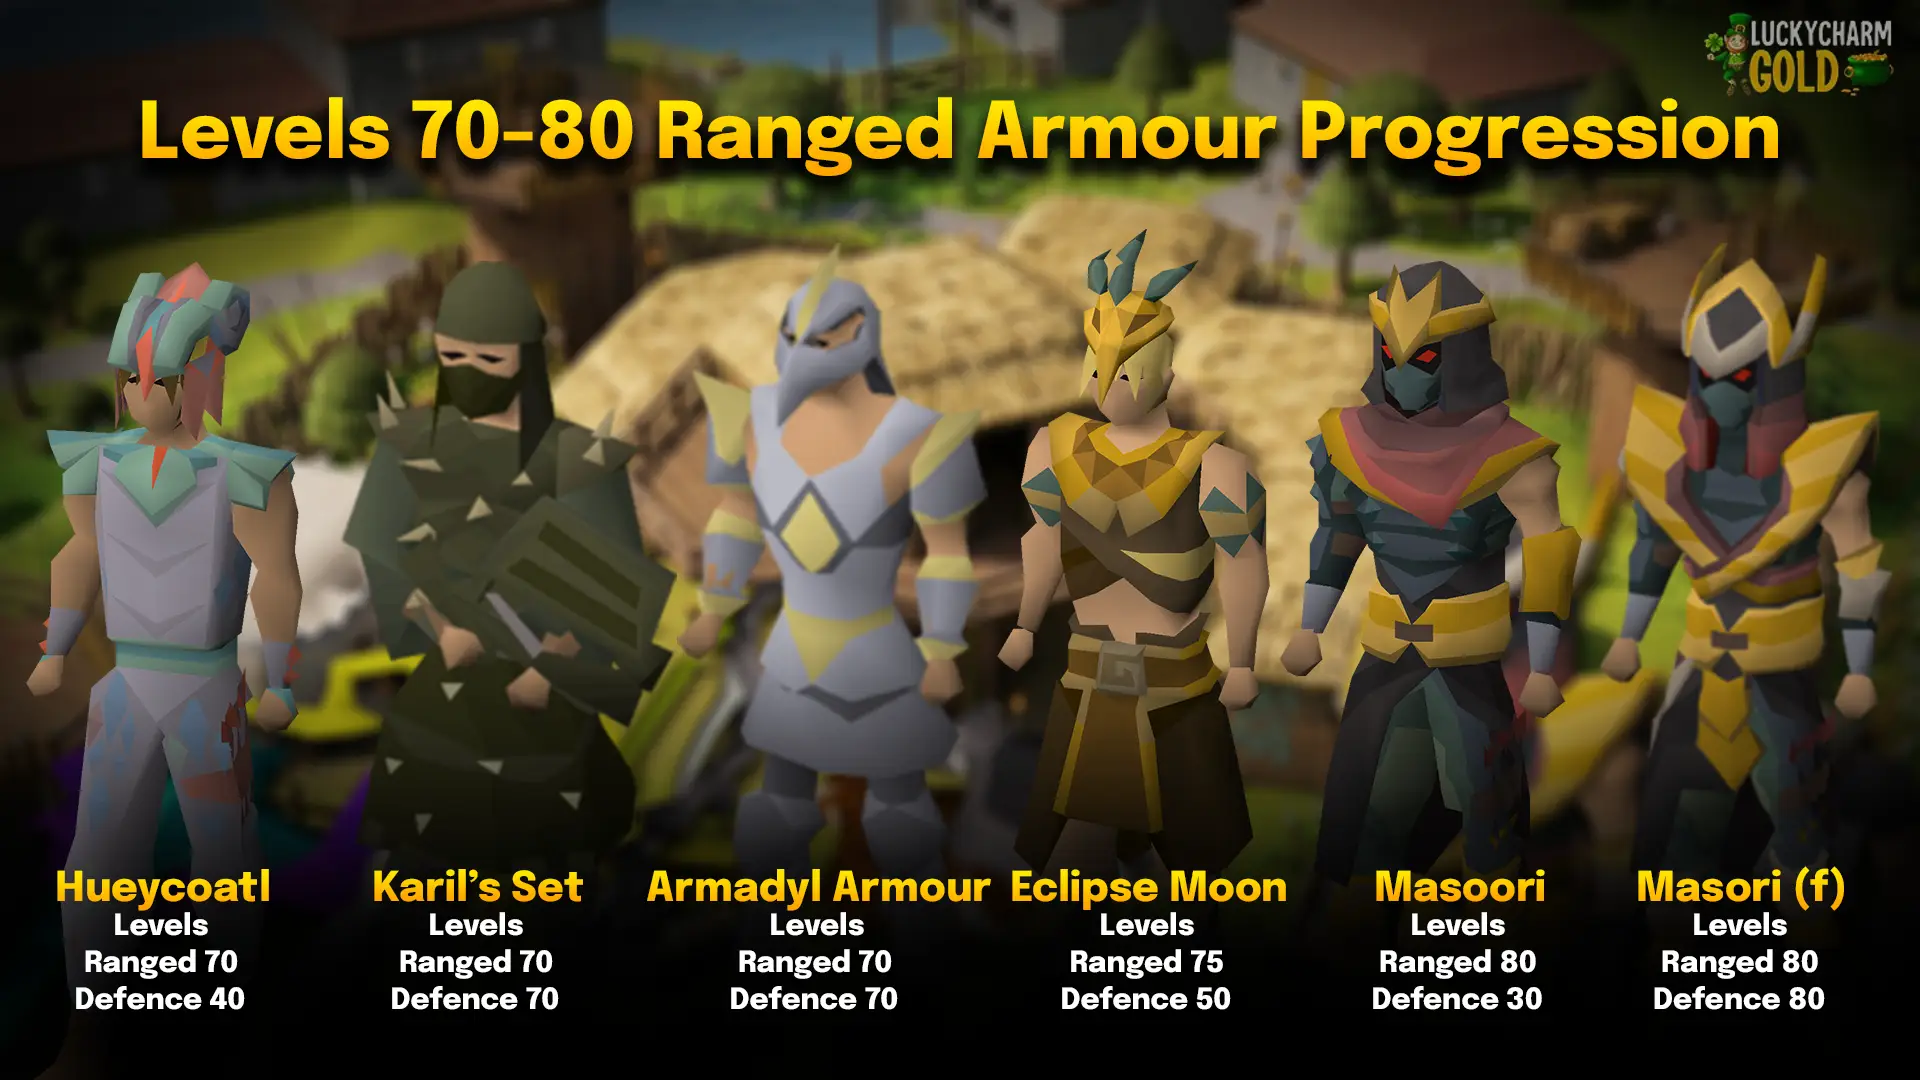
Hueycoatl Hide Armour, dropped by the Hueycoatl boss in Varlamore, sits at the same numbers as Black and Blessed Dragonhide. It's an alternate source, not an upgrade, so grab whichever you get first. Karil's Set from the Barrows minigame was best-in-slot in its day, but I wouldn't route through it anymore. Blessed Dragonhide matches its accuracy without the repair costs from degrading. Armadyl Armour from Kree'arra in God Wars Dungeon is the trap I keep warning about throughout this guide: excellent defensive bonuses, a solid accuracy bump, and zero Ranged Strength, which makes it a worse gold-for-DPS purchase than it looks. Eclipse Moon Armour from the Lunar Chest in Neypotzli is a smaller but respectable upgrade at 75 Ranged. Masori Armour, the reward drop from Tombs of Amascut, is where level 80 actually pays off: it's the first body armour in this progression that gives you actual Ranged Strength, and I'd pick it over Armadyl whenever the two are comparable in price. Once you can source Armadyl plates and have 90 Crafting, fuse it into Fortified Masori right away. The defensive bonuses jump enormously for no change to your offensive stats.
Ranged Jewellery: Amulets, Necklaces & Rings
This is the slot I most regret under-investing in early. Jewellery and ring upgrades are often cheaper than the armour tier you're currently wearing, and the bonuses are excellent for the price.
Neck Slot: Amulets & Necklaces
Overview
Level Req. | Item | Ranged Acc. | Ranged Str. | Prayer |
1 | Amulet of Accuracy | +4 | — | — |
1 | Amulet of Power | +6 | — | +1 |
1 | Amulet of Glory (or Eternal) | +10 | — | +3 |
1 | Amulet of Fury (or Blood Fury) | +10 | — | +5 |
75 Hitpoints | Necklace of Anguish | +15 | +5 | +2 |
90 Hitpoints | Necklace of Rupture | +20 | +8 | +3 |
Amulet of Accuracy & Amulet of Power
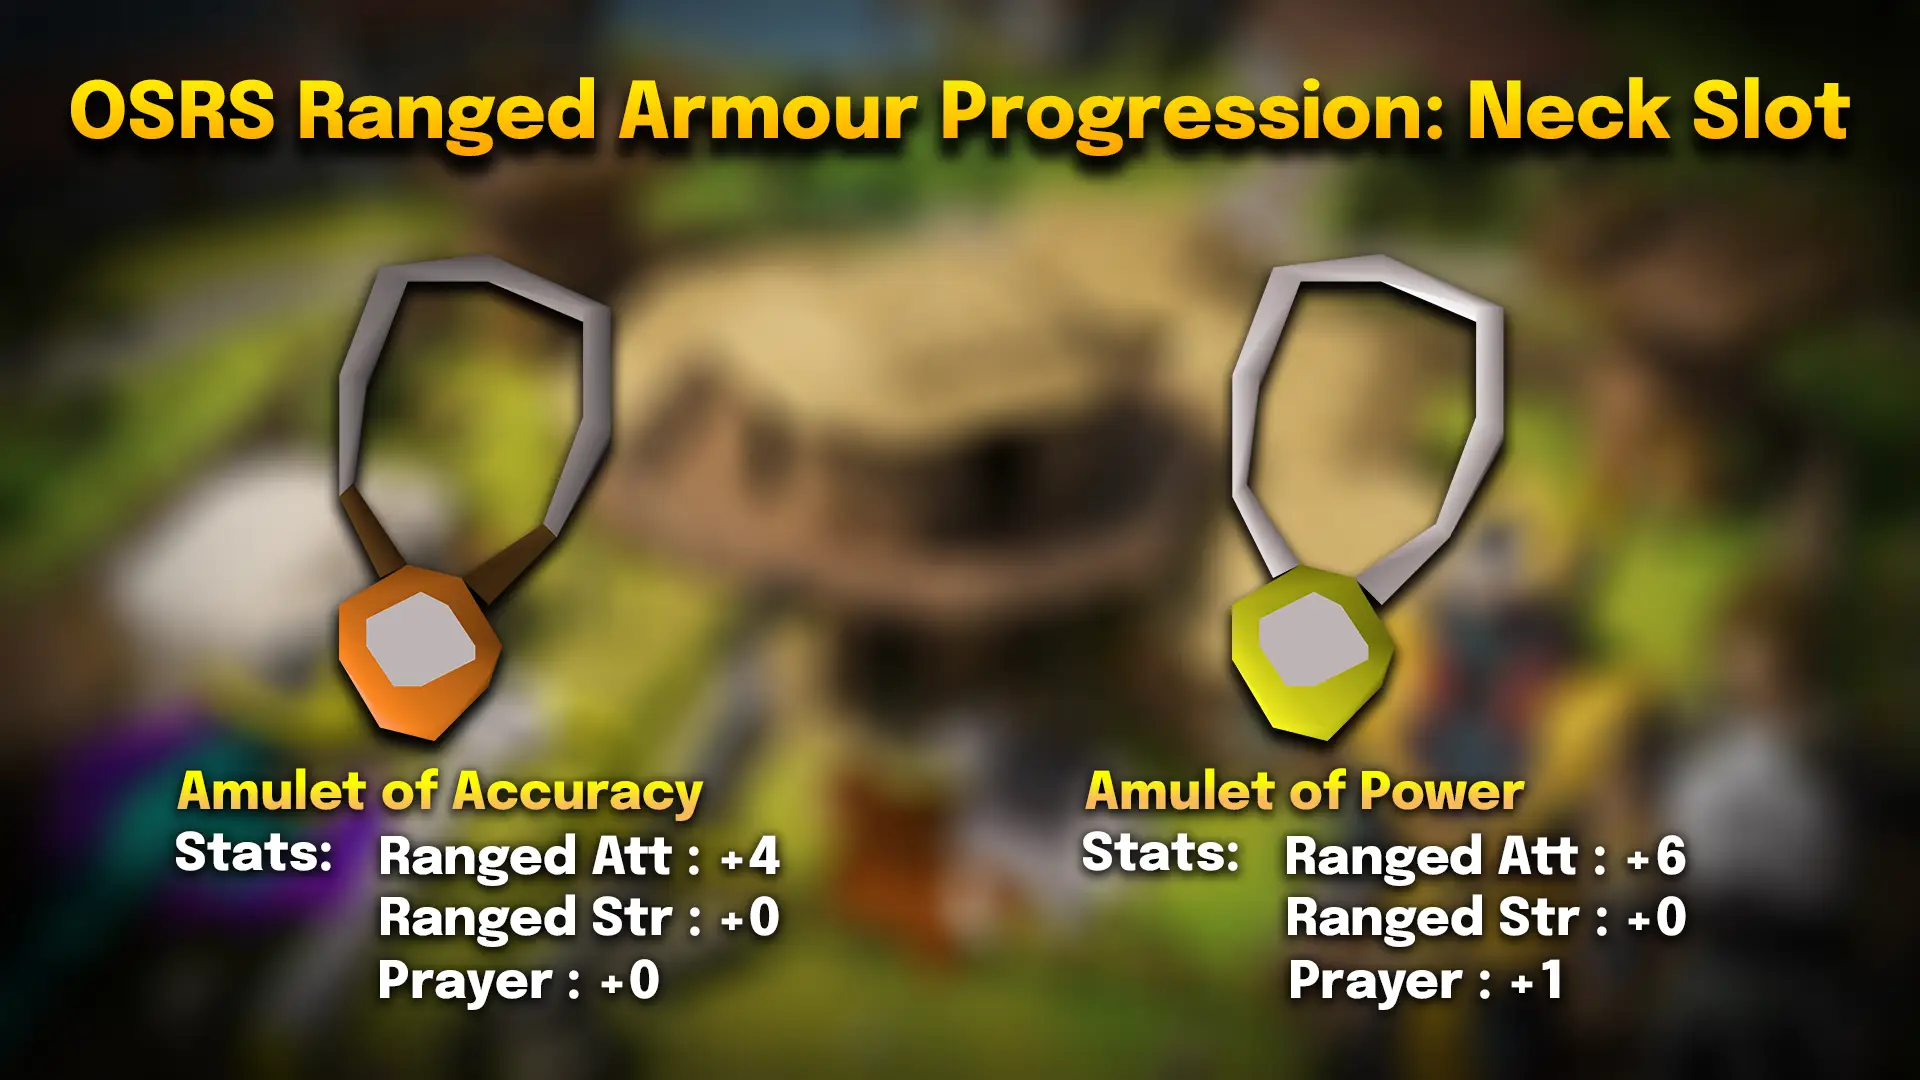
Amulet of Accuracy is your first neck slot option, a free reward from Imp Catcher that adds a flat +4 Ranged Accuracy and nothing else. Perfectly fine for F2P training. Amulet of Power is a cheap members purchase that adds +6 accuracy, +6 Ranged Defence, and +1 Prayer, making it the better all-round choice the moment you have membership. Neither piece requires any levels to wear, so there's no reason not to have one equipped from your very first Ranged session. Don't spend more than a few hundred gold on this slot at this stage. The gap between these two and the next tier up is small enough that it's not worth rushing.
The Long-Haul Necks: Amulet of Glory & Amulet of Fury
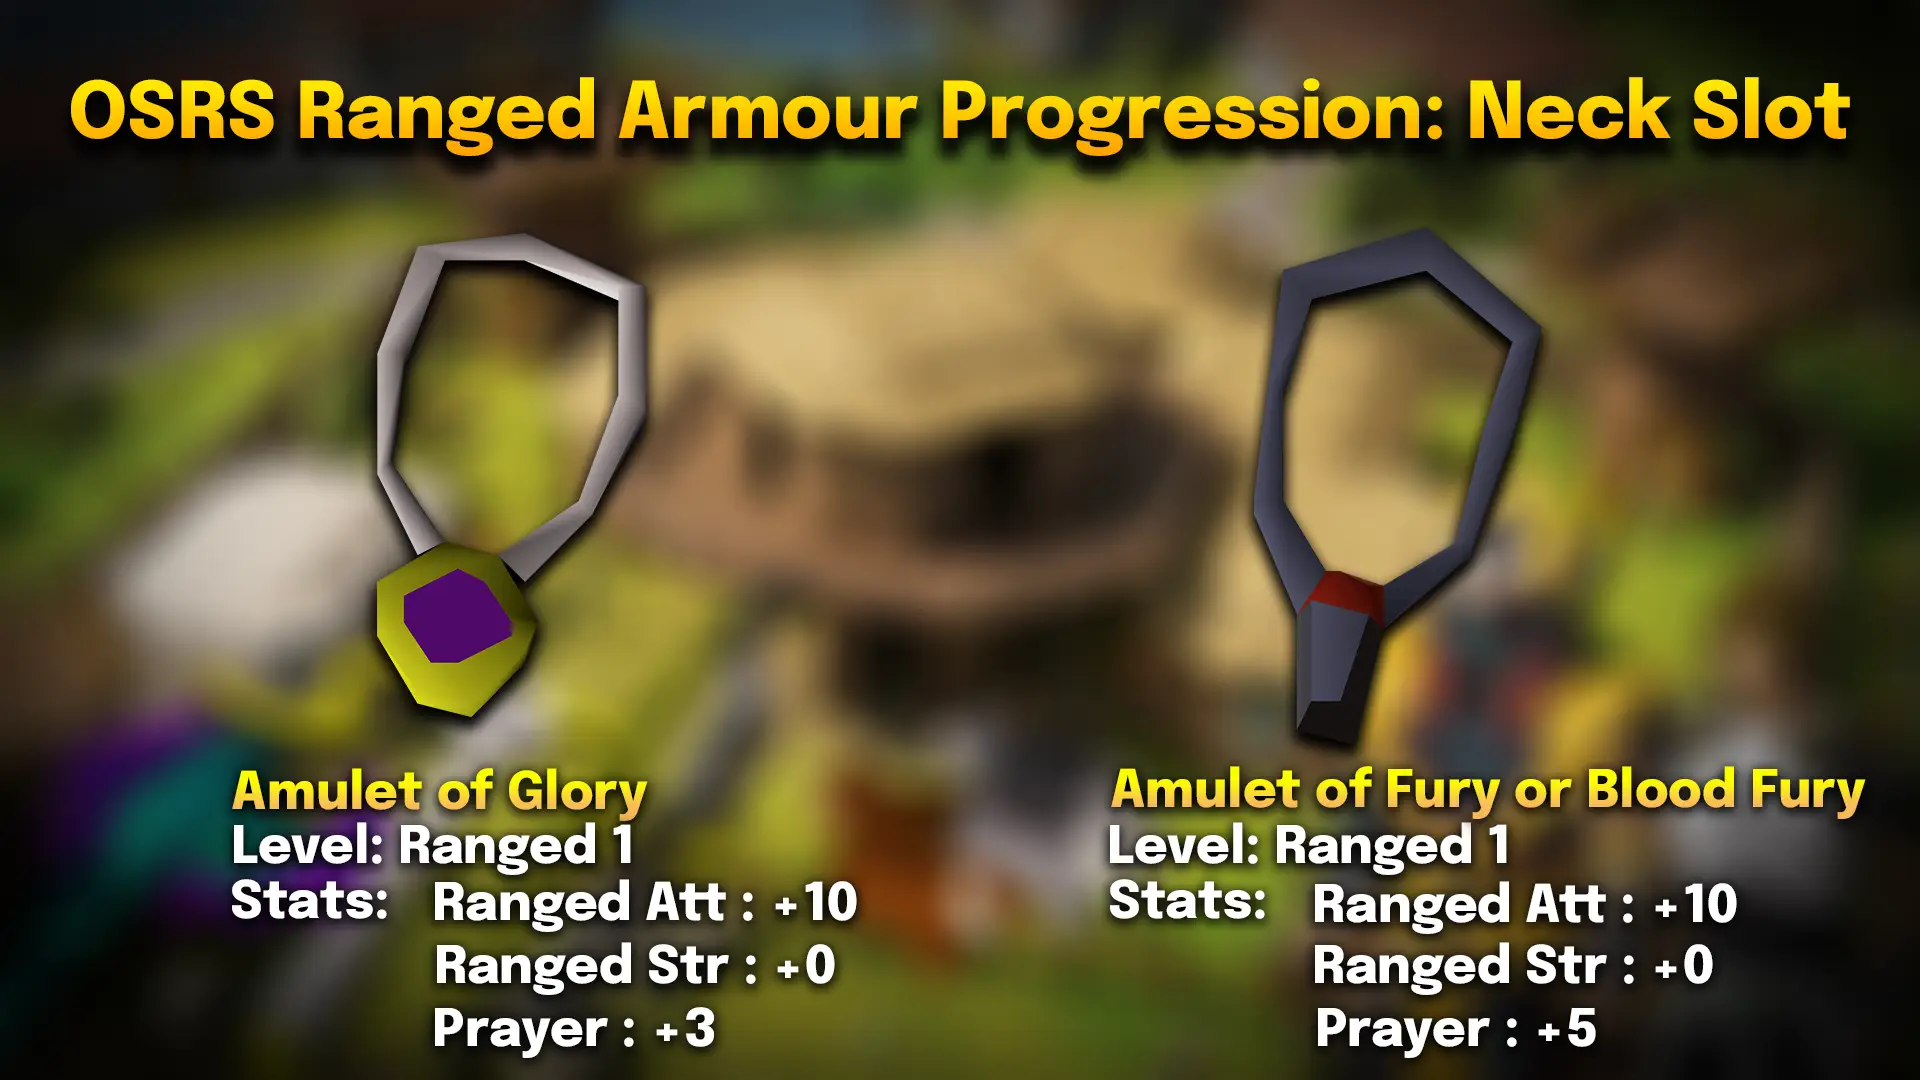
Amulet of Glory, whether the standard or eternal version, is one of the best value items in the entire game: +10 Ranged Accuracy, +3 Ranged Defence, +3 Prayer, and built-in teleports, all for a price that stays low throughout the early and mid game. Wear one from level 1 straight through your 70s. There's no rush to replace it. Amulet of Fury pushes further with +10 accuracy, a hefty +15 Ranged Defence, and +5 Prayer, and it remains a strong all-round tank piece even after you've moved past it offensively. I still keep a Fury in my bank for PvM trips where the extra defence matters more than raw damage, even on accounts that have long since upgraded their main neck slot.
The Endgame Necks: Necklace of Anguish & Necklace of Rupture
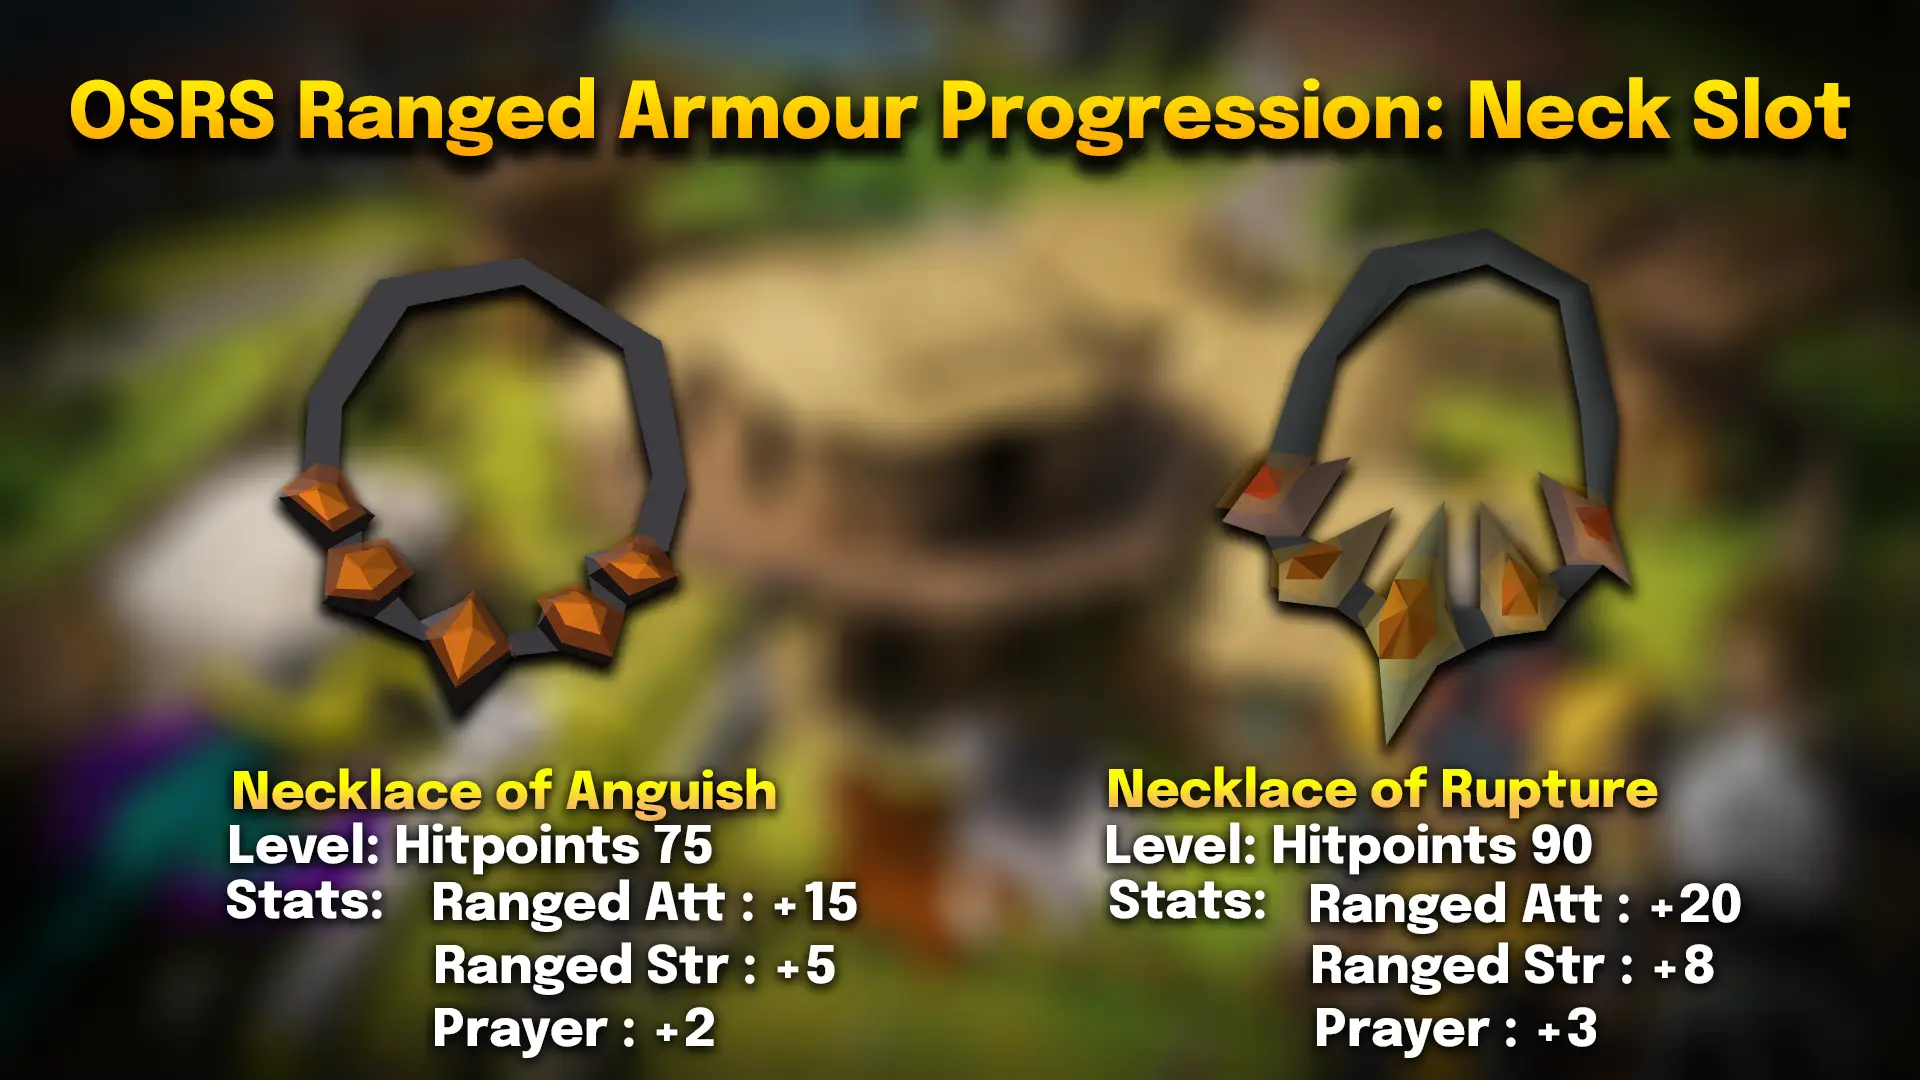
Necklace of Anguish is where jewellery stops being a defensive accessory and becomes a pure offensive tool: +15 Ranged Accuracy and +5 Ranged Strength, with defence dropped entirely, available once you hit 75 Hitpoints and can afford to enchant a zenyte necklace. I made the mistake of treating this as a “later” purchase on my own account, and regretted it. By the time you're doing serious PvM, Protection Prayers are covering your defence anyway, so there's little reason to hold onto a defensive neck piece. Necklace of Rupture is the natural endgame follow-up at 90 Hitpoints, combining an Anguish with an etched elder venator fang for +20 accuracy, +8 Ranged Strength, and +3 Prayer. Chase Rupture the moment your Hitpoints and budget allow it. It's the best neck slot in the game for Ranged, and there's no defensive trade-off left to weigh against it.
Ranged Rings
Overview
Requirement | Ring | Ranged Acc. | Ranged Str. | Ranged Def. |
None | Archer Ring | +4 | — | +4 |
None | Brimstone Ring | +4 | — | +4 |
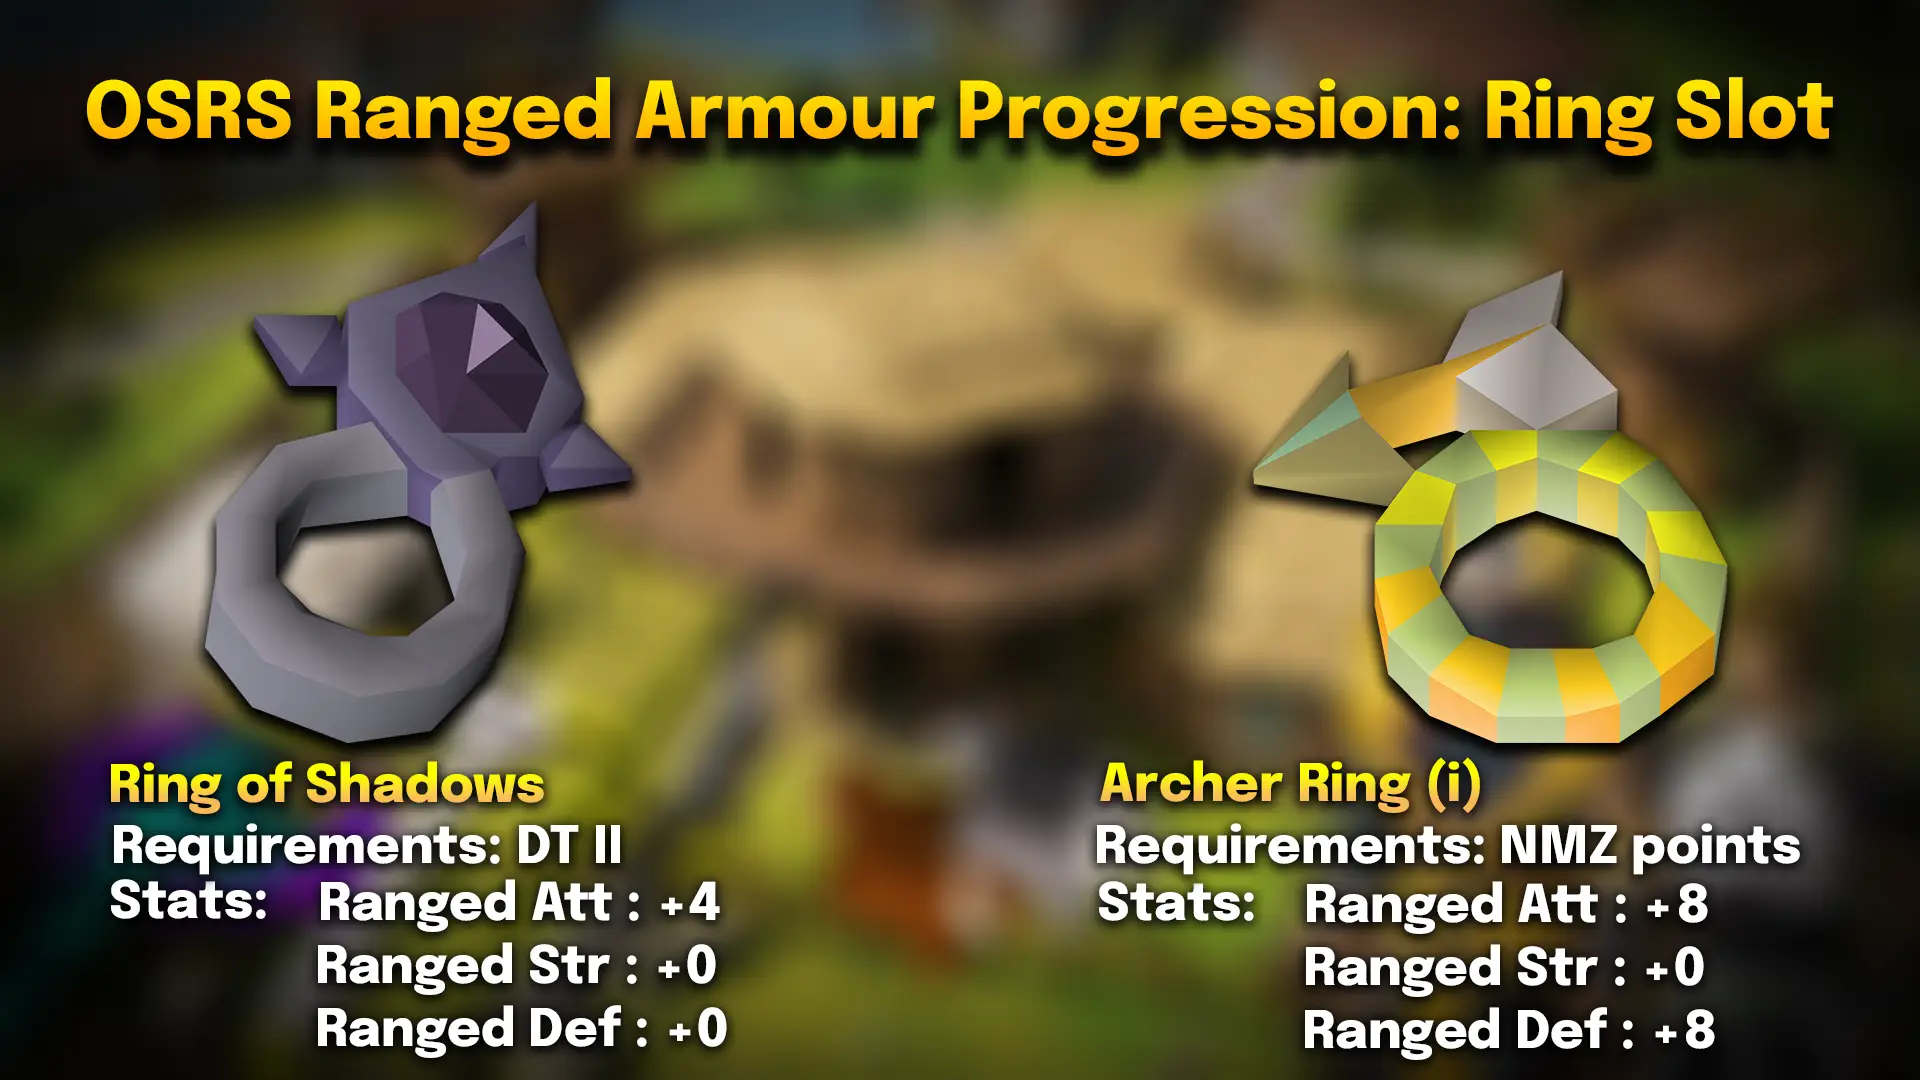
Desert Treasure II | Ring of Shadows (uncharged) | +4 | — | — |
NMZ / CA points / Soul Wars / Scroll | Archer Ring (i) | +8 | — | +8 |
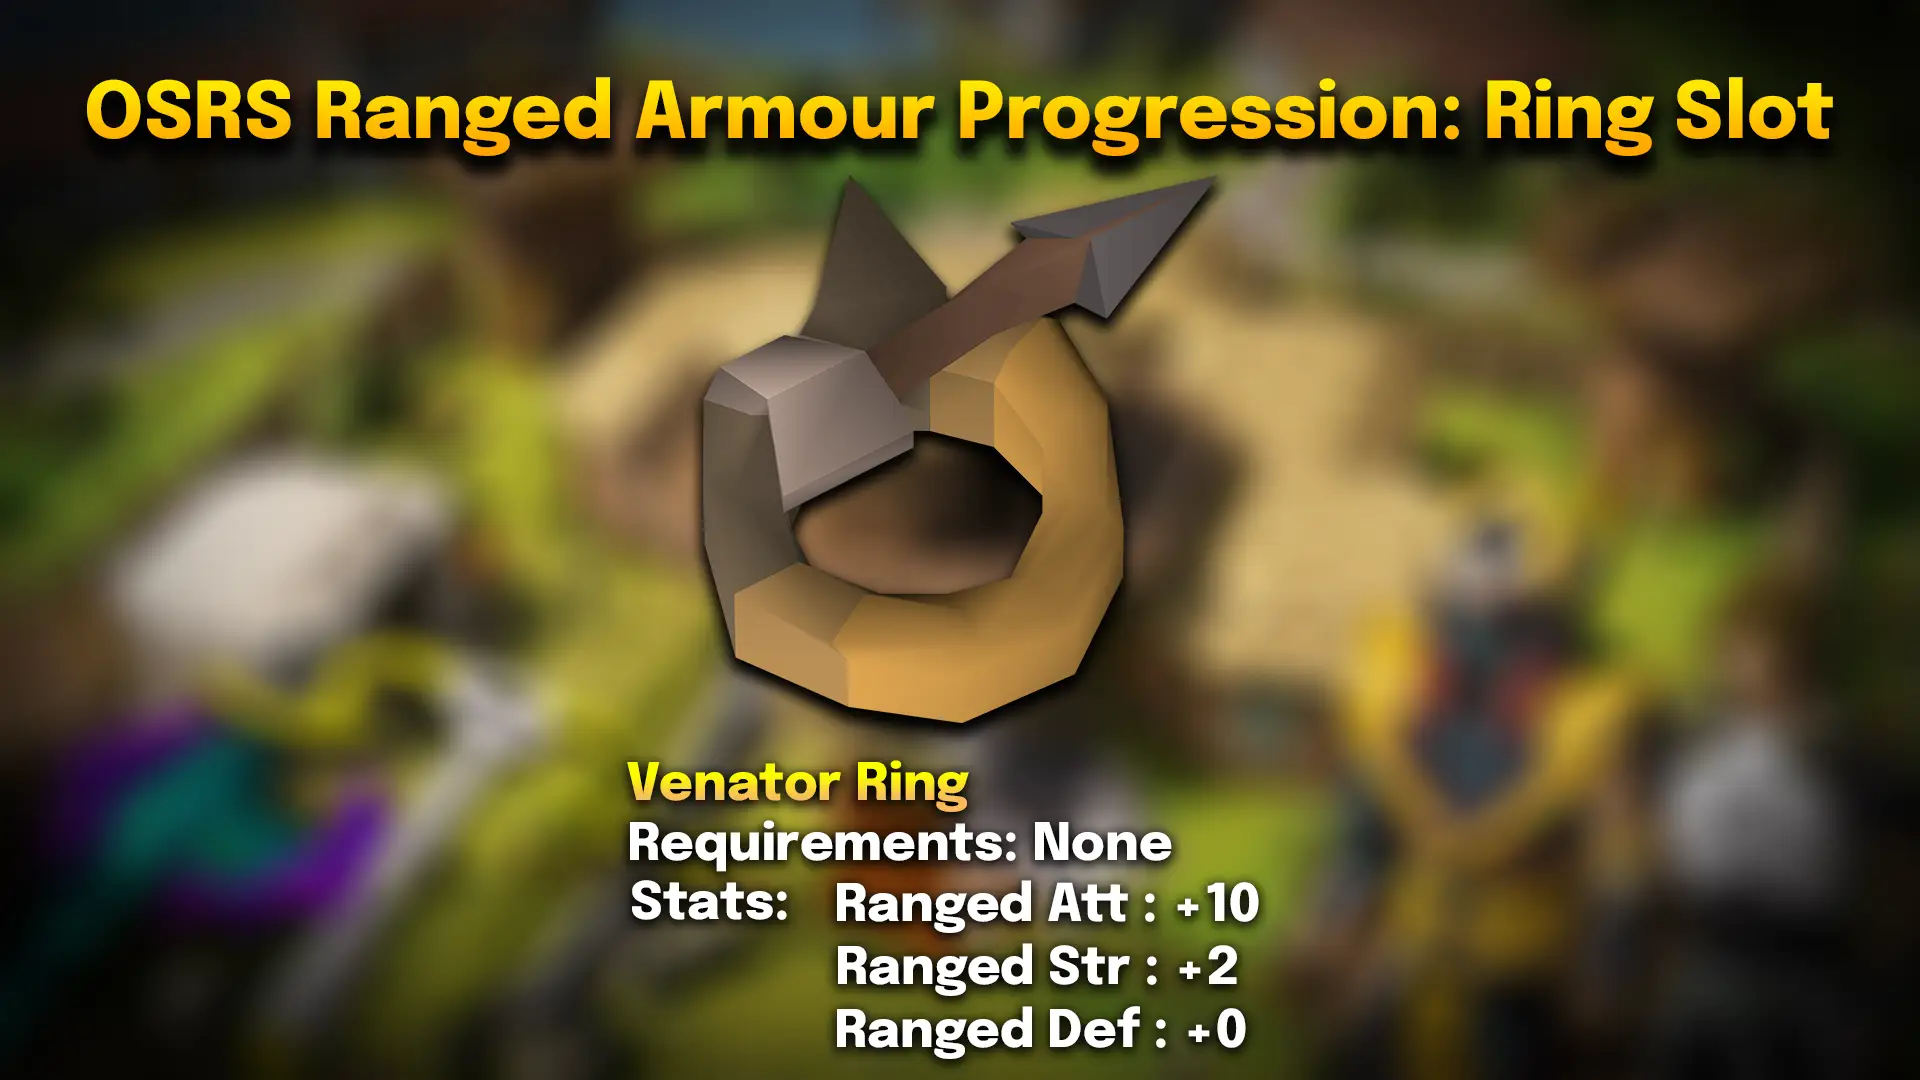
None | Venator Ring | +10 | +2 | — |
Archer Ring & Brimstone Ring
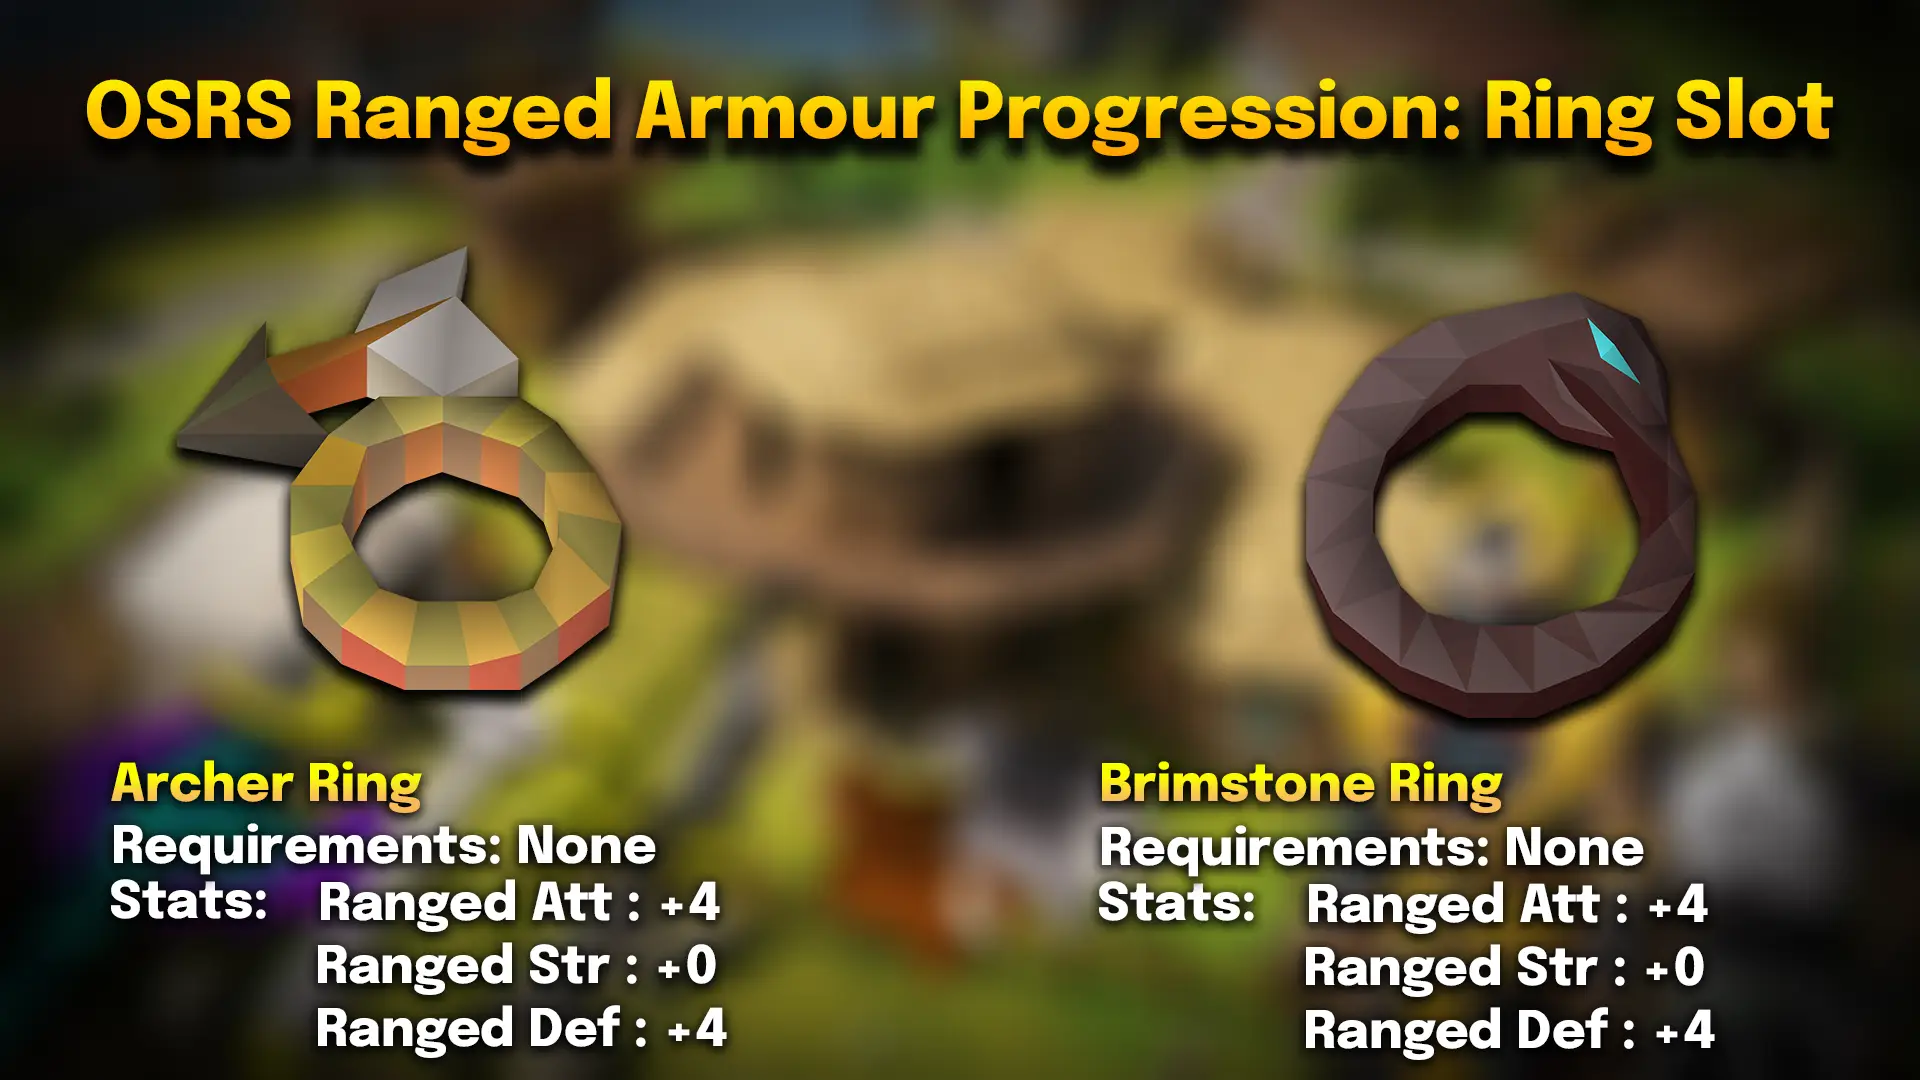
The Archer Ring, dropped by Dagannoth Supreme, is a solid entry point with no level requirement at all: +4 Ranged Accuracy and +4 Ranged Defence for essentially the cost of a Dagannoth Kings trip. Brimstone Ring, forged from Alchemical Hydra components, matches those exact stats but adds a passive 25% chance to ignore 10% of the target's Magic defence, a nice touch for hybrid or Magic-adjacent content, though not something I'd chase purely for Ranged training. Grab whichever one you happen to have access to first; there's no real reason to prioritise one over the other for pure Ranged output.
Ring of Shadows & Archer Ring (i)
Ring of Shadows, the uncharged reward from Desert Treasure II, gives a flat +4 Ranged Accuracy with its defensive bonuses redirected to other combat styles, so I'd treat it as a side-grade rather than an upgrade over the base Archer Ring. The real step up here is imbuing: once you've built up Nightmare Zone points, Soul Wars reward points, or Combat Achievement points, imbuing your Archer Ring into the Archer Ring (i) simply doubles both bonuses to +8 and +8. Grab one of these as soon as it's convenient. It's a cheap, permanent ring slot upgrade that doesn't force you to give up saving for anything else.
The Endgame Ring: Venator Ring
Venator Ring is the ring slot's actual endgame destination: +10 Ranged Accuracy and +2 Ranged Strength, making it one of the only rings in the game to add to your max hit. It isn't just a gold purchase, though. You need 90 Magic, 80 Crafting, and to have personally defeated the Leviathan in Desert Treasure II before you can even wear one, regardless of how much you're willing to spend on the venator vestige and chromium ingots. Make it a priority once you're pushing into raids and high-level bossing. The Ranged Strength alone makes it worth the requirements.
Ranged Capes & Ava's Devices
Ammo-saving capes are a quiet money-saver that most guides undersell. Here's the accurate progression, corrected against the Wiki.
Overview
Item | Requirement | Ranged Acc. | Ranged Str. | Ammo Retrieval | Source |
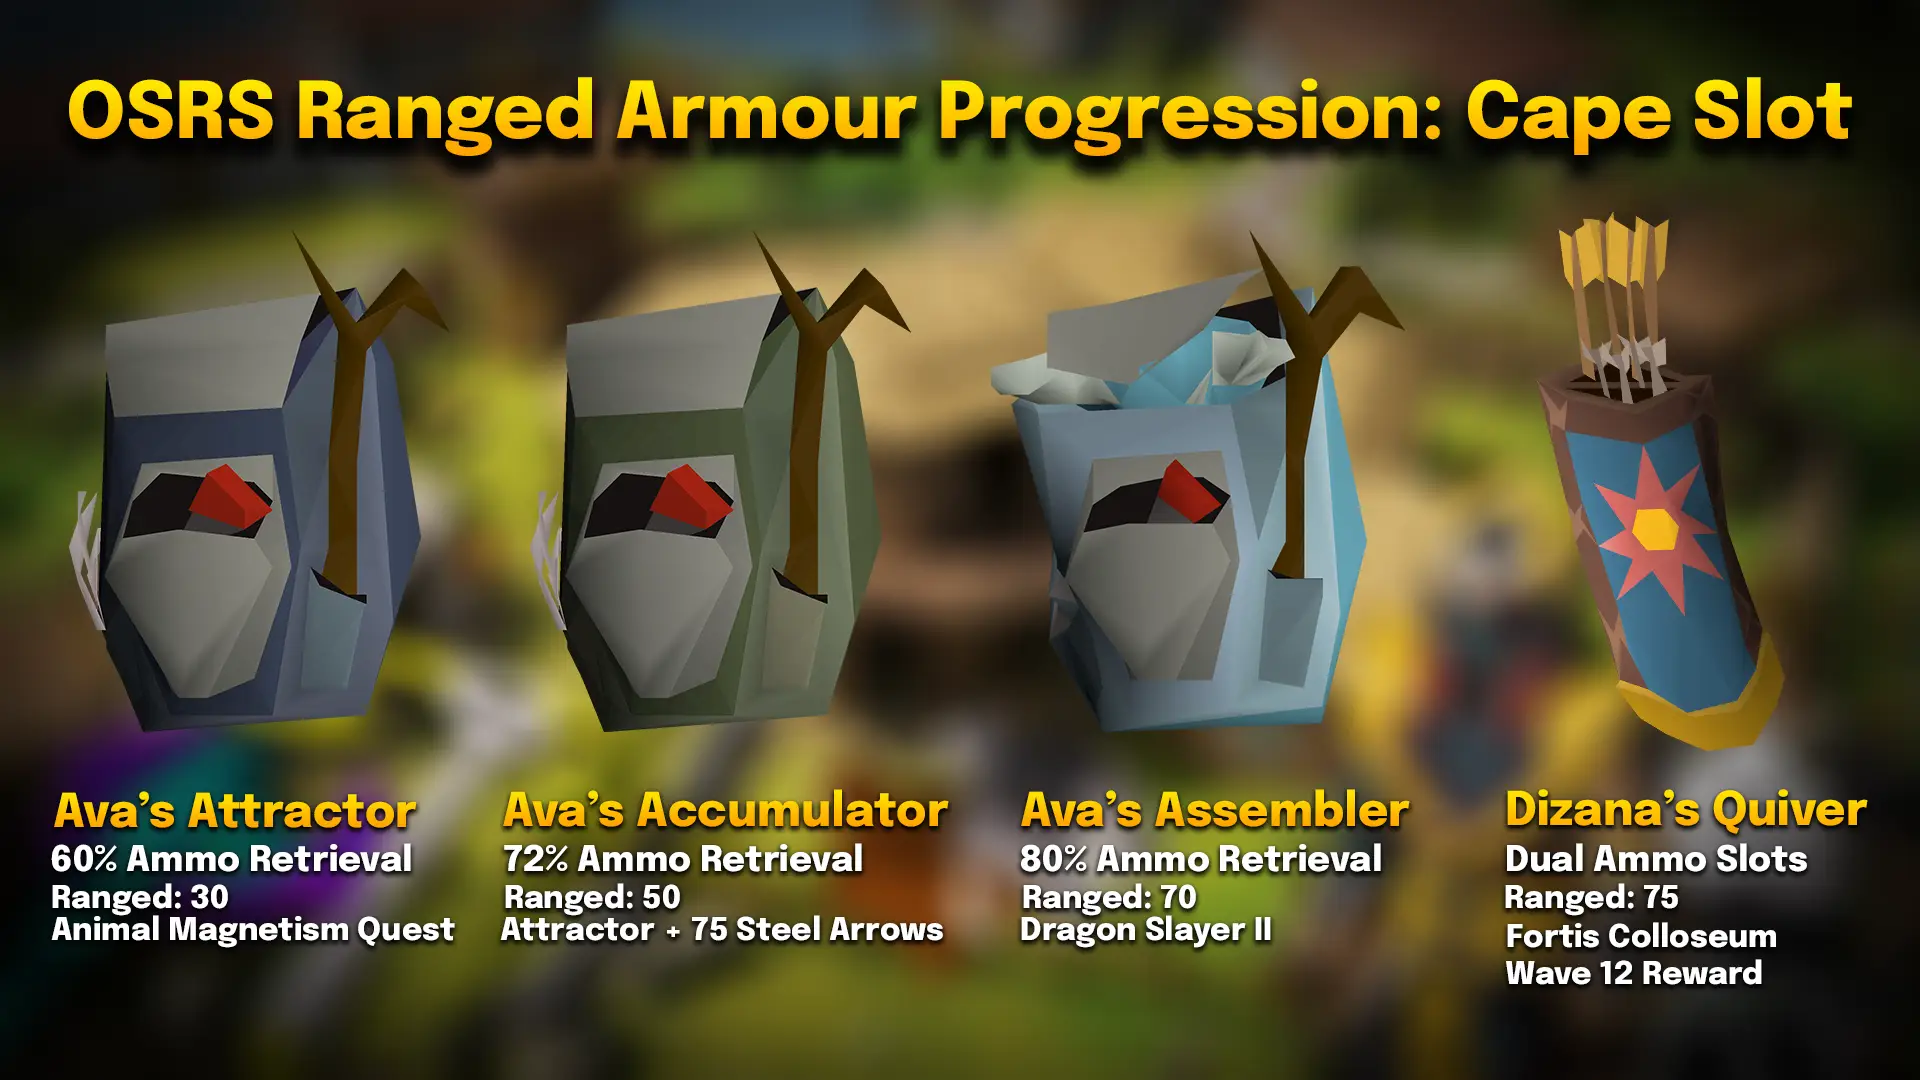
Ava's Attractor | 30 Ranged (Animal Magnetism) | - | - | 60% | Quest reward |
Ava's Accumulator | 50 Ranged | - | - | 72% | Upgrade Attractor + 75 steel arrows |
Ava's Assembler | 70 Ranged (Dragon Slayer II) | - | +2 | 80% | Upgrade Accumulator + 75 mithril arrows + Vorkath's Head or 4,999 coins |
Dizana's Quiver | 75 Ranged | +18 | +3 (+4 charged) | N/A, dual ammo slots | Fortis Colosseum, Wave 12 reward for defeating Sol Heredit |
Capes Breakdown
Ava's Attractor, unlocked after Animal Magnetism at 30 Ranged, is your first ammo-saving device, auto-retrieving 60% of fired ammunition, and it pays for itself fast. Upgrade it to the Accumulator at 50 Ranged (Attractor plus 75 steel arrows) for 72% retrieval, then to the Assembler at 70 Ranged after Dragon Slayer II (Accumulator plus 75 mithril arrows plus a Vorkath's Head or 4,999 coins) for 80% retrieval and your first real Ranged Strength from a cape, +2. Work through this line in order; each step is cheap next to the ammo it saves. Dizana's Quiver, earned from Sol Heredit in the Fortis Colosseum at 75 Ranged, is the actual best-in-slot: +18 Ranged Attack and +3 Ranged Strength (+4 once charged with sunfire splinters), not the +7 Strength commonly misquoted online, plus the ability to hold two ammo types at once so you can swap weapons without re-equipping ammo. It's still worth the grind for that dual-ammo utility alone.
Ranged Boots
Boots are an easy slot to neglect, but there's real accuracy on the table here from level 40 onward. Check our dedicated boots guide for Magic, Ranged and Melee here.
Overview
Level Req. | Boots | Ranged Acc. | Other Bonuses |
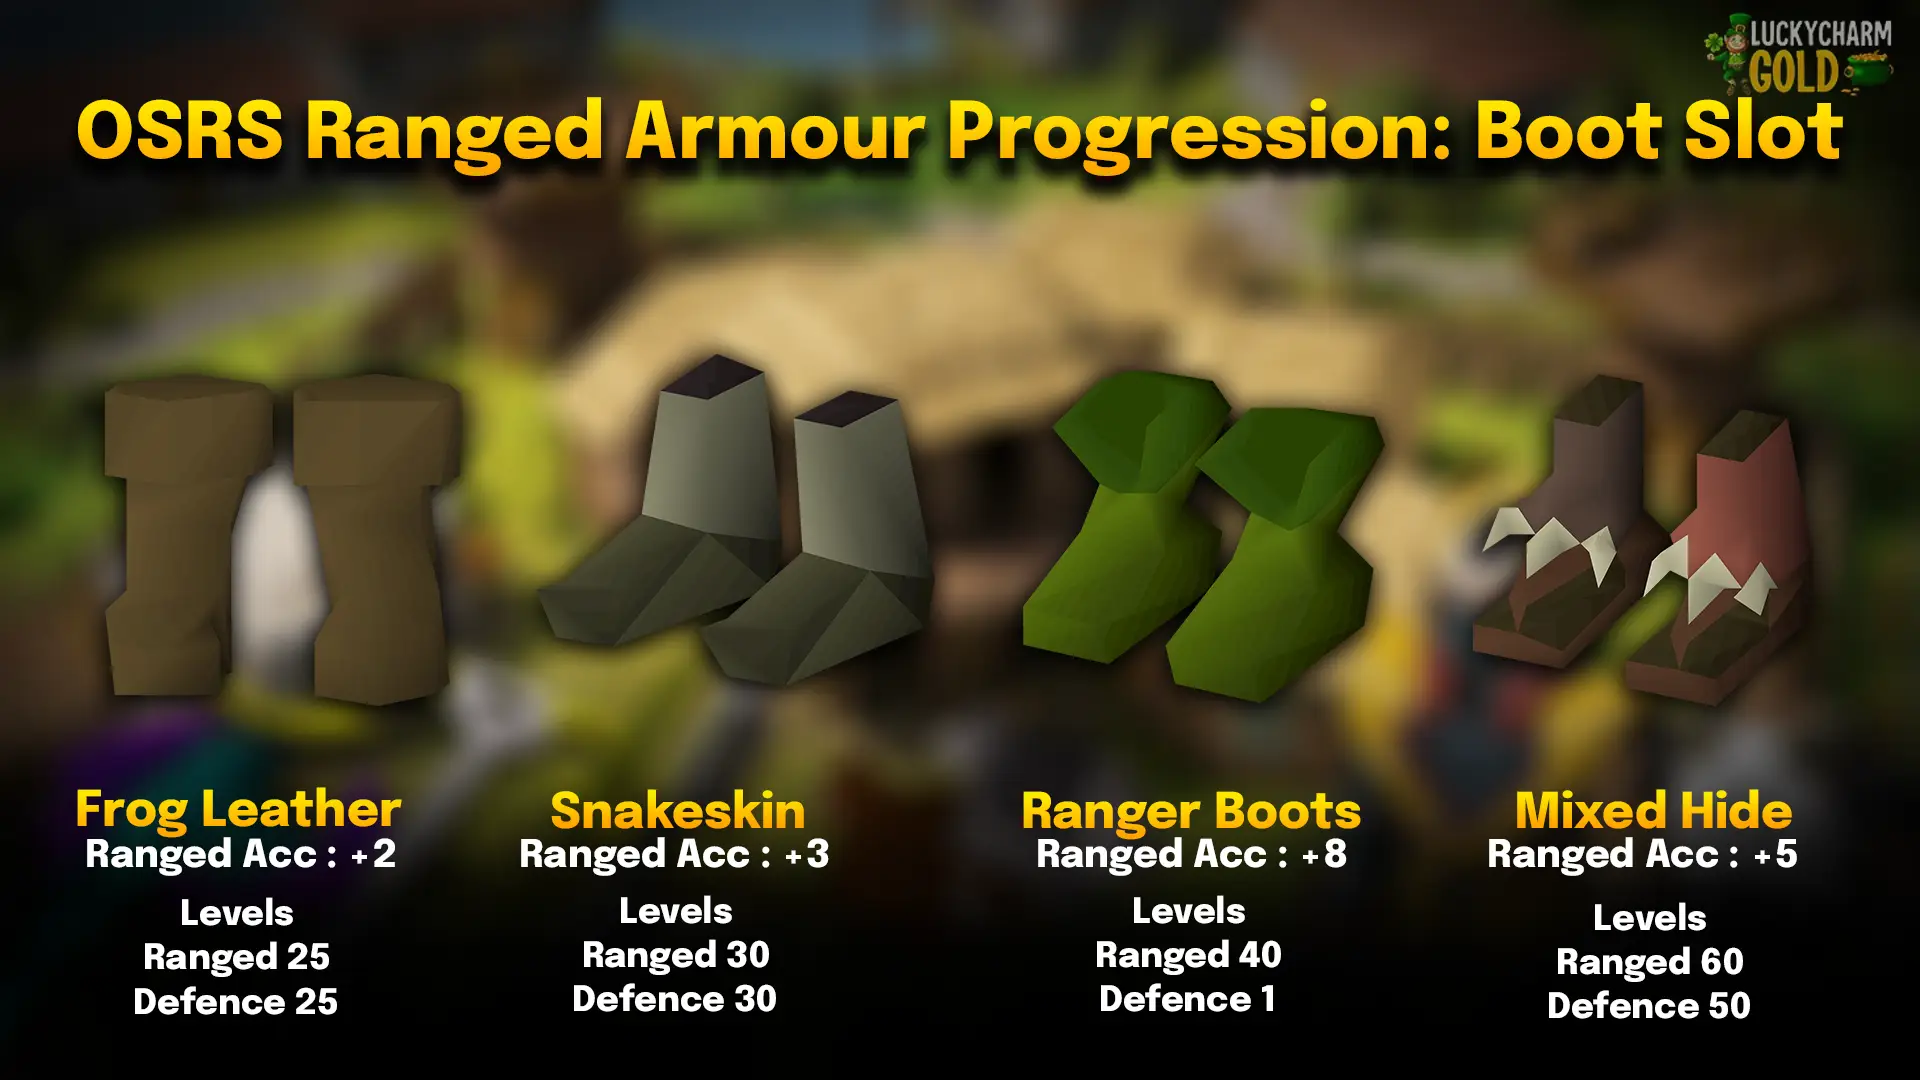
25 Ranged / 25 Def | Frog-leather Boots | +2 | +1 Ranged Def. |
30 Ranged / 30 Def | Snakeskin Boots | +3 | — |
40 Ranged | Ranger Boots | +8 | — |
60 Ranged / 50 Def | Mixed Hide Boots | +5 | +3 Ranged Def., +2 Str |
70 Ranged / 40 Def | Blessed D'hide Boots | +7 | +4 Ranged Def. |
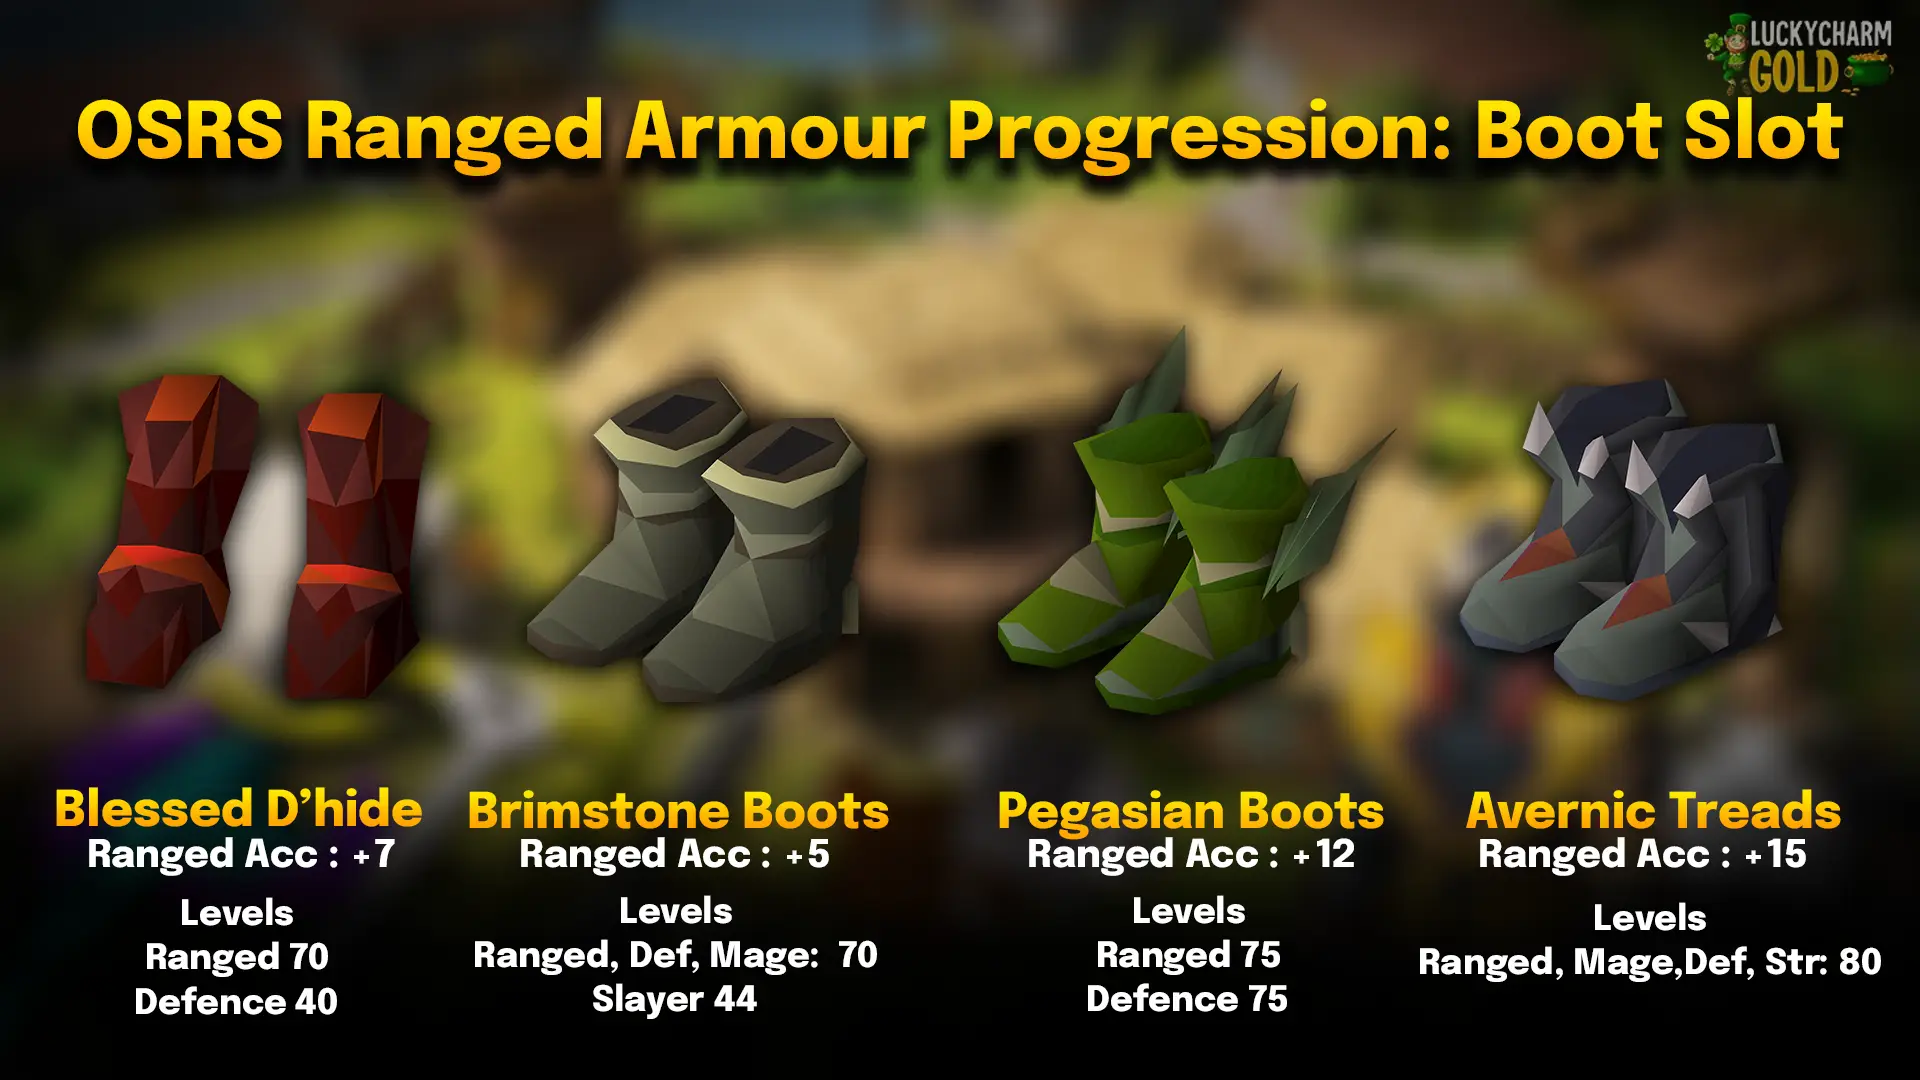
44 Slayer / 70 Def / 70 Magic / 70 Ranged | Boots of Brimstone | +5 | +5 Ranged Def., +5 Magic Acc., +3 Magic Def. |
75 Ranged / 75 Def | Pegasian Boots | +12 | +1 Ranged Str., +5 all Def. |
80 Def / Str / Ranged / Magic | Avernic Treads | +15 | +2–+3 Ranged Str., +1–+2% Magic Dmg, strong melee/magic Def., no Prayer bonus |
Levels 25-60: Frog-leather Boots to Mixed Hide Boots
Frog-leather Boots (25 Ranged/Defence) and Snakeskin Boots (30 Ranged/Defence) are cheap early options, giving +2 and +3 accuracy respectively; neither is worth planning around, just wear whichever you've picked up. Ranger Boots at 40 Ranged, from medium clue scrolls, are a real step up at +8 accuracy with nothing else attached, and I'd treat them as the default target in this bracket. Mixed Hide Boots at 60 Ranged, and 50 Defence add +5 accuracy, +3 Ranged Defence, and +2 Strength, a nice hybrid bonus if you happen to cross paths with them through Varlamore's Hunter content.
Levels 70-80: Blessed D’hide to Avernic Treads
Blessed D'hide Boots (70 Ranged/40 Defence, from hard clues) give +7 accuracy and +4 Ranged Defence across all six identical god variants; pick whichever colour you like. Boots of Brimstone ask for more (44 Slayer, 70 Defence/Magic/Ranged) but pay it back with a genuinely hybrid +5 accuracy, +5 Ranged Defence, +5 Magic Accuracy, and +3 Magic Defence; I'd default to God Blessed D'hide unless you need that hybrid spread. Pegasian Boots (75 Ranged/Defence) are a strong late-game boot at +12 accuracy, +1 Ranged Strength, and +5 to every defence bonus. Avernic Treads, requiring 80 Defence/Strength/Ranged/Magic and built from Pegasian-line boots with demon tears, keep +15 accuracy but add +2–3 Ranged Strength and up to +2% Magic Damage, plus strong melee and magic defence, though no Prayer bonus despite what some gear planners claim. Grab Pegasian Boots at 75/75, and treat Avernic Treads as a longer-term Magic and Runecraft goal.
Ranged Off-Hands & Shields
Off-hand shields matter far more for crossbow users than for anyone running a two-handed weapon. Keep that in mind as you read this chapter.
Overview
Item | Ranged Acc. | Ranged Str. | Ranged Def. | Requirement / Source |
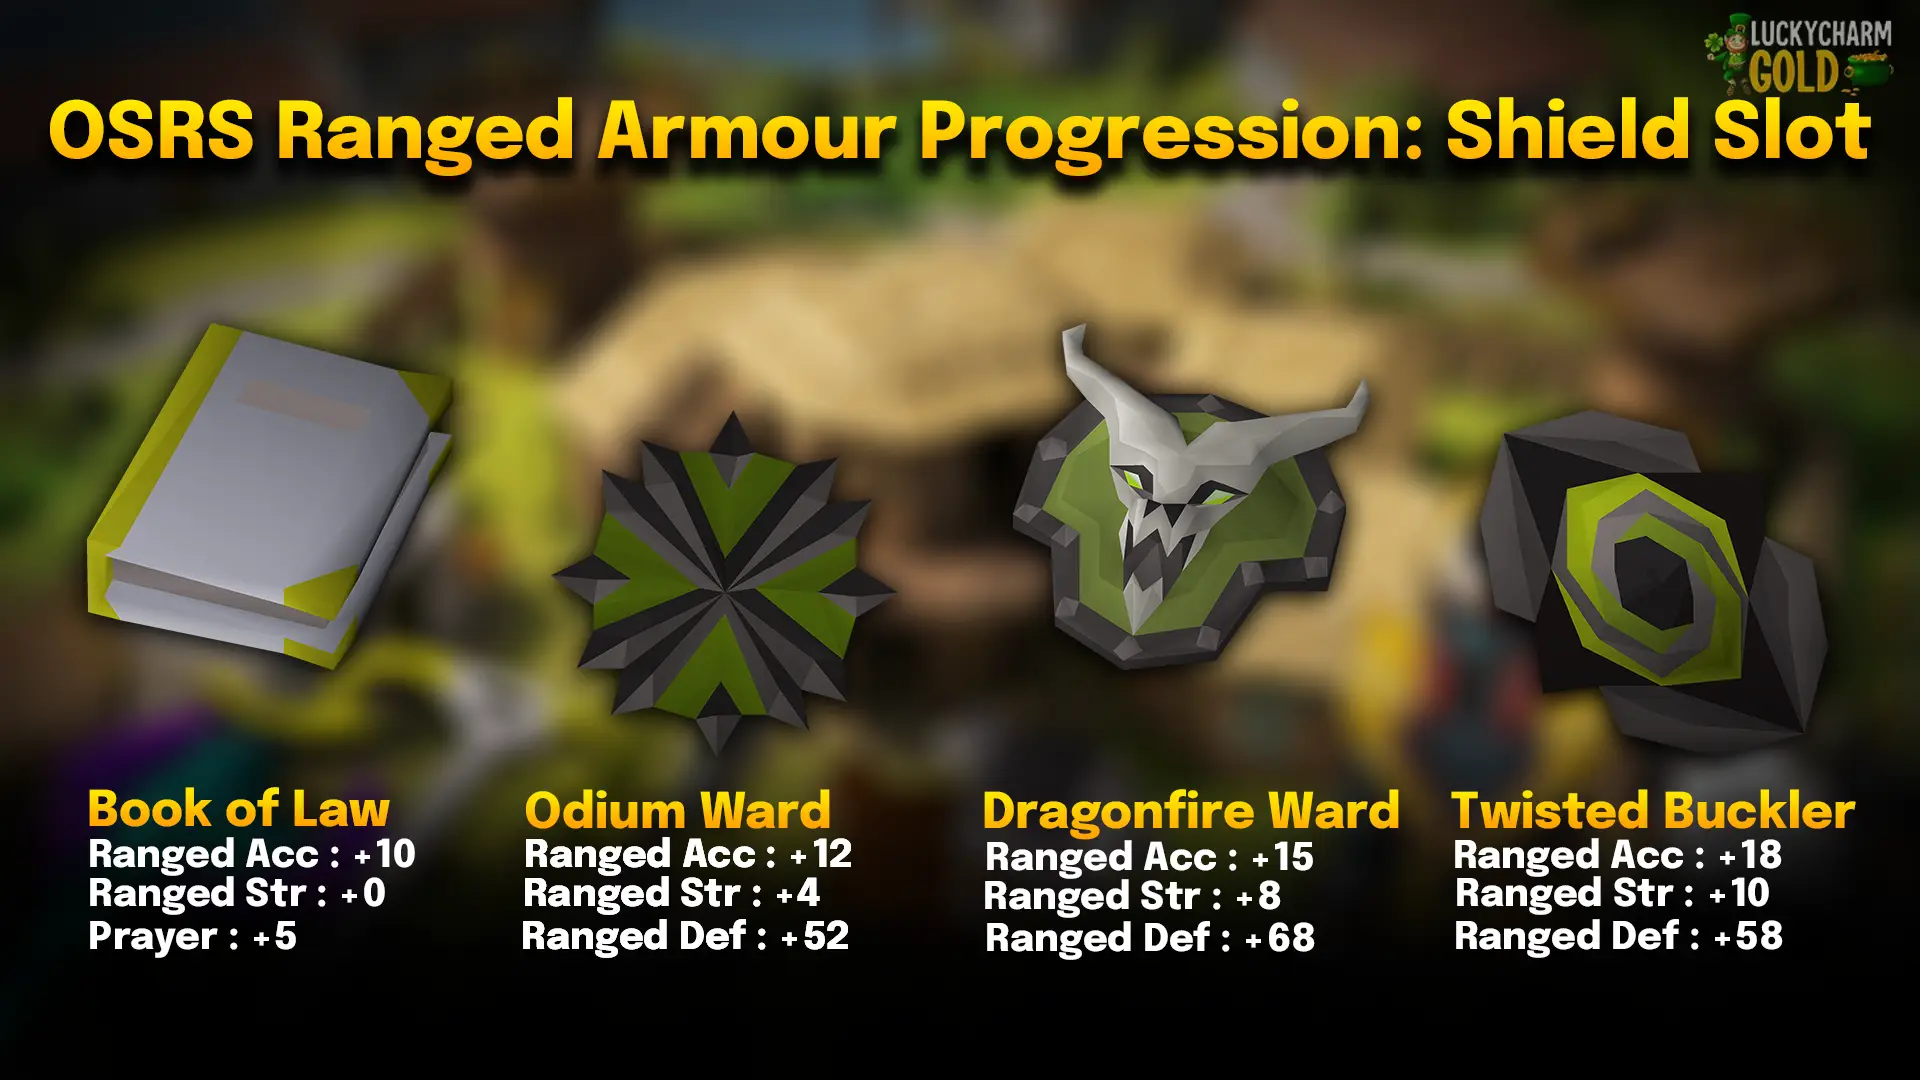
Book of Law | +10 | - | - (+5 Prayer) | Horror from the Deep quest; fill with 4 Armadyl pages |
Odium Ward | +12 | +4 | +52 | 60 Def to wield; forged from 3 Wilderness boss shards (Chaos Fanatic, Crazy Archaeologist, Scorpia) |
Dragonfire Ward | +15 | +8 | +18 uncharged (up to +68 fully charged) | 70 Ranged / 75 Def, started Dragon Slayer I; made from an Anti-dragon shield + Skeletal visage |
Twisted Buckler | +18 | +10 | +58 | 75 Ranged / 75 Def; Chambers of Xeric Ancient chest reward |
Shields Breakdown
Book of Law, earned from Horror from the Deep and filled with four Armadyl pages, is your first off-hand purchase: +10 Ranged Accuracy and +5 Prayer with zero ongoing cost and trivial requirements. Odium Ward (60 Defence), forged from three Wilderness boss shards at the Volcanic Forge, follows naturally once you're comfortable with that content, giving a well-rounded +12 accuracy, +52 Ranged Defence, and +4 Ranged Strength. At the endgame, Dragonfire Ward (70 Ranged, 75 Defence, Dragon Slayer I started) delivers +15 accuracy and +8 Ranged Strength, with Ranged Defence climbing from +18 uncharged to +68 fully charged. At the same time, Twisted Buckler, from the Chambers of Xeric's Ancient chest at the same 75/75 requirement, is the best-in-slot offensive shield at +18 accuracy, +10 Ranged Strength, and +58 Ranged Defence, purpose-built for crossbow DPS. I'd only buy either endgame piece if your weapon plan actually uses a one-handed crossbow; Bowfa, Blowpipe, and Twisted Bow users never equip an off-hand at all, so don't buy one "just in case" before confirming your weapon path.
The 5 Gear Setups I Actually Recommend, Level 1 to 99
Rather than list every possible combination, here are the five setups I'd actually put on my own account at each stage, picked for the best value jump, not just what's technically available.
Note: You also have to level up Defence alongside Ranged to equip most of the armour.
Setup 1: The New-Account Starter
Level 1-20 Ranged
Slot | Item |
Weapon | Iron Knives to Mithril Knives |
Head | Coif |
Body | Studded Body |
Legs | Studded chaps |
Hands | Leather Vambraces |
Feet | Leather boots |
Neck | Amulet of Fury or Glory (Cheaper) |
Ring | Brimstone Ring |

This is what I’d recommend from level 1 of ranged to level 20 of ranged. The Amulet of Fury and Brimstone Ring don’t have any requirements to equip except ~4M GP. If you can afford both, they'll be really helpful for your future setups too. Due to the 2-tick speed of Knives, this setup can get your DPS to 4.925 at Sand Crabs with 12.9s of Average TTK (Time to Kill).
Setup 2: The Early Game Setups
Level 30-50 Ranged
Slot | Item |
Ammo | Adamant Knives < Rune Knives |
Head | Coif or Archer helm (The Fremennik Trials Quest) |
Body | Snakeskin < Green D’hide < Blue D’hide |
Legs | Snakeskin < Green D’hide < Blue D’hide |
Shield | Book of Law |
Hands | Snakeskin Vambs < Green D’hide Vambs < Blue D’hide Vambs |
Feet | Frog Leather Boots < Snakeskin Boots < Ranger Boots |
Neck | Amulet of Fury |
Ring | Brimstone Ring < Archer Ring |
Cape | Ava's Attractor (Animal Magnetism Quest Reward) |

Ava’s Attractor is really helpful for getting 60% of the ammunition recovered that it requires to complete the Animal Magnetism quest. The above setup is great for level 30 to 50 of ranged. At level 50, with Blue D’hide equipped, the setup gives massive DPS of 6.190 at Sand Crabs, with an average TTK of 10.4s.
At Level 45 Ranged, you also unlock Chinchompa, which provides the fastest ranged XP on Maniacal Monkeys; see our chinning guide here to know more about Chinning at MM1 and MM2 Caves.
Setup 3: Slayer & Early Boss Setup
Level 60-75 Ranged
Slot | Item |
Weapon | Toxic Blowpipe (or Rune Crossbow + bolts) |
Head | Archer Helm < Armadyl Helmet |
Body | Black or Blessed D’hidebody |
Legs | Matching chaps |
Hands | Barrows Gloves |
Feet | Ranger Boots < God Blessed D'hide Boots < Pegasian Boots |
Neck | Amulet of Fury |
Ring | Archer Ring (i) < Venator Ring (DT 2 Quest) |
Cape | Ava's Accumulator < Assembler |
Shield (if using a crossbow) | Odium Ward |

Blessed Dragonhide beats Karil's at this point in the game: identical accuracy, meaningfully better defence, and it doesn't degrade. This is also where Barrows Gloves stop being optional. Do Get Recipe for Disaster before you push much further. The setup above with Toxic Blowpipe (Dragon Darts) gives us 8.252 DPS at Sand Crabs.
Setup 4: Raids & Mid-Endgame PvM
Level 80+ Ranged
Slot | Item |
Weapon | Zaryte Crossbow |
Ammo | Ruby dragon bolts (e) |
Head | Masori Mask |
Body | Masori Body |
Legs | Masori Chaps |
Hands | Zaryte Vambraces |
Feet | Pegasian Boots |
Neck | Necklace of Anguish |
Ring | Venator Ring |
Cape | Ava's Assembler or Dizana's Quiver |
Shield | Twisted Buckler |

Save for Masori over Armadyl, every single time. They cost similar amounts of gold, but Masori gives you actual Ranged Strength, and Armadyl gives you none. See the mistakes section below for why that trade looks better on paper than it is in practice.
Setup 5: Endgame Megarare Setup
Level 90+ Ranged
Slot | Item |
Weapon | Twisted Bow |
Ammo | Dragon arrows |
Head | Masori Mask (f) |
Body | Masori Body (f) |
Legs | Masori Chaps (f) |
Hands | Zaryte Vambraces |
Feet | Avernic Treads (pe) |
Neck | Necklace of Rupture |
Ring | Venator Ring |
Cape | Dizana's Quiver |

This is the setup I'm personally chasing on my main right now. Every piece here is chosen for accuracy and max hit, not raw defence. By this stage, Protection Prayers are doing your tanking, and every gold piece should go toward the stats that shorten your kill times. As you can see, the setup above gives us a Whopping DPS of 8.033 at Great Olm (Head).
Other Setups
Crystal Armour Setup
Slot | Item |
Weapon | Bow of Faerdhinen |
Ammo | No need with Bow of Faerdhinen |
Head | Crystal Helmet |
Body | Crystal Body |
Legs | Crystal Legs |
Hands | Barrows Gloves |
Feet | Pegasian Boots |
Neck | Amulet of Fury |
Ring | Archer Ring (i) |
Cape | Ava’s Assembler |

Crystal Armour requires Crystal Armour Seed and Crystal Shards for its making. You can purchase the Bow of Faerdhinen from GE, or if you’re an Ironman player, relax and let our experienced PvMers handle your account to quickly get you the Enhanced Weapon Seed you've been aiming for. Check out our PvM services page here.
Elite Void Knight Armour
Slot | Item |
Weapon | Zaryte Crossbow |
Ammo | Ruby Dragon Bolts (e) |
Head | Void Ranger Helm |
Body | Elite Void Knight Top |
Legs | Elite Void Knight Robe |
Hands | Void Knight Gloves |
Feet | Pegasian Boots |
Neck | Amulet of Fury |
Ring | Venator Ring |
Cape | Ava’s Assembler |

The above setup is mainly focused on Void Knight Equipment rewarded from the Pest Control Minigame. The Simple Void Knight costs 850 Points (Robe, Top, Gloves and Ranger Helm only) and an additional 400 Points to upgrade the Robe and Top to Elite Void. Visit our minigame page today to have your Elite Void completed by skilled professionals using top-tier services.
Mistakes to Avoid (I've Made a Few of These Myself)
Buying Full Armadyl Expecting a Ranged Strength Boost
Full Armadyl gives you a solid Ranged Attack bonus and excellent defensive bonuses, but zero Ranged Strength. At the point you can afford it, Masori (or even Blessed Dragonhide, which costs a fraction of the price) gets you similar or better accuracy plus real Ranged Strength Masori uniquely offers at that tier. I'd skip Armadyl entirely unless you specifically want it for its defensive bonuses in a hybrid setup.
Treating Jewellery as a “Later” Upgrade
I made this mistake myself. I didn't buy a Necklace of Anguish until well past 90 Ranged because I assumed jewellery was something to worry about after armour. It isn't. An Amulet of Glory is one of the best value items in the game from level 1, and jewellery upgrades generally cost less than the armour tier you're currently wearing for a comparable or better bonus.
Sticking With Karil's or Armadyl Out of Habit
Both were excellent in their day. Blessed Dragonhide now matches or beats Karil's without the degrading cost, and Masori beats Armadyl on offence while costing a similar amount. If you're gearing from scratch today, I wouldn't route through either of these unless the price is unusually low or you're after the look.
Not Fusing Masori Once You Can
Fortifying Masori doesn't change its offensive stats at all. It's a straight defensive upgrade for the cost of Armadyl plates and 90 Crafting. There's no scenario where I'd leave it unfused once I had the materials.
Forgetting Off-Hand Shields Don't Fit Two-Handed Weapons
The Twisted Buckler is an excellent shield. For crossbow users, specifically. If your endgame plan is Bowfa, Blowpipe, or Twisted Bow, you'll never equip it, so don't buy one “just in case” before confirming which weapon path you're actually taking.
Final Thoughts
Ranged armour progression is more forgiving than Melee's in one specific way: you can safely skip several tiers without ever falling behind, because a lot of the mid-game sets (Karil's, Armadyl, even full Crystal) are optional detours rather than mandatory steps. The pieces that actually matter are the cheap, high-value ones early (Amulet of Glory, Green Dragonhide, Void Knight) and the Ranged Strength pieces late (Masori, the top-tier jewellery).
My honest advice: don't buy anything in this guide just because it's the “next tier.” Check whether it actually changes your accuracy or max hit at the content you're doing, and spend accordingly. That's the difference between a bank full of upgrades and a bank full of gear that looks good on a spreadsheet.
Good luck out there.



.webp)