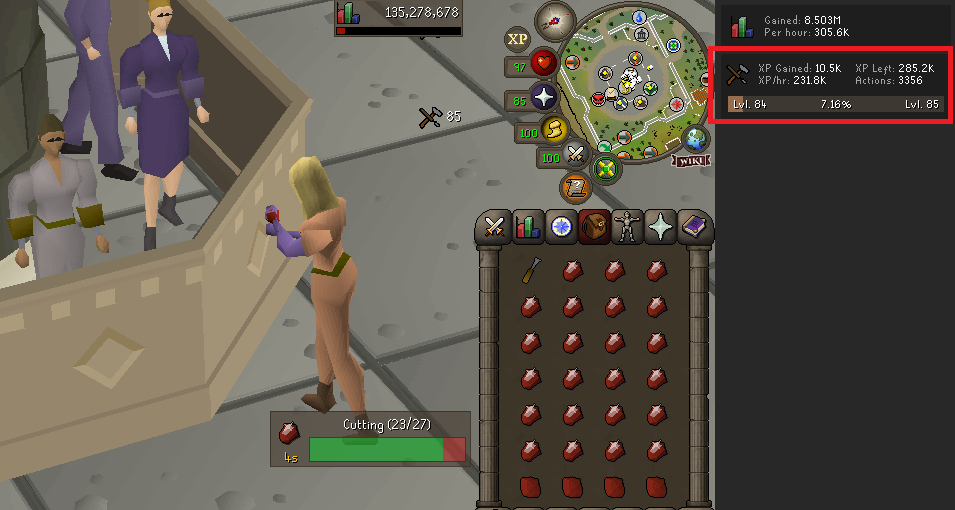
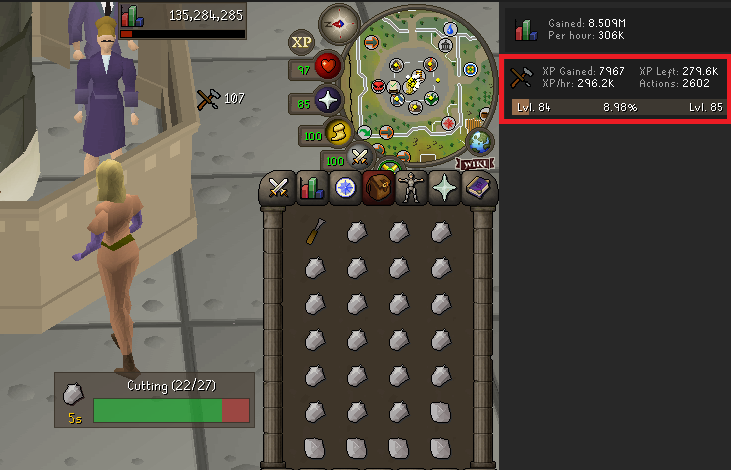
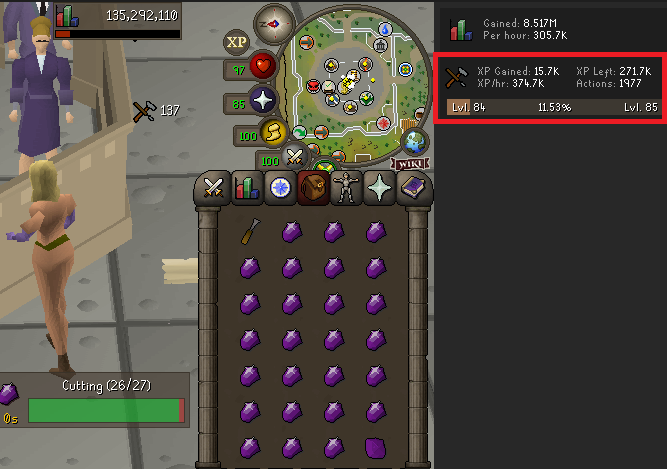
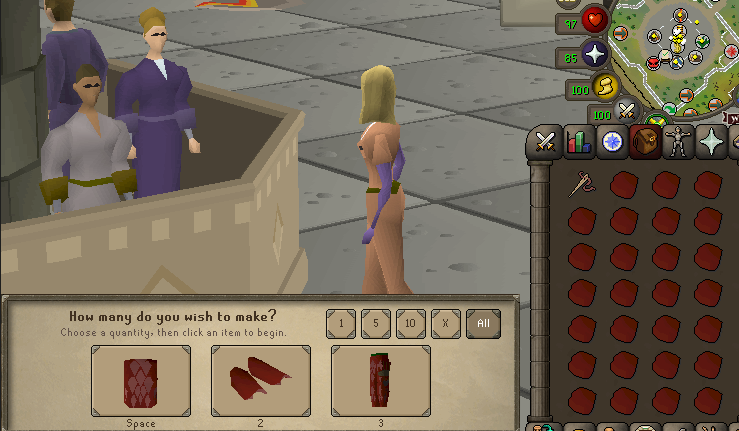
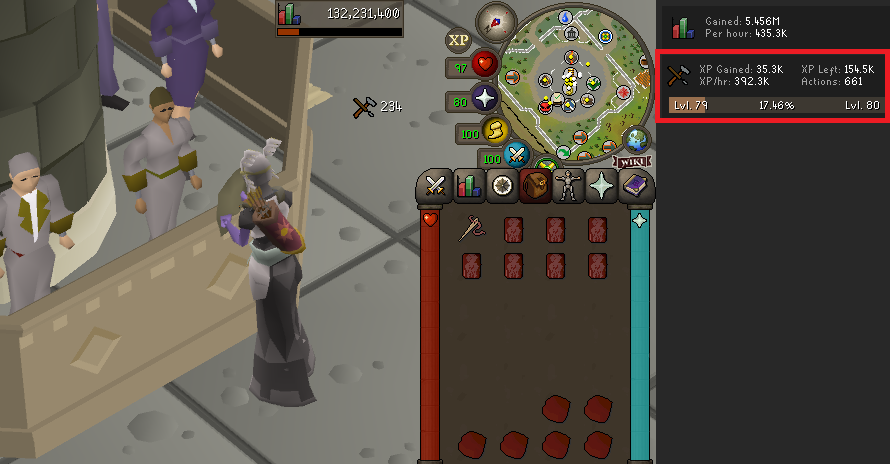
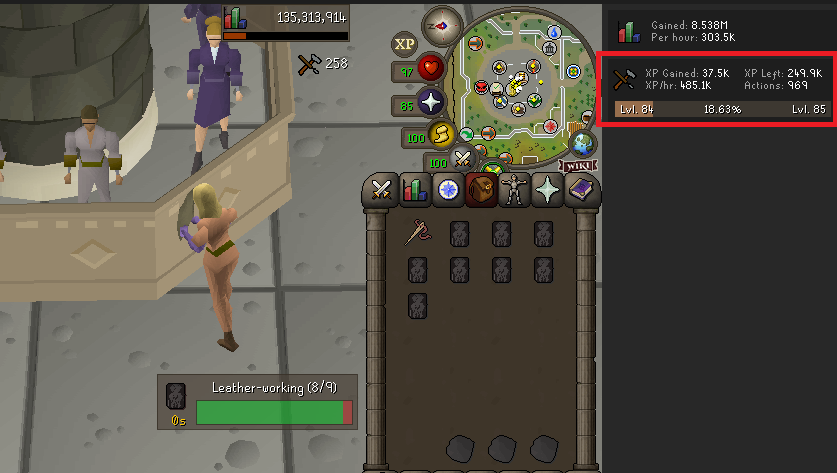
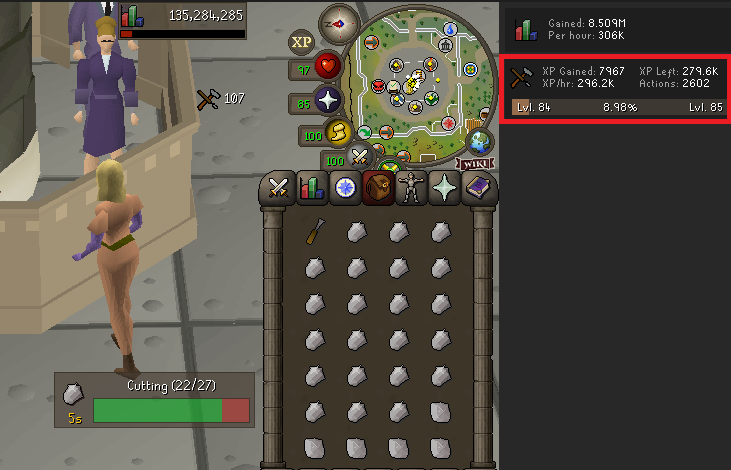
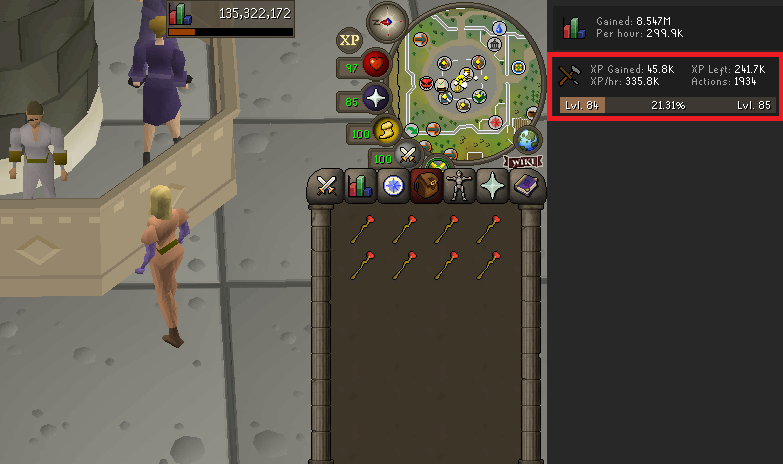
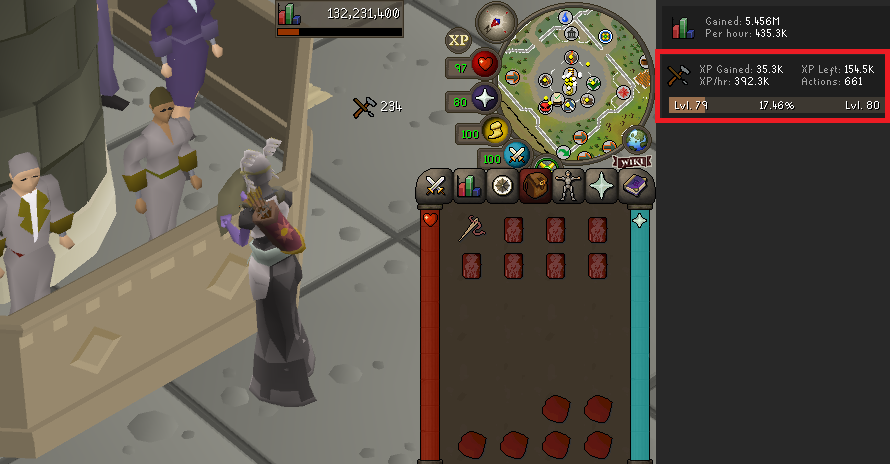
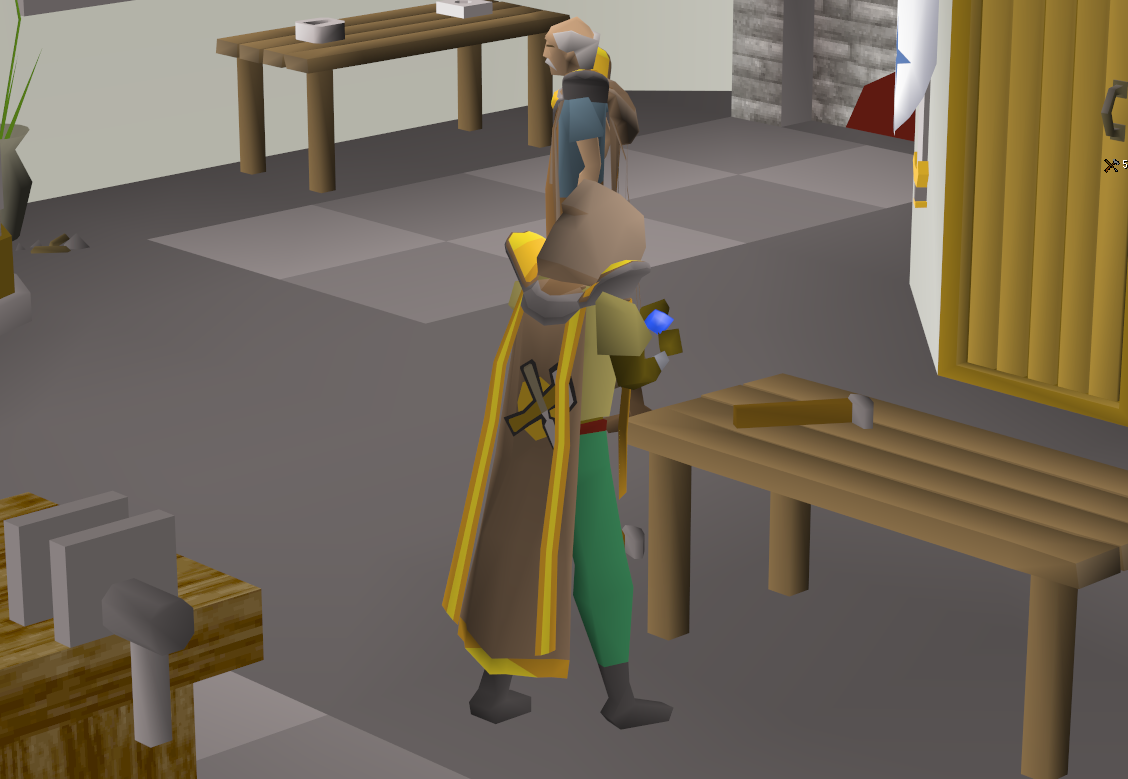
Crafting has silently become one of the most valuable skills to develop in the game. It was once an expensive and tedious grind that players avoided. Still, now it is affordable at lower levels, quick at higher levels, and many methods even generate profit as you progress to 99. It's quite a simple skill to train, and it is also fast, reaching XP rates of up to 480K /hr. Sometimes, training crafting can cost you much more GP than you thought, depending on the method, though.
In this guide, I’ll tell you about methods that give the fastest XP, the cheapest routes, and the most profitable ones- real numbers and realistic XP, not theoretical ones- throughout the whole guide.
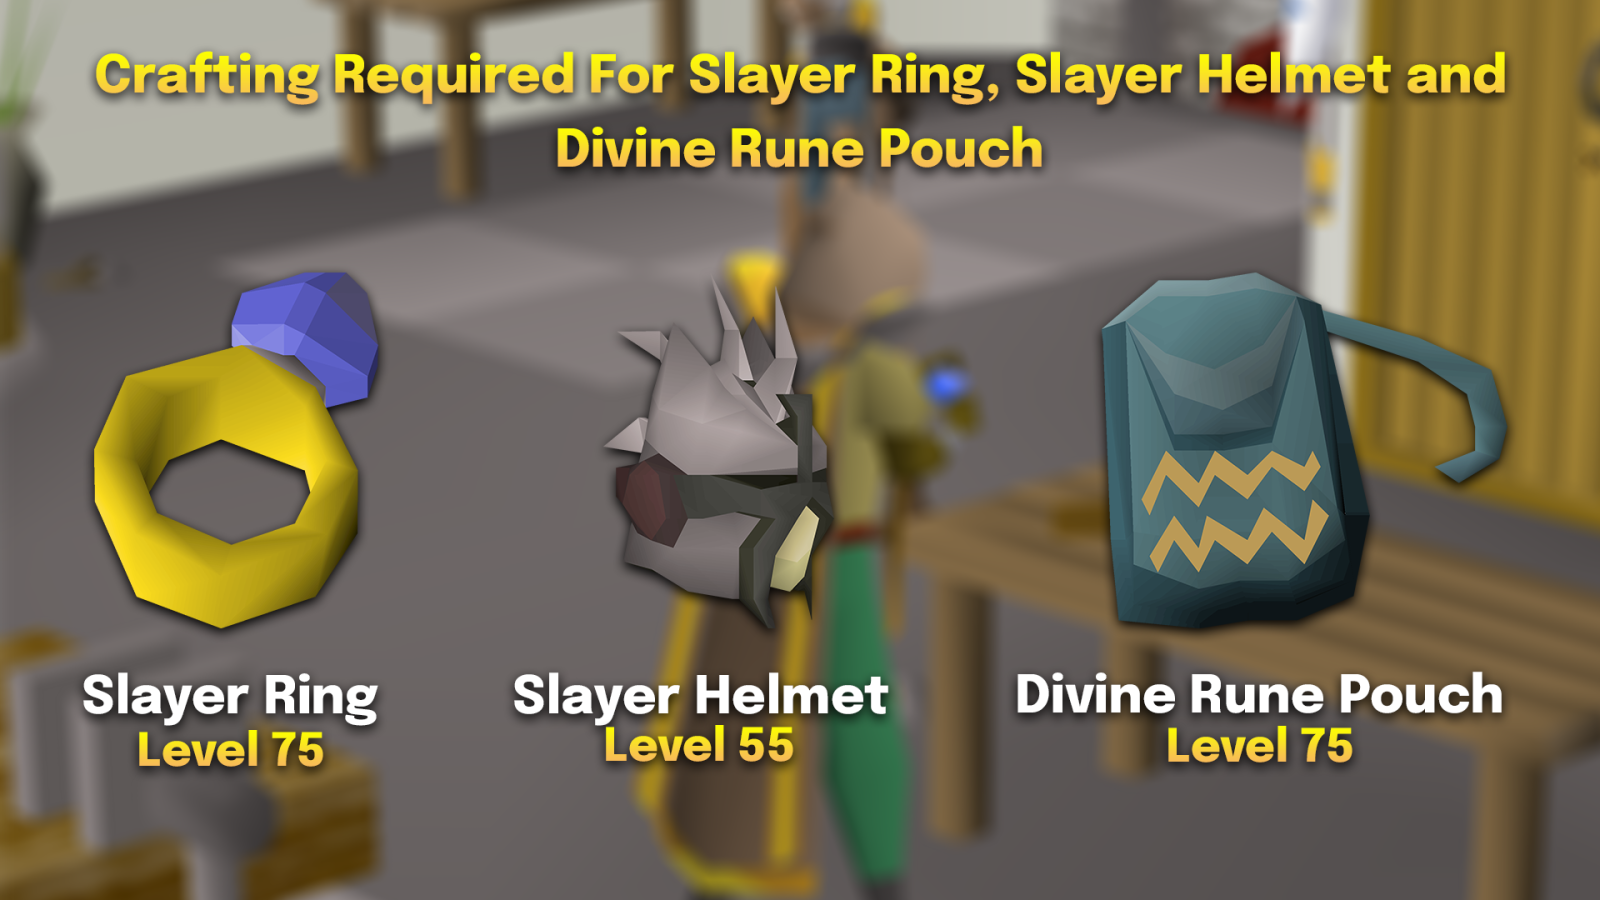
Crafting unlocks a surprising amount of gear and quality-of-life items, and a few of them are things you'll use for the rest of your account's life. But as for the Main account, it's not that much needed to train crafting, as for an Ironman account. The max crafting level you need in the Main account is 75 to make the Slayer Rings and Rune Pouch; the rest you can purchase from GE.
Slayer Helmet (55 Crafting): One of the most important items in the game for any combat account. You need 55 Crafting to assemble it.
Slayer Rings (75 Crafting): Handy teleports to Slayer masters and key locations.
Divine Rune Pouch (75 Crafting): Assembled from the reward in the Tombs of Amascut. A massive convenience item for any spellcaster.
Quest requirements: Sins of the Father and Dragon Slayer II both need Crafting. The Quest Cape requires 70 (for Monkey Madness II), and the Achievement Diary Cape needs 85 levels of crafting.
Crafting Cape: The Crafting Cape is one of the best capes in the game. It lets you teleport to the Crafting Guild (very near the bank) an unlimited number of times. So maxing out the crafting skill is a good quality-of-life upgrade.
General Efficiency Tips
Costume Needle: Obtainable from the Costumer backstage at Villa Lucens on Aldarin after completing the Death on the Isle quest. It’s a handy item that permanently replaces thread, allowing you to craft nine dragonhide bodies per inventory instead of eight, which helps increase your XP rates.
Mushroom Pie: It gives a +4 Crafting boost. You can use it to craft items you haven't quite unlocked yet for faster XP, and Ironman can use the same trick to make armour or jewellery four levels early.
Lock Inventory Slots: Lock the inventory slots of the items you need to craft, such as the Costume needle or Needle and thread.
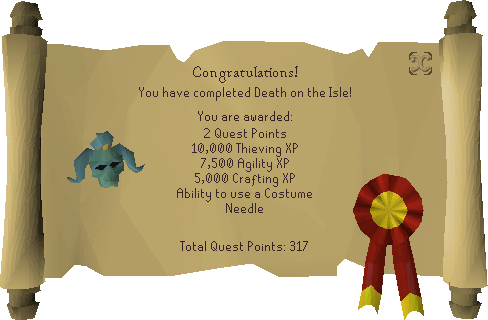
Completing the Death on Isle Quest: By completing this quest, we can gain double benefits: first, we’ll receive the Costume Needle, and second, we'll earn 5000 crafting XP, 7500 Agility XP, and 10000 Thieving XP. So, your Crafting level will go straight from 1 to 20. So don't skip this quest.
Requirement: 34 Thieving, 32 Agility, Children of the Sun
XP/hr: Quest XP
GP/XP: Free
Methods Overview
The following is the overview, including the cost of the items, of the different methods I’ll be discussing with you in this guide.
Important Note About Prices
DYOR (Do Your Own Research) before purchasing any items from GE. The Prices of the items may fluctuate due to market trends. The following prices are based on the GE at the time this guide was posted/updated.
I calculated the prices, net costs, and total costs for all the methods you’re going to read about now when I was writing this guide in July 2026. Therefore, the prices may now be out of date on the wiki.
NOTE: The total Cost for every Pathway to the 99 is the Net Cost (After Selling Items Back to the GE).
Absolute Fastest Route to 99
This is the fastest route to 99, maximising XP rates with each increase in level bracket. It will take around ~29 Hours to reach level 99 by following this route.
Level
Item
XP/hr
Time Taken
Quantity
Net Cost/Item
Total Cost
1-20
Death on the Isle
-
10-15 Minutes
-
-
-
20-27
Sapphire Gem
~135K
4 Minutes
106
12
1.2K
27-34
Emerald Gem
~185K
5 Minutes
156
147
23K
34-43
Ruby Gem
~235K
10 Minutes
355
398
140K
43-55
Diamond Gem
~300K
25 Minutes
1082
1044
1.1M
55-77
Dragonstone Gem
~380K
3.5 Hours
9520
4859
46M
77-84
Red d’hide Body
~395K
3.5 Hours
6307
2551
16M
84-99
Black d’hide Body
~480K
21 Hours
39082
5282
206M
Total
~269M
Budget-Friendly Route to 99
It is the overview of a budget-friendly route to 99, which costs around 110M. The cost is much lower than the Fastest route above, but it comes with an Additional 5 hours of training, bringing it to level 99 in ~35 Hours.
Level
Item
XP/hr
Time Taken
Quantity
Net Cost/item
Total Cost
1-20
Death On The Isle
-
10-15 Minutes
-
-
-
20-27
Sapphire Gem
~135K
4 Minutes
106
12
1.2K
27-34
Emerald Gem
~185K
5 Minutes
156
147
23K
34-43
Ruby Gem
~235K
10 Minutes
355
398
140K
43-62
Diamond Gem
~300K
1 Hour
2637
1044
2.7M
62-77
Fire Battlestaves
~330K
3.5 Hours
9135
792
7.2M
77-99
Red D’hide Body
~395K
30 Hours
49397
2025
100M
Total
~110.5M
Cheapest Route to 99
The following is an overview of the cheapest route to level 99 in Crafting, which costs nearly 20M. This is the cheapest method, and it will take around ~48 Hours to reach level 99 in Crafting.
Level
Item
XP/hr
Time Taken
Quantity
Net Cost/item
Total Cost
1-20
Death on the Isle
-
10-15 Minutes
-
-
-
20-27
Sapphire Gem
~135K
4 Minutes
106
12
1.2K
27-54
Emerald Gem
~185K
5 Minutes
2091
147
310K
54-58
Water Battlestaves
~245K
20 Minutes
736
134
100K
58-99
Earth Battlestaves
~275K
47 Hours
113867
170
19.5M
Total
~20M
Low Level Training (1-20)
You can reach level 20 either by completing the Death On The Isle Quest or by crafting the following leather items.
Level 1-20: Leather Items
Requirement: Level 1 of Crafting
XP/hr: 18K-45K
Cost:~35K
Crafting leather items is the starting point for Crafting. You can start making Leather Gloves at level 1 and Leather Bodies and Chaps at level 18. The cost is minimal, which is around 35K.
Level
Item
XP/hr
Quantity
Net Cost/item
Total Cost
1-7
Leather Gloves
~18K
48
169
8.1K
7-9
Leather Boots
~22K
19
131
2.5K
9-11
Leather Cowl
~26K
21
169
3.5K
11-14
Leather Vambraces
~30K
34
161
5.5K
14-18
Leather Body
~35K
57
155
8.8K
18-20
Leather Chaps
~40K
36
166
6K
Total
~35K
Comparison Between Quest and Leather Items
Crafting leather items from level 1 to 20 takes about 15-20 minutes. I would highly recommend completing the Death on the Isle Quest, as it will also reward you with the Costume Needle, a must-have for crafting Dragonhide Bodies at higher levels to increase XP rates.
Fastest Pathway to 99
Crafting is a skill in which item costs can fluctuate instantly. The following is the detailed route for the fastest method to reach level 99 from level 20. Always DYOR before purchasing any items in bulk. The following is an overview of this route; the item prices and the cost to level 99 are based on the date this guide was posted/updated. So, costs can go up or down depending on future market trends.
This method will cost you around 270M and guarantees the fastest XP rates in the game.
Level
Item
XP/hr
GP/XP
Time Taken
Quantity
Net Cost/Item
Total Cost
1-20
Death on the Isle
-
-
10-15 Min.
-
-
-
20-27
Sapphire Gem
~135K
0.24
4 Minutes
106
12
1.2K
27-34
Emerald Gem
~185K
2.18
5 Minutes
156
147
23K
34-43
Ruby Gem
~235K
4.68
10 Minutes
355
398
140K
43-55
Diamond Gem
~300K
9.7
25 Minutes
1082
1044
1.1M
55-77
Dragonstone Gem
~380K
35
3.5 Hours
9520
4859
46M
77-84
Red d’hide Body
~395K
11
3.5 Hours
6307
2551
16M
84-99
Black d’hide Body
~480K
20.5
23 Hours
39082
5282
206M
Total
~269M
Level 20-27: Sapphire Gems
Requirement: Level 20 Crafting
XP/hr: ~135K
GP/XP: 0.24
Quantity: 106
Total Cost Till Next: 1.2K
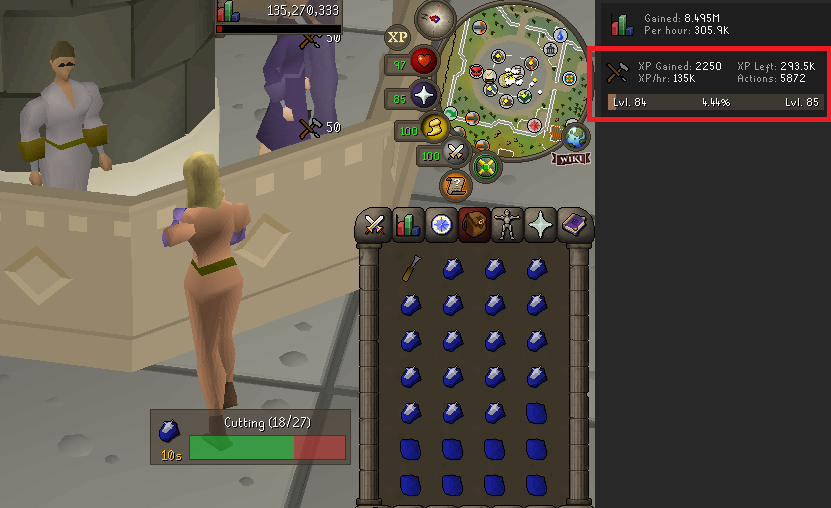
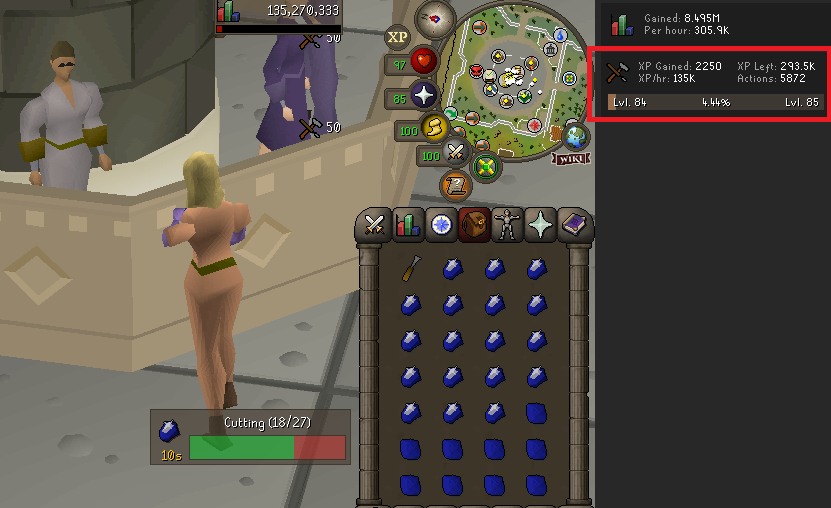
Cut uncut sapphires using a chisel, which you can buy in bulk from the Grand Exchange. Each sapphire gives 50 XP, and the entire stretch from 20 to 27 only takes around 4 minutes with 106 gems. The cost is negligible at just 1.2K total. Stack your inventory, click the chisel on a gem, and select "Make All" to run through them fast.
Level 27-34: Emerald Gems
Requirement:Level 27 Crafting
XP/hr: ~185K
GP/XP: 2.18
Quantity: 156
Total Cost Till Next:23K
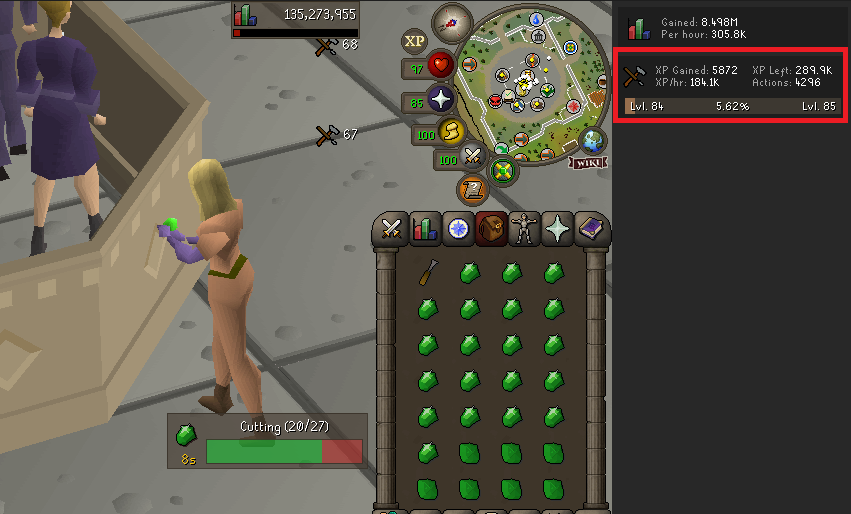
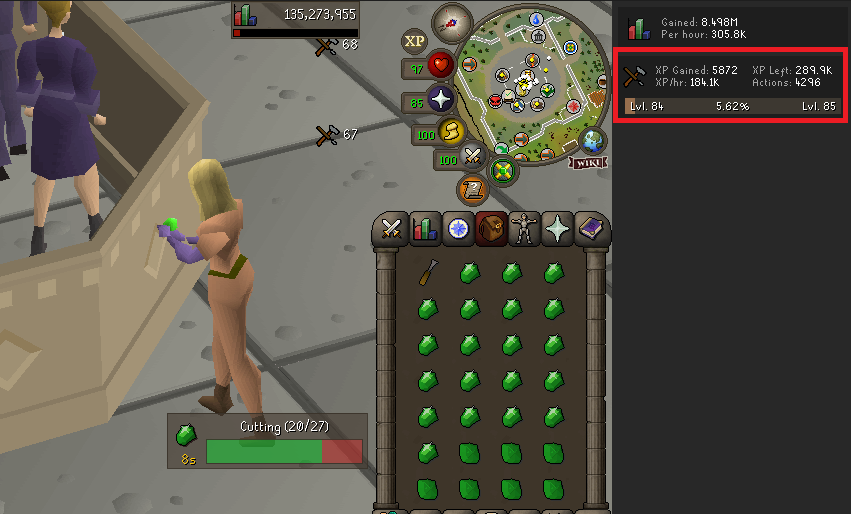
Emeralds unlock at 27 and immediately increase your XP rate to around 185K per hour, up from 135 K. Each cut gives 67.5 XP, and the process is identical to sapphires: chisel on an uncut emerald, Make All, repeat. You only need 156 gems to clear this bracket in roughly 5 minutes, and at a total cost of just 23K, it remains very affordable.
Level 34-43: Ruby Gems
Requirement: Level 34 Crafting
XP/hr: ~235K
GP/XP: 4.68
Quantity:355
Total Cost Till Next: 140K
Rubies step the cost up a little, but keep the speed strong at 235K XP/hr. Each ruby gives 85 XP, and you need 355 to push through to 43. You only need around 10 minutes to reach level 43. At a total cost of 140 K, it stays well within the budget range, using the same method as before.
Level 43-55: Diamond Gems
Requirement:Level 43 Crafting
XP/hr: ~300K
GP/XP: 9.7
Quantity:1,082
Total Cost Till Next:1.1M
Diamonds are where the cost starts to climb noticeably, and so does the XP rate, which hits 300K per hour. Each diamond gives 107.5 XP, and you need just over 1,000 to clear this 12-level stretch in about 25 minutes. The total cost of 1.1 M is still reasonable given the speed. Buy uncut diamonds in bulk from the GE, chisel through them with Make All, and you'll be at 55 before long.
Level 55-77: Dragonstone Gems
Requirement: Level 55 Crafting
XP/hr: ~380K
GP/XP:35
Quantity:9,520
Total Cost Till Next: 46M
Dragonstones are the fastest gem-cutting XP source in the game, at 380K per hour, with each giving 137.5 XP. The tradeoff is a steep GP/XP of 35, and 9,520 gems to reach 77, which adds up to around 46M. This is by far the most expensive gem tier, so if budget is a concern, sticking with diamonds or moving to red d'hide bodies at 77 is a smarter play. If cost isn't the issue, Dragonstone is simply the fastest route through this bracket.
Level 77-84: Red D'hide Bodies
Requirement: Level 77 Crafting
XP/hr: ~395K
GP/XP: 11
Quantity: 6,307
Total Cost Till Next:16M
At level 77, Red d'hide Bodies overtake dragonstone cutting for both XP and cost efficiency. Each body requires 3 pieces of Red Dragon Leather and yields 234 XP, pushing rates up to 395K XP/hr at a much lower GP/XP of 11. You need 6307 (6307*3 Red Dragon Leather) bodies over a 3.5-hour session, costing around 16M total, a significant improvement over dragonstones for this stretch.
To reach an XP rate of around 395K, you must have the Costume Needle after completing the Death on the Isle quest. This will allow you to make 9 Bodies per inventory instead of 8, increasing your XP rates.
Level 84-99: Black D'hide Bodies
Requirement:Level 84 Crafting
XP/hr: ~480k
GP/XP: 20.5
Quantity:39,082
Total Cost Till Next: 206M
Black d'hide bodies are the fastest Crafting XP in the game outside of Hueycoatl armour, hitting 480k XP/hr with 258 XP per body. The catch is the scale: 39,082 bodies over 23 hours, with a total cost of around 206M. This is where the bulk of the overall 269M cost sits. Each body needs 3x Black Dragon Leather, crafted the same way as red.
Remarks For the Fastest Pathway
In my opinion, spending 270M for 99 crafting on a Main account is not worth it. You don’t need to craft a Zenyte Amulet to make an Amulet of torture; you can just buy it straight from the GE. But if you still want to 99 in crafting, you can follow the pathways below, i.e. the Budget-friendly route and the cheapest route.
Budget-Friendly Route to 99
If you ask me, this is the route I'd recommend to most players. I don't think spending over 270M GP on Crafting is worth it just to save a few hours. By following this budget-friendly path, you'll spend roughly 110M GP, saving around 160M GP that can be put towards better gear upgrades, PvM supplies, or other skills. The XP rates remain excellent throughout the grind, and the extra time required is relatively small compared with the massive amount of GP you'll keep. Unless you're chasing 99 as fast as possible or have virtually unlimited money, I believe this route offers the best balance of cost and efficiency.
From level 1 to level 43, follow the pathway outlined in the Fastest Pathway to 99 Section above. It is the same for this Budget-Friendly route, too. The change in numbers, quantities, and methods will start with Diamond gems.
Level 43-62: Diamond Gems
Requirement:Level 43 Crafting
XP/hr:~300K
GP/XP: 0.51
Quantity: 2637
Total Cost Till Next: 2.7M
Diamond Gems are where Crafting really starts to speed up. I recommend sticking with them until level 62 because the XP rates are excellent and you'll unlock battlestaves afterwards. Although the overall cost is much higher than with previous gems, I think the time saved easily makes up for it. If you're aiming for efficient progression, this is definitely the right choice.
Level 62-77: Fire Battlestaves
Requirement:Level 62 Crafting
XP/hr: ~330K
GP/XP: 0.27
Quantity:9135
Total Cost Till Next: 7.2M
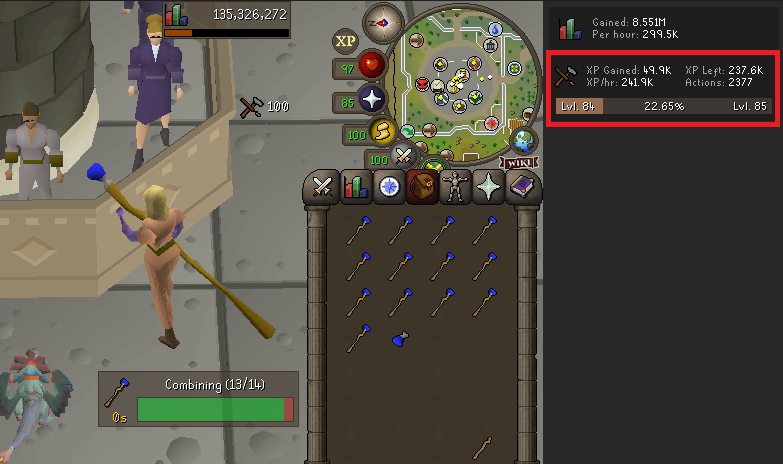
I switch to Fire Battlestaves as soon as I reach level 62 because they're one of my favourite mid-level Crafting methods. They offer a fast experience at a much lower cost than cutting Dragonstones. If you don't mind spending a few million GP, you'll level incredibly quickly here. I usually stick with this method until level 77, then move on to the fastest option.
Level 77-99: Red D'hide Bodies
Requirement:Level 77 Crafting
XP/hr:~395K
GP/XP: 0.64
Quantity: 49397
Total Cost Till Next:100M
If my main goal is reaching level 99 as quickly as possible, I always choose Red D'hide Bodies. Yes, they're expensive, but nothing else comes close to the experience rates. I only recommend this method if you already have a healthy GP stack and value your time more than your money. You'll finish the Crafting grind much sooner than with any budget alternative.
Remarks for the Budget-Friendly Pathway
If I were training Crafting on my main account, I'd always go with this route. Spending over 270M GP just to save a few hours doesn't seem worth it to me, especially since this method still provides great XP rates. You'll hit level 99 in about 35 hours and spend around 110MGP, leaving you with an extra 160M GP for gear upgrades, bossing supplies, or other skills. I think this is the perfect balance between speed and cost, making it the best choice for most players.
Cheapest Pathway to 99
If you're working with a limited budget, I suggest this route. Although it takes a bit longer than the other options, you'll only need about 20M GP to reach level 99. I believe saving around 90M GP compared to the budget route, or over 250M GP compared to the fastest methods, makes the extra training worthwhile. I'd prefer to spend a few more hours training rather than drain my bank for just a slightly faster XP gain. This route is great for newer or casual players, or anyone who wants a 99 cape without risking their entire cash stash.
Level 1-20: Death on the Isle
Requirement:34 Thieving, 32 Agility, Children of the Sun
XP/hr: Quest XP
GP/XP: Free
Total Cost Till Next: Free
I still recommend starting with Death on the Isle, even if you're trying to spend as little GP as possible. It's completely free and skips the slowest part of Crafting training. In my opinion, every player should complete this quest before buying any training supplies, as it's one of the easiest ways to save time and money.
Level 20-27: Sapphire Gems
Requirement:Level 20 Crafting
XP/hr: ~135K
GP/XP: 0.24
Quantity:106
Total Cost Till Next: 1.2K
I stick with Sapphire Gems here because they cost almost nothing and get the job done quickly. There's no need to overcomplicate these early levels when you'll only be here for a few minutes. I usually buy everything I need in one trip to the Grand Exchange and finish this stage without spending more than a tiny amount of GP.
Level 27-54: Emerald Gems
Requirement:Level 27 Crafting
XP/hr:~185K
GP/XP: 0.25
Quantity: 2091
Total Cost Till Next:310K
Instead of moving through several gem types, I stay with Emerald Gems until level 54 to keep my overall costs low. While the experience isn't as fast as rubies or diamonds, the amount of GP you save is well worth it. I recommend this method to anyone who wants an affordable path to 99 without sacrificing too much GP.
Level 54-58: Water Battlestaves
Requirement:Level 54 Crafting
XP/hr:~245K
GP/XP: 0.14
Quantity: 736
Total Cost Till Next: 100K
I like using Water Battlestaves because they're one of the cheapest battlestaff methods available. The experience rates are solid, and the supplies don't cost much at all. Since you only need a few levels to unlock Earth Battlestaves, this stage ends fairly quickly. It's a great way to keep your training costs under control. You can also make some GP with this method if the market is stable.
Level 58-99: Earth Battlestaves
Requirement:Level 58 Crafting
XP/hr: ~275K
GP/XP: 0.07
Quantity: 113867
Total Cost Till Next:19.5M
If you're trying to get 99 Crafting without spending a fortune, this is the method I'd recommend. Earth Battlestaves are slower than fire battlestaves or Red d’hide Bodies, but they're incredibly cost-effective over the long run. I don't mind spending a few extra hours here because the GP savings are massive. In my experience, this is the best route for players who want to train efficiently while protecting their bank.
Remarks for the Cheapest Pathway
If saving GP is your top goal, I totally understand! I’d happily suggest this path. It takes about 49hours to reach level 99, but you'll spend only about 20M GP in total. Compared to the budget-friendly route, you save roughly 90M GP, and compared to the fastest methods, you'll still have over 250MGP left in your bank. Spending an extra 14 hours training sounds much better than losing that much money, doesn’t it? This route is perfect for newer players, Ironmen with the right supplies, or anyone who prefers to grow their bank rather than deplete it.
AFK Crafting Methods
Unlike skills such as Fishing, Woodcutting, or Mining, Crafting isn't truly an AFK skill. Even the most relaxed methods only give you around 25–50 seconds before you need to bank or start another inventory. That said, these methods offer some of the longest breaks you'll find in Crafting, making them ideal if you prefer lower click intensity over maximum XP rates.
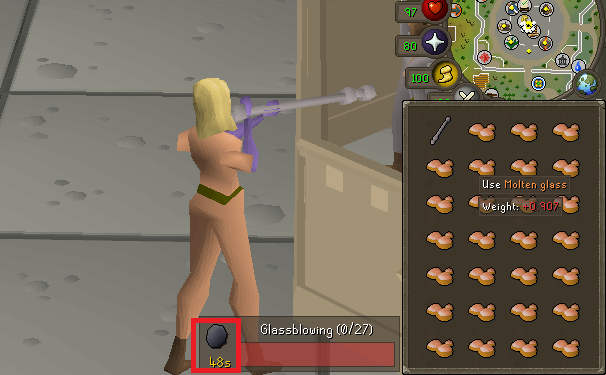
If I want the most relaxed Crafting experience possible, Molten Glass is usually my first choice. I wouldn't call it truly AFK, but getting close to 48 seconds between inventories is about as good as it gets for this skill. Those short breaks are enough to reply to a message, grab a drink, or briefly look away from the game without hurting my XP too much. If your goal is to reduce clicks rather than maximise the experience, I think this is one of the best options available.
Cutting Gems or Amethyst
Requirement: Depends on the gem or amethyst being cut
XP/hr: Up to 440K/hr (Cutting Dragonstones)
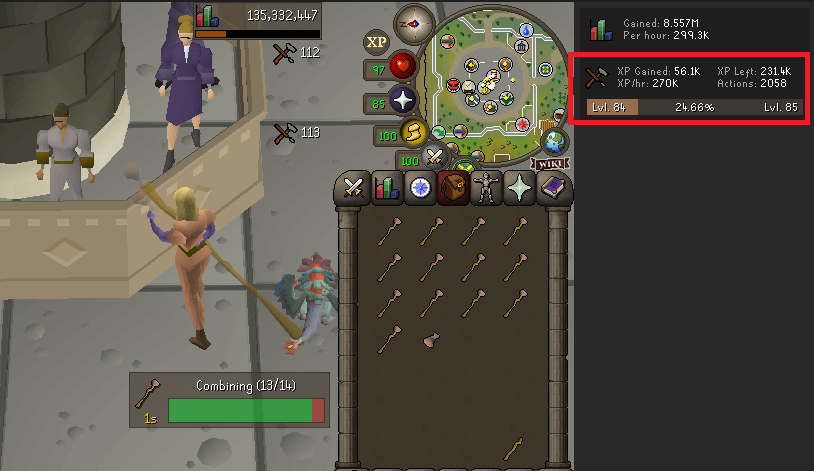
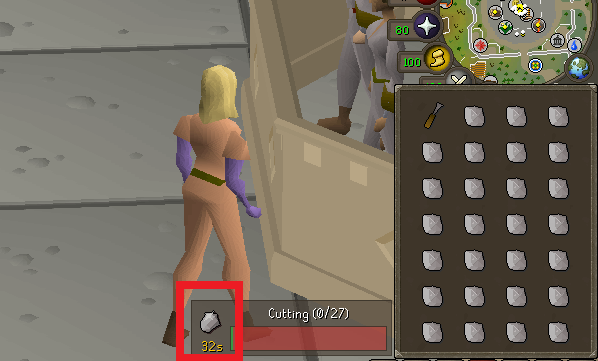
AFK Time: ~32 Seconds
I often recommend cutting gems or amethyst to players who want a more laid-back training method. Around 32 seconds between inventories isn't enough to call it real AFK, but it does make the grind feel much less demanding than constantly banking every few seconds. I've used this method during long sessions because the rhythm is simple and repetitive, making it easy to stay focused while still getting respectable Crafting experience.
Crafting Drift Nets
Requirement:Level 26 Crafting
XP/hr:Varies depending on production speed
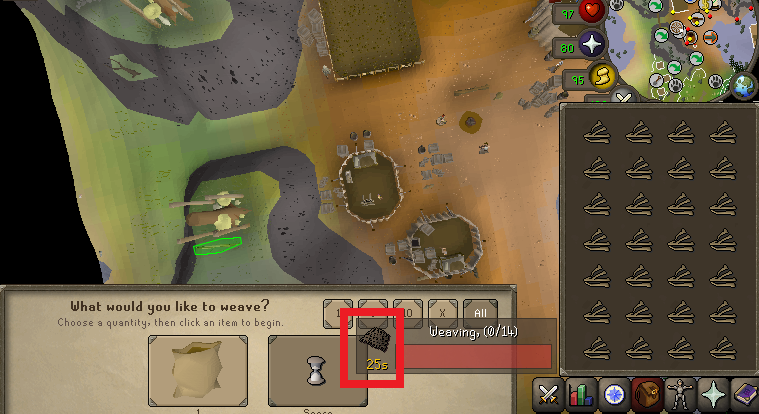
AFK Time: ~26 Seconds
Crafting Drift Nets is another low-intensity option I occasionally use when I want a break from faster methods and to make some GP. The 26-second downtime isn't true AFK by OSRS standards, but within the Crafting skill, it's among the longest you'll get. I wouldn't choose it purely for XP efficiency, but if I'm in the mood for a slower, more relaxed session where I don't have to click constantly, it's a perfectly reasonable alternative.
AFK Comparison
Here's how the main AFK methods in crafting compare so you can match a method to how much attention you want to give:
Method
AFK Interval
Notes
Glassblowing
~48 seconds
Most AFK overall, cheap
Cutting gems/amethyst
~32 seconds
Best AFK-to-XP balance (can be expensive)
Drift nets
~26 seconds
Profitable, semi-AFK
For the best balance of AFK time and XP per hour, cutting gems like rubies or emeralds is the sweet spot, where you get strong XP without having to click every few seconds.
Money-making methods with crafting
While most players train Crafting as quickly as possible, I've always liked methods that let me earn GP while gaining experience. The XP rates are usually lower than expensive training methods, but the fact that you're making money instead of spending it makes the grind feel much more rewarding. If you're looking to level up Crafting without draining your bank, the following methods are among the best I've personally tested.
Method
Profit/hr
Crafting Level
Material 1
Material 2
Material 3
Requirements
Location
Topaz Rings
~1.82M GP/hr
16
Red Topaz
Silver Bar
Ring Mould
None
Edgeville Furnace
Opal Rings
~628K GP/hr
1
Opal
Silver Bar
Ring Mould
None
Edgeville Furnace
Opal Necklaces
~610K GP/hr
16
Opal
Silver Bar
Necklace Mould
None
Edgeville Furnace
Jade Necklaces
~480K GP/hr
25
Jade
Silver Bar
Necklace Mould
None
Edgeville Furnace
Drift Nets
~330K GP/hr
26
Jute Fibre
-None
-None
Access to Fossil Island
Museum Camp Loom, Fossil Island
Making Silver Jewellery
Silver jewellery is one of my favourite low-level money-making methods because the requirements are minimal and the process is incredibly simple. All you need is a furnace, a jewellery mould, silver bars, and the appropriate gem. Since the furnace in Edgeville is right next to both the bank and a Grand Exchange teleport, I found it the most convenient place for crafting large quantities of jewellery.
Although the XP rates aren't amazing, the profit margins can be surprisingly strong.
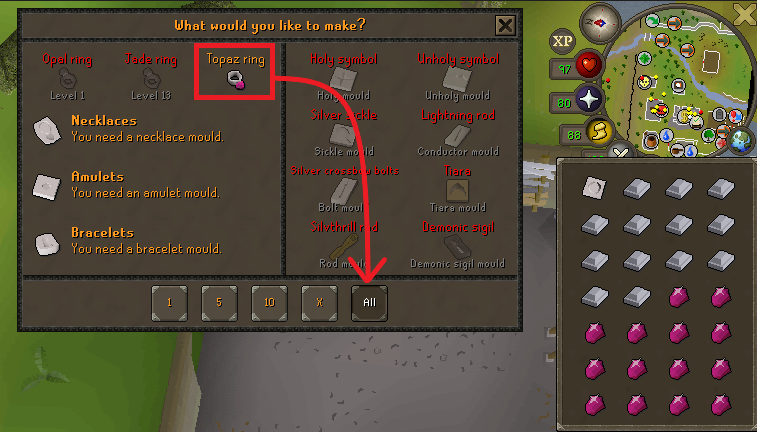
Topaz Rings
Requirement: Level 16 Crafting
Items Required:
Red Topaz
Silver Bar
Ring Mould
I crafted Topaz Rings in Edgeville, which offers one of the shortest bank-to-furnace routes in the game. Each inventory consists of 13 Red Topaz and 13 Silver Bars. While the actual crafting animation takes around 23 seconds, I'd estimate about 28 seconds per inventory cycle, including banking and movement.
Note: Check the volume of the Topaz Rings before selling them at GE, or you could lose some GP or crash the Topaz Rings prices on GE.
Profit Calculation
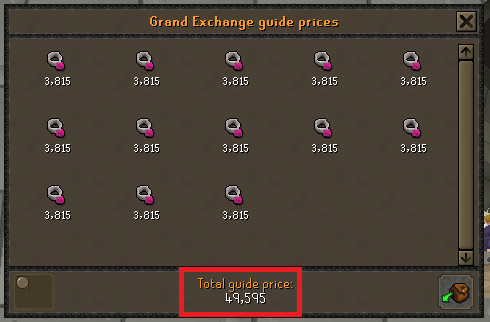
Red Topaz Cost = 2,258 GP
Silver Bar Cost = 103 GP
Total Cost Per Ring = 2,361 GP
Topaz Ring Sale Price = 3,517 GP
After 2% GE Tax = 3,447 GP
Profit Per Ring: 3,447 - 2,361 = 1,086 GP
Profit Per Hour Calculation
13 Rings × 1,086 GP = 14,118 GP per inventory
3,600 ÷ 28 = 128.57 inventories/hr
128.57 × 14,118 = 1.82M GP/hr
Estimated Profit:~1.82M GP/hr
In my experience, Topaz Rings are among the strongest low-level Crafting moneymakers currently available.
Opal Rings
Requirement: Level 1 Crafting
Items Required:
Opal
Silver Bar
Ring Mould
If you're just starting Crafting, Opal Rings are a fantastic introduction to profitable jewellery crafting. The requirements couldn't be lower, and the materials are usually inexpensive enough to buy in bulk.
Profit Calculation
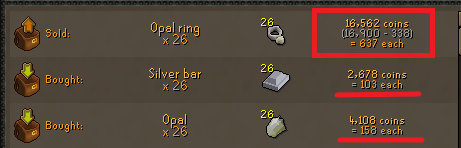
Opal Cost = 158 GP
Silver Bar Cost = 103 GP
Total Cost Per Ring = 261 GP
26 Opal Rings Sold for 16,900 GP
After 2% GE Tax = 16,562 GP
Material Cost = 6,786 GP
Profit = 9,776 GP
Profit Per Hour Calculation
Profit Per Inventory = 4,888 GP
128.57 inventories/hr × 4,888 GP = 628K GP/hr
Estimated Profit:~628K GP/hr
I wouldn't expect to become rich crafting Opal Rings, but they're an excellent option for brand-new accounts. The level requirement is practically nonexistent, and earning over half a million GP per hour while training Crafting is hard to complain about.
Opal Necklaces
Requirement: Level 16 Crafting
Estimated Profit:~610K GP/hr
If I had to choose between the various Opal jewellery options, I'd definitely keep Opal Necklaces on my list. They require very little effort to craft and consistently provide solid profit margins. While they don't quite match Topaz Rings, they remain a reliable way to make money while training Crafting, especially for lower-level accounts.
Jade Necklaces
Requirement:Level 25 Crafting
Estimated Profit: ~480K GP/hr
Jade Necklaces are another easy jewellery crafting method that balances low requirements with respectable profits. I generally view them as a steady and dependable option rather than a high-end money maker. If market prices are favourable, they're worth checking alongside Opal jewellery to see which offers the better margin at the time.
Drift Nets in Museum Camp
Requirement: Level 26 Crafting
Additional Requirement: Access to Fossil Island
Recommended Teleports:
Digsite Pendant
Digsite Teleport
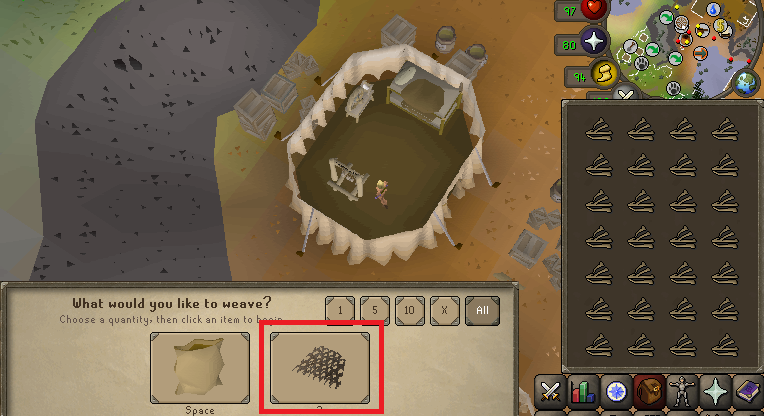
Drift Nets are among the more unique and profitable Crafting methods because they don't require a furnace at all. Instead, you'll use a loom in the Museum Camp on Fossil Island. The loom is conveniently positioned near a bank chest in the entire game, making banking quick and efficient.
The crafting process is straightforward: use Jute Fibres on the loom to create Drift Nets. Although the crafting itself is fast (25 seconds/inventory), I'd estimate roughly 30 seconds per inventory when banking and moving between the loom and bank chest are included.
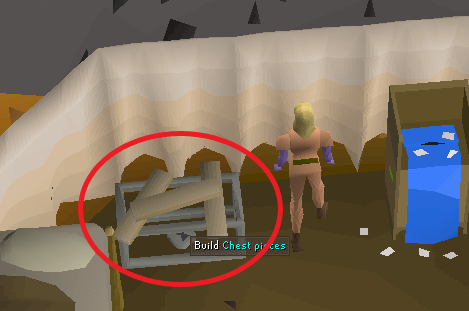
Before starting Drift Nets in Museum Camp, you need to construct a Bank Chest and a Loom there.
Profit Calculation
60 Jute Fibres
60 × 688 GP = 41,280 GP
30 Drift Nets Sold = 46,770 GP
Profit: 46,770 - 41,280 = 5,490 GP
Profit Per Hour
Profit Per Inventory = 2,745 GP
120 inventories/hr × 2,745 GP = 330K GP/hr
Estimated Profit:~330K GP/hr
I wouldn't rank Drift Nets among the highest-profit Crafting methods, but they're incredibly easy to do and require very little attention. If you're already on Fossil Island or prefer a more relaxed crafting activity, they're a solid alternative to traditional jewellery crafting.
Zenyte Jewellery
If you've reached the high Crafting levels needed for Zenyte jewellery, I'd definitely recommend checking the current profit margins before training. In my experience, these items can generate some of the highest profits in the entire skill, but they also require a significant upfront investment due to the cost of Zenyte gems. The crafting process itself is quick, so most of your time is spent banking rather than actually making the jewellery. Also keep an eye on Grand Exchange prices before buying supplies, as the margins can change throughout the day.
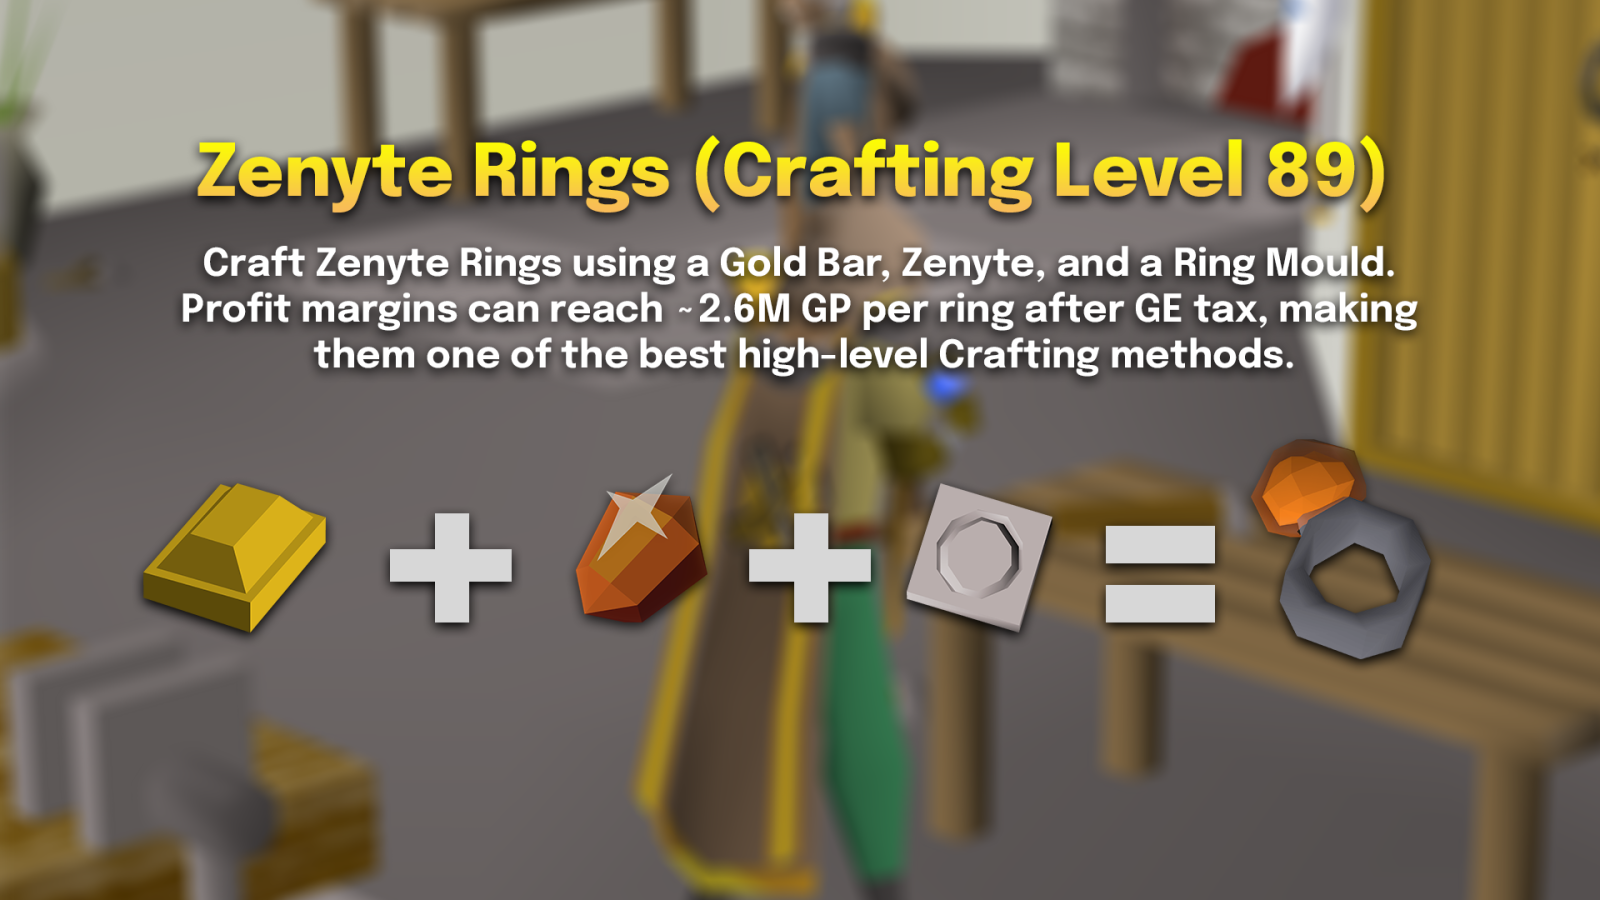
Zenyte Rings (Level 89)
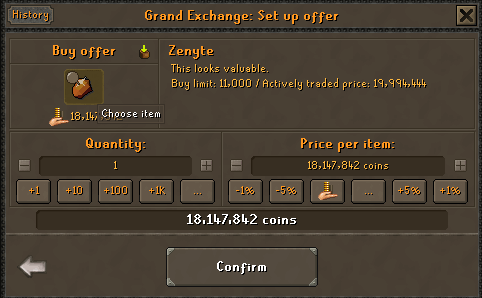
If I have level 89 Crafting and a decent cash stack, Zenyte Rings are always one of the first items I check. They only require a gold bar, a Zenyte gem, and a ring mould, making the crafting process incredibly simple. You can make around 2.6M GP profit per ring after Grand Exchange tax, which is an outstanding margin for such little effort. The biggest drawback is the high upfront investment, so I'd recommend checking the latest GE prices before buying your supplies.
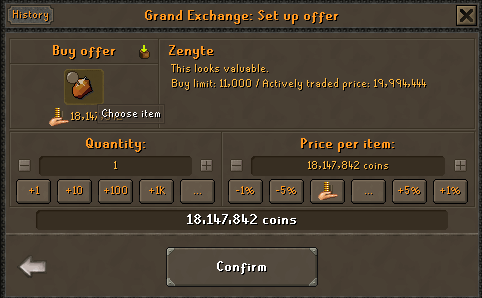
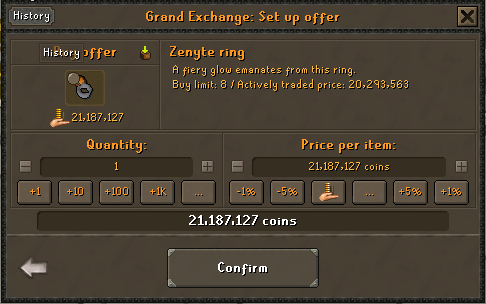
You can see the price of Zenyte in the following screenshot that I attached.
At level 89 of crafting, you can purchase a Zenyte, combine it with a Gold bar and a Ring mould, and sell the resulting ring on GE for a profit of 2.6M per ring.
However, these prices can vary depending on market trends in GE. Always DYOR before buying Zenyte in bulk if you’re thinking of making a good amount of GP; otherwise, things can go south too.
Zenyte Amulets (Level 92)
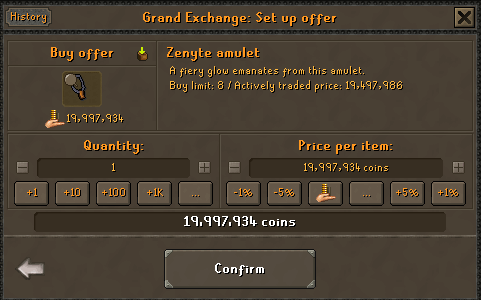
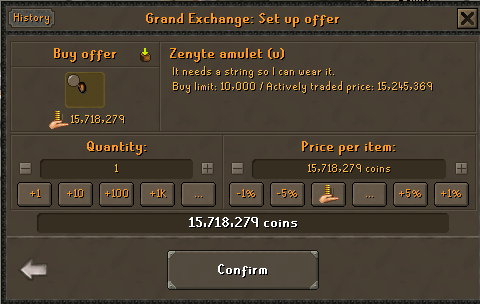
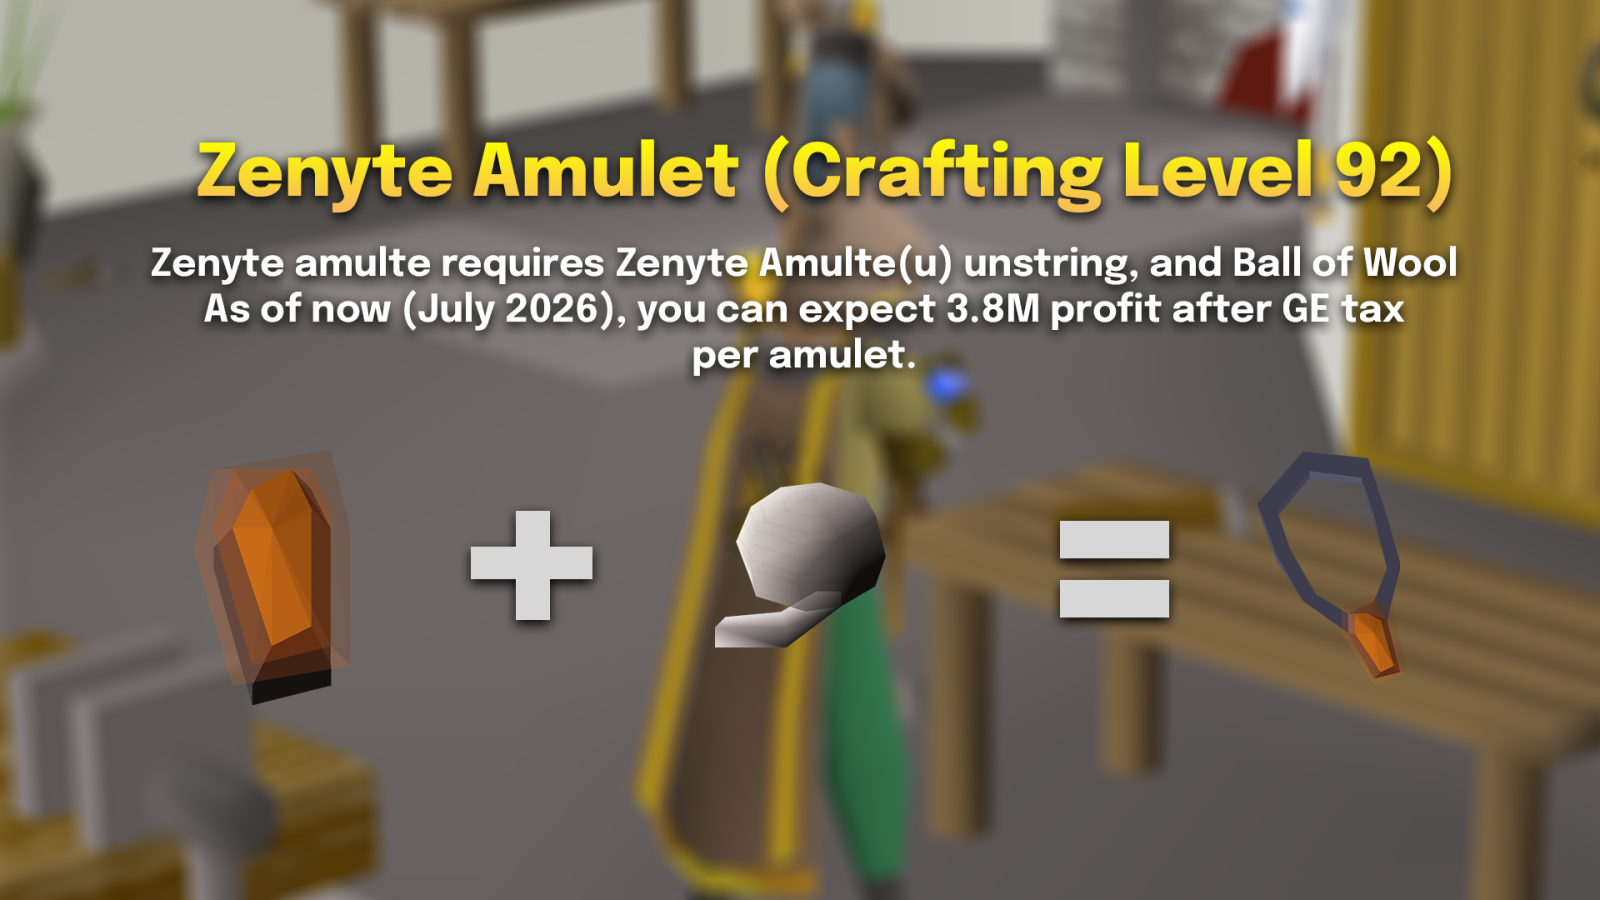
Once you reach level 92 Crafting, Zenyte Amulets become another excellent money-making option. You can still make roughly 3.8M GP profit per amulet after tax. Keep an eye on these because market prices fluctuate regularly, and there are times when amulets offer the best margins. Before crafting a large batch, I'd recommend always buying enough materials for a few inventories first to make sure the profit is still there.
The following is the current price of the Zenyte Amulet as of July 2026, when I’m writing this guide.
The following is the price of the Zenyte Amulet (u), which we need to craft along with a ball of wool.
You can expect a 3.8M profit/amulet at the 92 crafting level.
Zenyte Bracelets (Level 95)
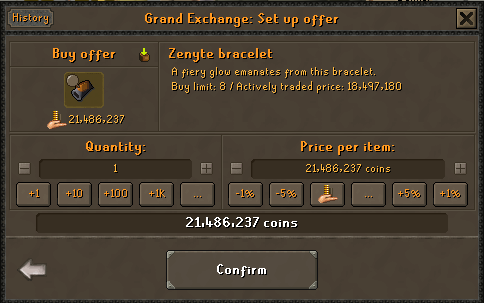
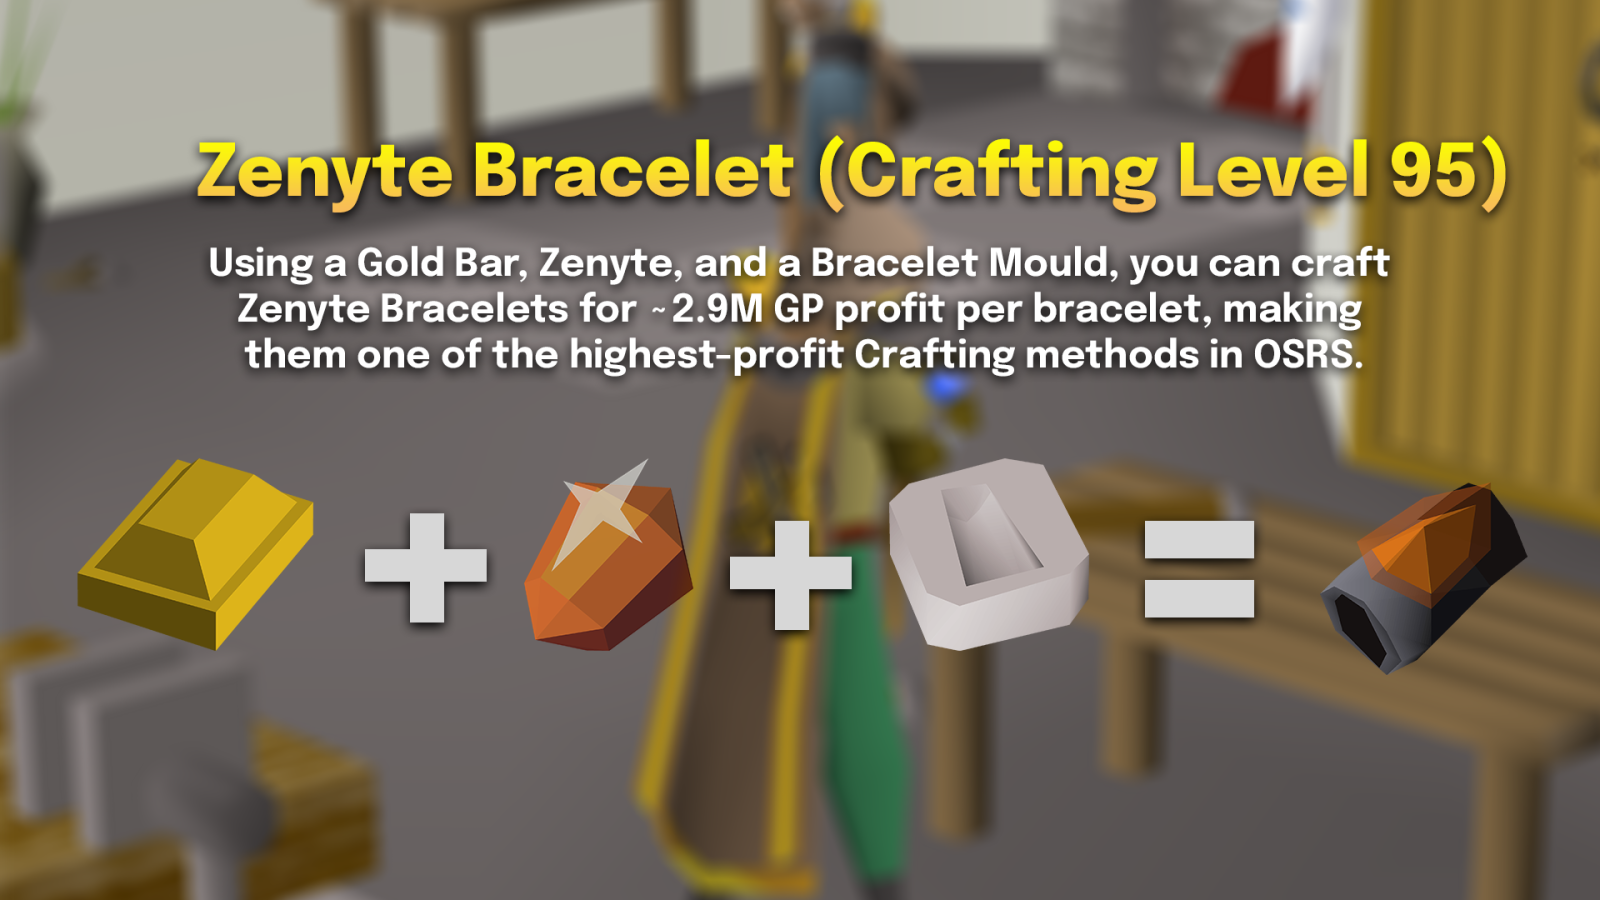
Of all the Zenyte jewellery, Zenyte Bracelets generated the highest profit. You can make approximately 2.9M GP per bracelet after Grand Exchange tax. Since each bracelet requires an expensive Zenyte gem, you'll need substantial starting capital. Even so, if you can afford the investment, I think this is one of the most profitable Crafting methods currently available in OSRS.
The following is the current price of the Zenyte bracelet as of July 2026, when I’m writing this guide. You can also make around 2.9M making zenyte bracelets at level 95 of crafting.
You can make a good amount of GP by making Zenyte Jewellery, but again, always check item prices on GE or the GE tracker before buying in bulk.
Other Methods (Expensive but Fast)
Hueycoatl Hide Bodies (Level 78-99)
Requirement:Level 78 Crafting
XP/hr:~500k
GP/XP: ~150
Quantity: 40,018
Total Cost Till 99: ~1.72B GP (~43K GP per body)
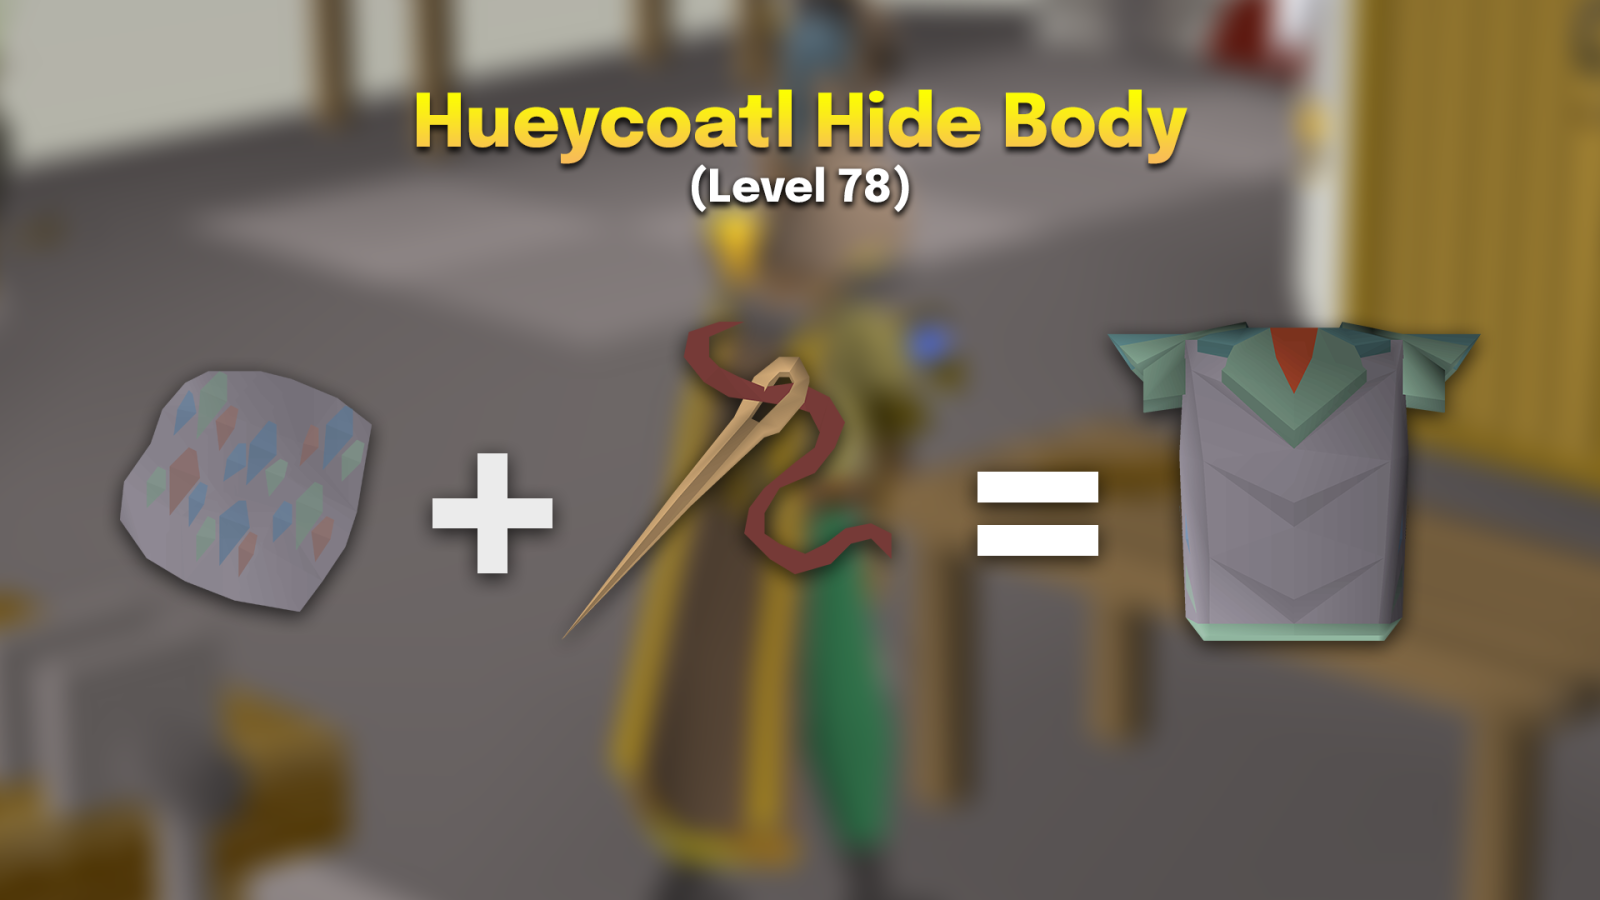
Hueycoatl Hide Bodies are currently the fastest practical crafting method in OSRS, yielding around 500,000 XP/hr. Compared with Black D'hide Bodies, which yield roughly 480k XP/hr, you're gaining only an additional 20,000 XP/hr, but at a much higher GP cost.
The training costs about 1.72B GP. Each Hueycoatl Hide costs ~1.3M GP, so around 40,018 hides are required to reach level 99. You'll cycle through over 52 billion GP worth of hides, needing a huge cash stack to buy and resell them constantly.
Crystal Armour (Level 74-99)
Requirement: Level 74 Crafting & Smithing, Song of the Elves
XP/hr: ~9.5M Crafting & ~9.5M Smithing (combined)
Crafting XP:7500 per body
Smithing XP: 7500 per body
Crystal Shards Required: ~238763
Materials:3× Crystal Armour Seeds, 150× Crystal Shards per Armour
Cost to reach 99: ~5.3B
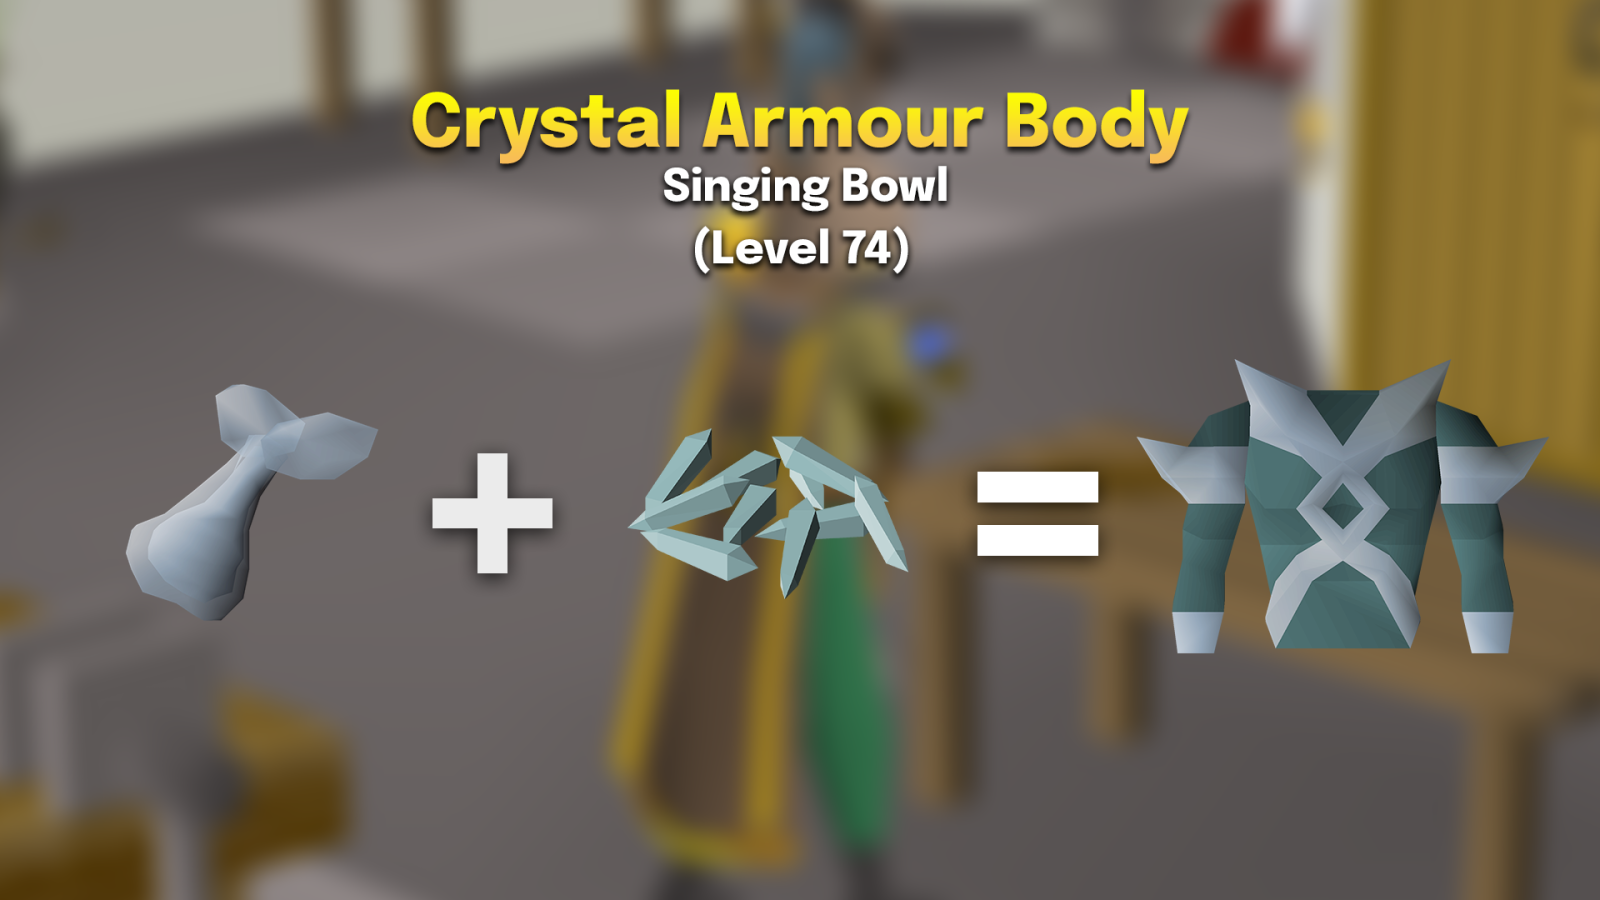
Crystal Armour is one of the most distinctive training methods in OSRS because it trains Crafting and Smithing simultaneously. Crafting a Crystal Body grants 7,500 Crafting XP and 7,500 Smithing XP, and you can revert it to the three Crystal Armour Seeds at the Singing Bowl, allowing you to repeat the process without buying new seeds each time.
The most efficient setup is to keep 27 Crystal Armour Seeds in your inventory, with Crystal Shards in the final inventory slot. Simply craft the bodies, then revert them to seeds at the Singing Bowl, and repeat the cycle for extremely fast experience in both skills.
To reach 99 Crafting from level 74, you'll need approximately 238,763 Crystal Shards. As the armour seeds are reused, the shards are the primary consumable. The cheapest way to obtain Crystal Shards is to buy Enhanced Crystal Teleports on the Grand Exchange and convert them into Shards. This will cost you somewhere between 22k and 23k GP/shard. Other items, such as Crystal Armour Seeds, Crystal Weapon Seeds, and various crystal equipment, can also be exchanged for Shards, though they're typically less cost-effective.
This method is ideal for players training Craftingand Smithing together, allowing them to earn experience in both skills at once. However, you’ll need to have around 5.3B to reach level 99 in both crafting and smithing. So, if you wanna reach 99 in both skills in under two hours, then this method is for you, but as I said, it comes with a cost of 5.3B. This method is definitely not for regular players unless you’re Elon Musk or Bill Gates of OSRS.
Ironman Crafting Method
The best method for Ironman account players is the newly introduced method in the Wyrmscraig update on 29th July of 2026, which is Golem Crafting. It is the biggest thing to happen to the Crafting skill in years, especially for Ironman, and it does something no other Crafting method has managed: it beats every single glassblowing method in the game while only asking for 60 Crafting.
I have spent a good number of hours on Wyrmscraig testing this since launch, and the thing that surprised me most is how good the gameplay loop actually feels. You mine some rocks, you carve a statue from four sides, you put a core into its chest, and a stone man stands up and hands you a gem. Read more about this amazing method here.
Avoid Common Mistakes
Cutting Dragonstones to 99
Dragonstones are the fastest gem XP, but taking them to 99 costs nearly 479M. That's an enormous amount of GP for a marginal speed gain over rubies or diamonds. Camp is a cheaper gem instead. This is the single most expensive mistake new players make in the skill.
Making Black D'hide Bodies the Whole Way
Black d'hide bodies are the fastest non-Hueycoatl XP, but the 84-99 stretch alone loses around 220M. Unless money is no object, craft Green D’hide bodies for about 21M total, or choose Red D’hide bodies. The XP difference doesn't justify a 200M premium for most accounts.
Buying Air Battlestaves Materials at a Premium
Air battlestaves are the fastest battlestaves but the most expensive by a wide margin. If you're training for value, Water battlestaves actually profit around 3.3M to 99, and Earth is nearly free. Don't pay 36M for the Air route unless you specifically want the extra speed.
Ignoring Live GE Prices on Hide Armour
Hueycoatl armour profitability swings with the market. A method that profits today can lose money next week. Always check current GE prices before bulk-buying supplies for these, especially given how much capital they require.
Training Crafting for Different Account Types
Ironman Accounts
Quest stack to 35, then focus on glassblowing at charter ships as your primary 99 route. Enhance with jewellery (Blast Furnace gold and Shilo gems) and daily Zaff battlestaves once you've completed the Varrock diaries. Guardians of the Rift provides passive Crafting XP alongside your Runecrafting, so you're gaining some experience passively.
Hardcore Ironman (HCIM)
Same as Ironman, Crafting involves no combat risk, so every method is safe. Glassblowing and jewellery are both completely risk-free. The only caution is gathering supplies in dangerous areas (Wilderness gem sources, certain PvM), so stick to safe gathering like charter ships and the Blast Furnace.
Final Thoughts
Crafting is really in a great spot right now! The early levels don’t take much to get started, and the quick methods help you level up fast. Not many skills let you earn while racing to that fast 99, but Crafting provides plenty of chances to do just that.
My condensed advice: most players should cut rubies to 99 for the cheapest, fastest route, or mix in Water battlestaves and Jewellery crafting if they'd rather make a profit while levelling. Ironman should lean on glassblowing and jewellery. And if you ever find yourself sitting on 20 billion GP, well, the Hueycoatl and Crystal armours route is there waiting for you.
Good luck with the grind. Crafting is one of the most satisfying capes to earn because so much of what you make along the way is gear you'll actually use.
My name is Venom, and I'm a dedicated OSRS player from Pakistan with over 8 years of experience exploring Gielinor. I joined LuckyCharmGold as an Author in 2026. I've combined my passion for OSRS with my knowledge of game mechanics, training methods, and account progression strategies to create engaging and practical guides for the OSRS community. I focus on creating clear, reliable, and efficient content that helps players improve their OSRS experience.
✍️
Know OSRS as well as Venom?Get paid to write guides.
We're looking for native English OSRS writers with real game experience. $30–100 per article · full-time or part-time · work from anywhere.