Fighter Torso & Barbarian Assault Guide
The Fighter Torso is a body slot item with +4 Strength that costs no GP. You buy it in Barbarian Assault with 375 points in each of the 4 roles. It took me 3 hours with public teams. 4 Runs from wave 1-10 in a total of 20 - 30 minutes per run and 1 hour to find teams.
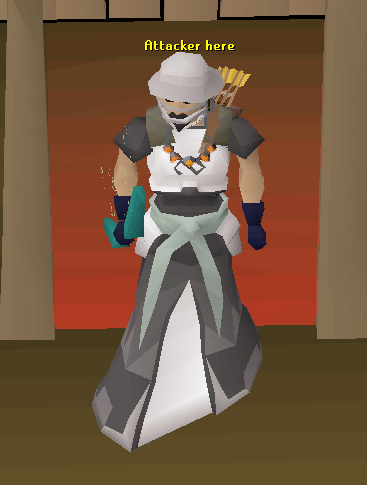
Attacker
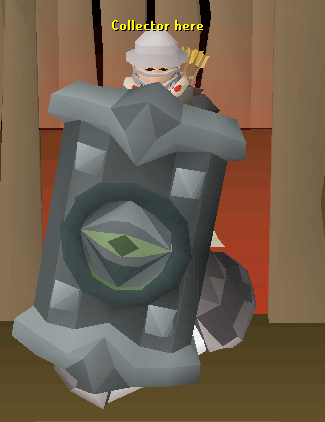
Collector
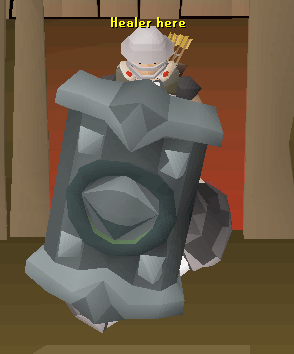
Healer
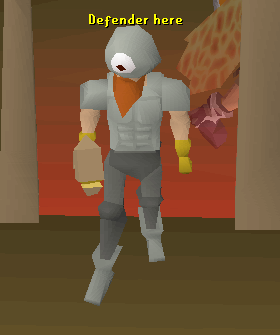
Defender
Fighter Torso Stats and Requirements
Fighter Torso Equip Requirement: 40 Defence
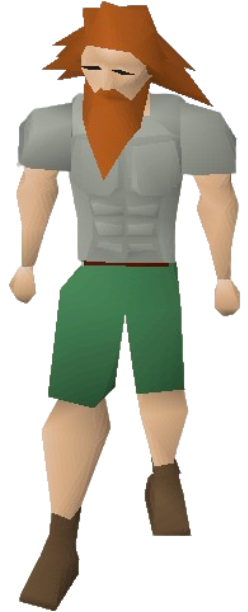
Attack bonuses
Strength bonus: +4
Magic: -40
Defence bonuses
Stab: +62
Slash: +85
Crush: +62
Magic: -10
Ranged: +67
Who Should Wear It: Mid-game Mains, 40 Defence/Zerker Pures, Ironmen, and accounts who want best-in-slot melee strength on their chest without spending 25M–30M+ GP on a Bandos Chestplate.
As soon as you hit 40 Defence (typically around combat level 50–70), you should go for it. It is one of the best chest gear upgrades you can get for early-to-mid combat level.
How Barbarian Assault Works
The Barbarian Assault is one of the oldest minigames in OSRS, with a peculiar and difficult mechanic to learn, but once you learn it, it's like riding a bicycle, and there's no going back.
The goal of the minigame is for you to:
Choose a specific role.
Be part of a team of 5 people who have to work together
Get through Waves 1-9 and then Wave 10, where the final Penance Queen is found.
Get Penance Queen KC
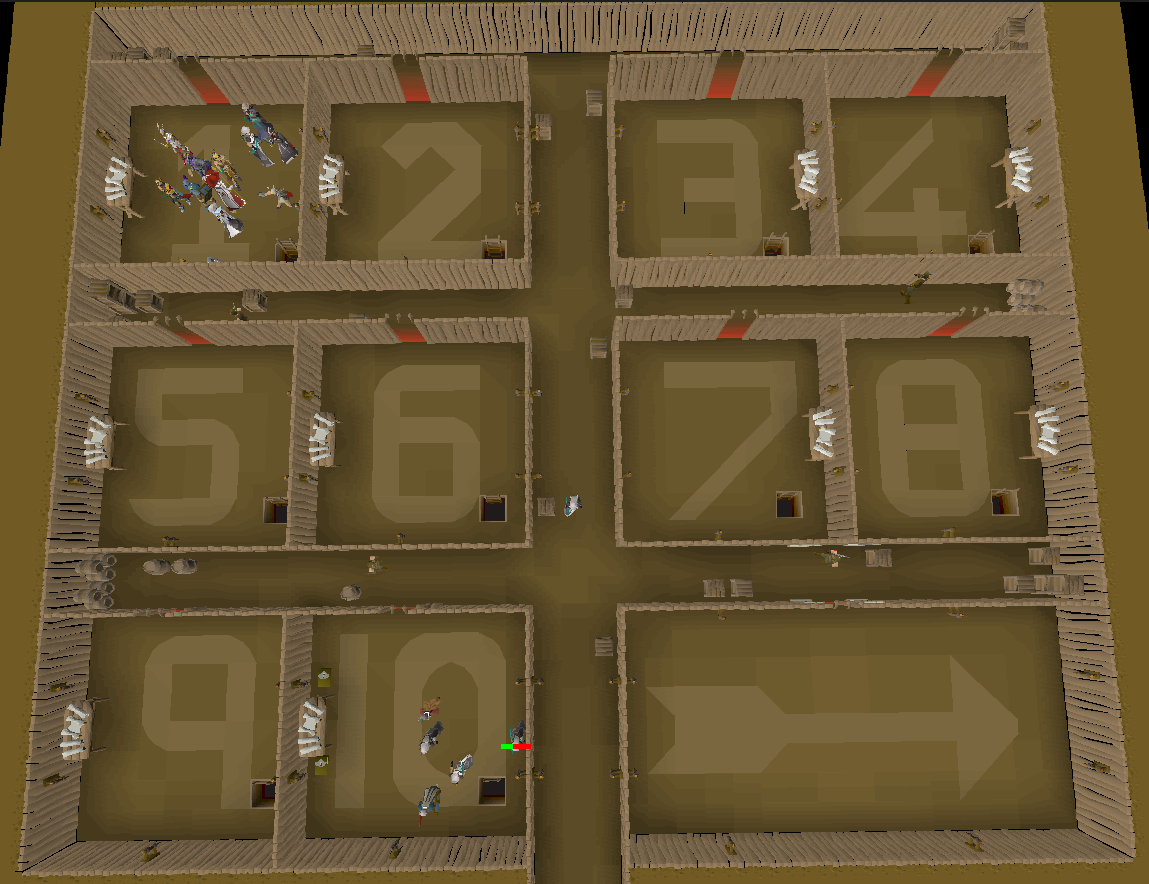
As the minigame progresses, players earn points, which can be exchanged for various features and items in the Reward Shop. Specifically, the Fighter Torso requires 375 points of each Role and at least 1 Penance Queen Kill Count.
Barbarian Assault Gear
The gear we will use here should be the best in terms of maximum DPS, and since the only NPCs you will need to attack are Melee and Rangers, these have the particularity of being weak against Ranged, so we will maximize Ranged Attack Style.
Main Gear
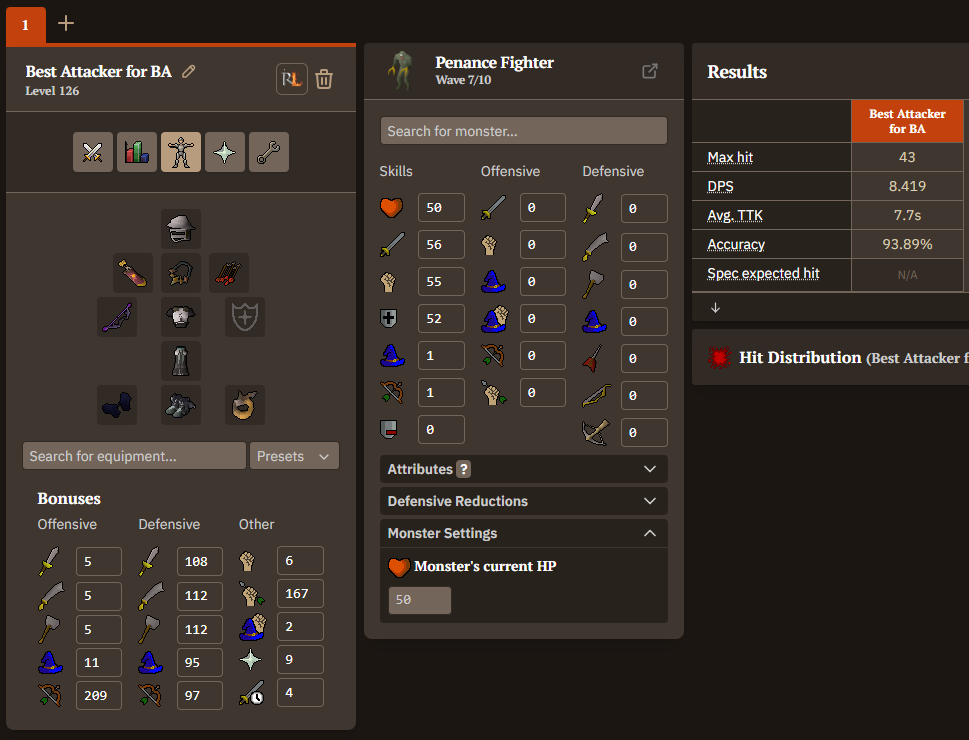
Helm Slot: Void Ranger Helm
Amulet Slot: Necklace of Rupture
Bag Slot: Blessed Dizana’s Quiver
Weapon: Venator Bow
Arrows Slot: None (arrows in game)
Body Slot: Elite Void Top
Leg Slot: Elite Void Robe
Gloves Slot: Void Knight Gloves
Boot Slot: Avernic Treads (max)
Ring Slot: Venator Ring
Budget Gear
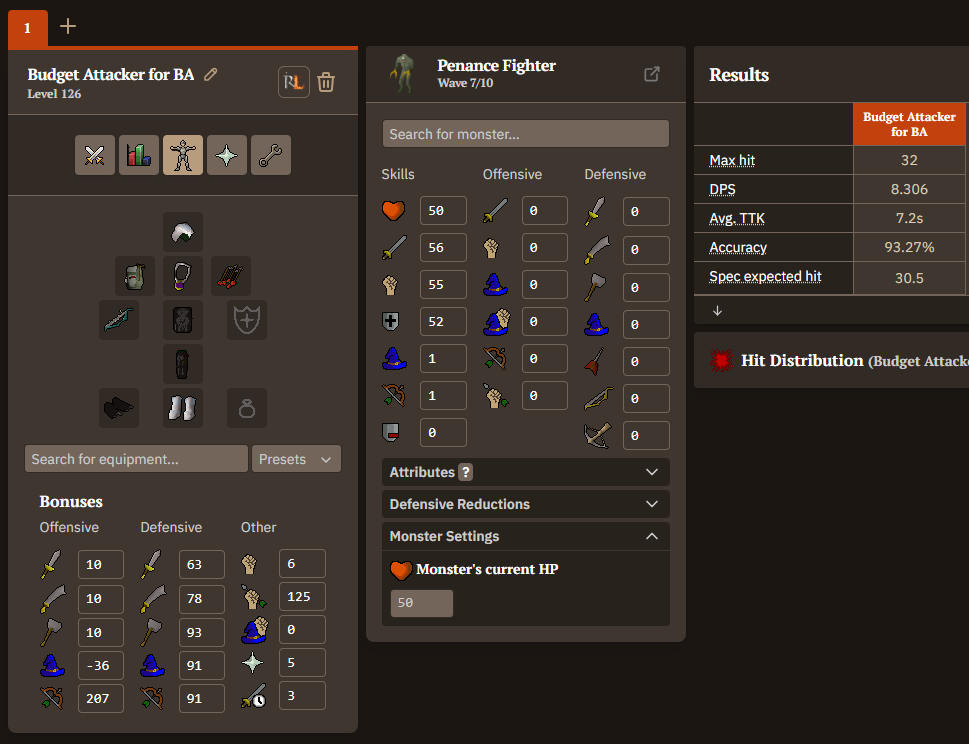
Helm Slot: Armadyl Coif
Amulet Slot: Amulet of Glory
Bag Slot: Ava’s Accumulator
Weapon: Magic Shortbow
Arrows Slot: None (arrows in game)
Body Slot: Black D’hide Top
Leg Slot: Black D’hide Chaps
Gloves Slot: Black d’hide Vambraces
Boot Slot: Armadyl D’hide Boots
RuneLite Plugins for Barbarian Assault
The minigame can be made easier with the help of RuneLite plugins; these four plugins are more than enough to get started and/or make your life easier if you're an expert in BA.
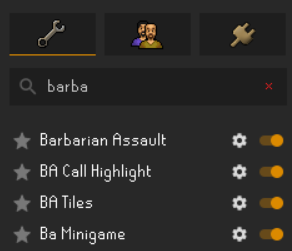
Barbarian Assault (RuneLite default plugin)
If you don't have it activated, you're making things harder, since the Barbarian Assault plugin has several benefits, such as notifying you how much time is left until the next call, allowing you and your team to complete waves faster.
Ba Minigame
This plugin is like the sibling of RuneLite's default plugin. Anyone who doesn't have this plugin activated is making their job harder than necessary.
It does a variety of things, from automatically hiding Barbarian Assault items (eggs, logs, hammer, bait, food) from the ground to adding one-click shortcuts like Quick-start on lobby ladders, Get-rewards on Commander Connad, Empty on the collection bag, and Drink-from on healer springs. It also displays wave timers, a 30-second call change countdown timer, a wave completion checkmark icon over your role, and much more.
BA Call Highlight
This plugin highlights right-click options on the Barbarian Assault call horn. You can configure the highlight color in the plugin settings. It makes the call more intuitive, so you don't forget or miss using it, improving the efficiency of the entire team.
BA Tiles
In each role, it's normal to mark tiles, but when you switch to another role, the marks you made before remain. With this RuneLite plugin, that's no longer the case, as it marks the best tiles depending on the role you choose. It's a plugin that can help beginners or experts who want to make their work easier and automate everything.
Barbarian Assault Overview
One thing that surprised me was the number of people who had never tried the minigame, or even seen a guide before, who thought they were ready for the minigame.
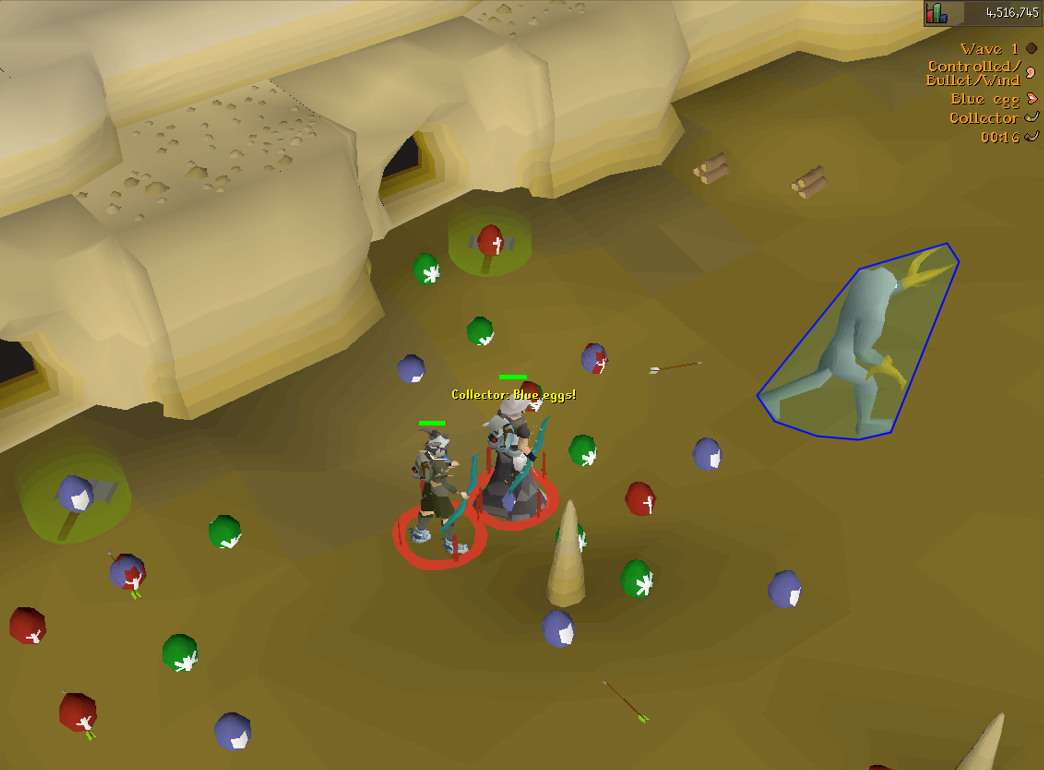
It was quite important to make sure that each person I invited had some prior experience so they wouldn't be an obstacle in waves 6-10, since the first few are usually easy, and some didn't even know how to call correctly or what to do.
They expected to learn along the way, but no, in those cases, you must choose to teach them or leave the wave and repeat from wave 1. There are several things that new users tend to get wrong, such as:
What New Players Get Wrong on Wave 1
Forgetting to call for their partner, completely stalling their teammate's role.
Attackers hitting Penance monsters with the uncalled attack style (deducting team points), or Collectors picking up wrong colour eggs.
Defenders throwing random bait everywhere instead of using perfectly marked tiles beforehand, making the waves longer.
Showing up in full Rune, Dragon, or Barrows armor as a Defender or Healer, which drains run energy within 20 seconds.
Tips
Learning the game mechanics for the first time can disrupt the flow of the waves for your teammates, so it's highly recommended that you let your team know you're learning before pretending you know what you're doing. It's always better to check a guide before jumping in than to jump in and see what you find.
Here's a video about Barbarian Assault for Beginners
I know the Barbarian Assault grind can feel like a headache, especially with toxic / no honour players, but with the guide we laid out above, you’ll have it knocked sooner rather than later.
How to Find a Barbarian Assault Team
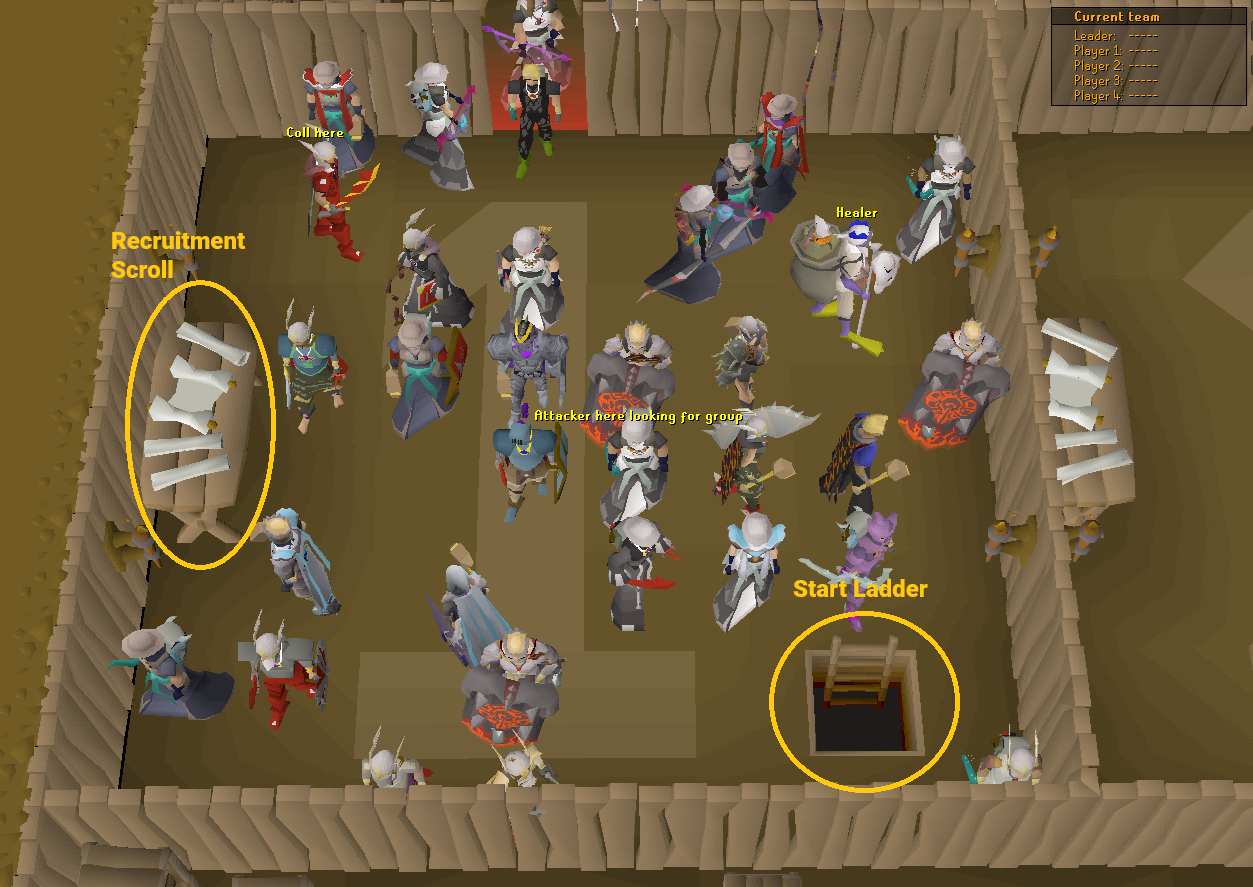
One of the most essential things when carrying out this minigame is that you need a team of 5 people, including yourself; you can take 2 paths: be a recruiter or be recruited (part of the team):
Recruiting Your Own Team
You get this role when you're the one who recruits the other characters to be part of your team. The advantage of being the leader is that you can choose those you see or know are more experienced than others, saving you from having to repeat all the waves because someone doesn't know their role or because they stopped paying attention to the screen.
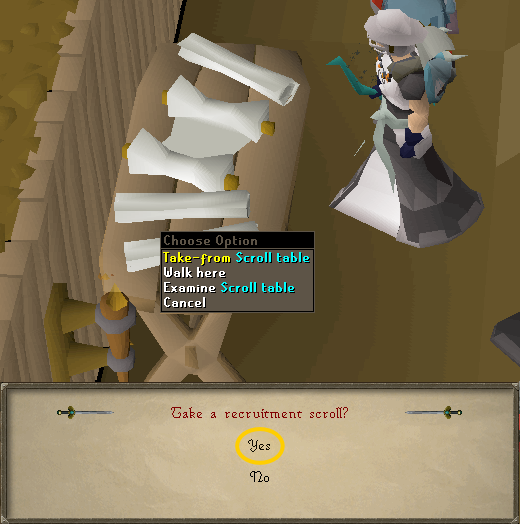
When you take the scroll, the first thing you should do is choose your role, then use the scroll on potential teammates.
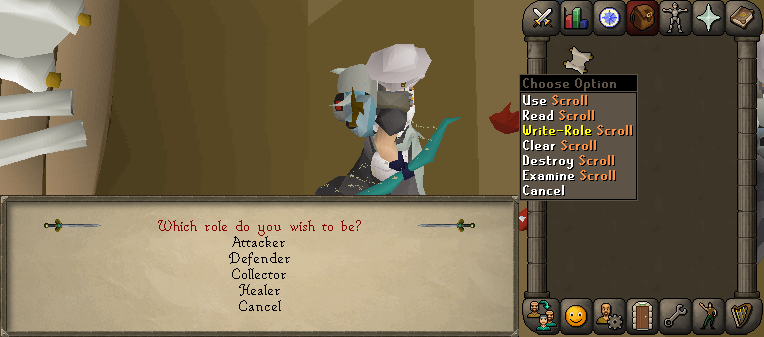
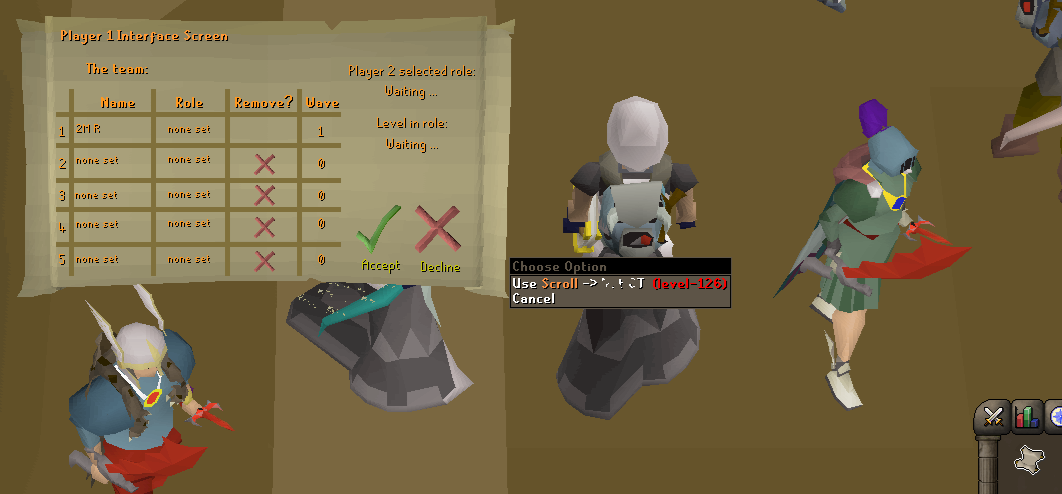
It is recommended to choose only people who you intuitively know have some prior knowledge of the minigame, usually high-level players with good armor.
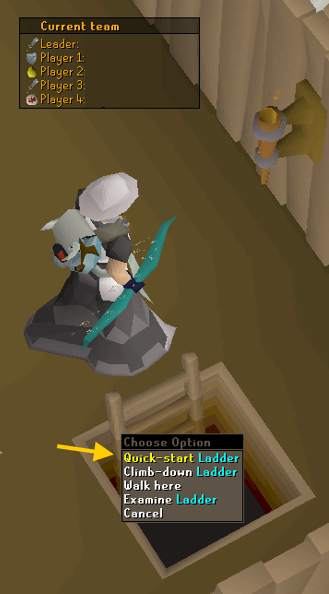
Note: If the recruiter takes too long and doesn't come downstairs, you must wait for the countdown to reach 0 for the next wave to begin automatically. To perform this role, you must recruit those you think can best help your team and, when someone announces their role, invite them first. If another recruiter gets there first, you'll lose the recruit.
Joining a Team
This methodology is more passive, since you don't have to worry about recruiting anyone; you just have to be recruited and wait for the recruiter to go downstairs to start the corresponding wave.
However, it has its disadvantages, such as not being able to choose who joins the team, and there's always the risk that your recruiter will recruit someone novice or who hasn't even seen a Barbarian Assault guide like the one you're currently reading, for example.
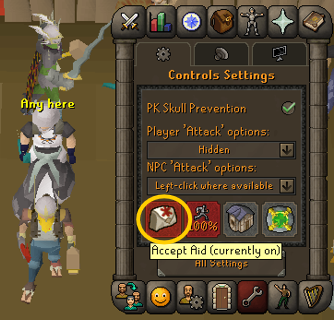
Make sure your Aid isn't off so others can freely invite you to their teams.
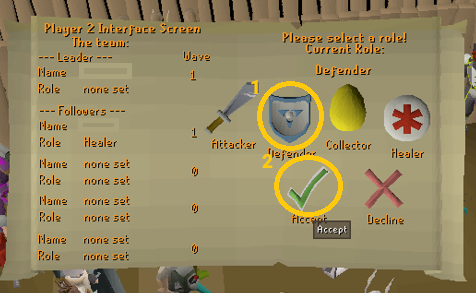
When someone invites you, a window like this will pop up. Next, you must first choose the role you want to fulfill, followed by clicking the Check that says Accept, and then wait for the recruiter to accept or decline your request.
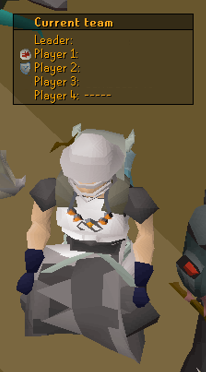
If accepted, you will already be part of a team, and we just have to wait for the recruiter to fill the team of 5 people and come down the stairs to start waves 1-10 of the Barbarian Assault minigame.
How Calling Works in Barbarian Assault
Once inside waves 1-10, we must prioritize teamwork and understand that your calling function is essential for others to be able to work. One role cannot function without the other.
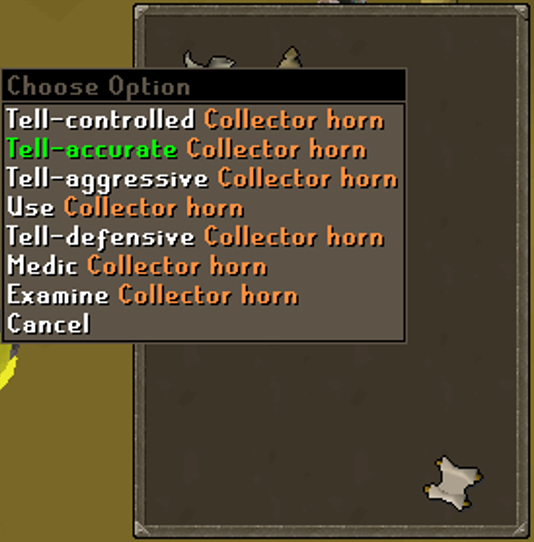
For example, the healer calls what the defender needs to drop, and the defender calls the healer the kind of food to use on the Penance Healers so they can position themselves effectively.
A bad call will cost your team points for mistakes. A good tip is that when the timer is approaching zero, stop everything you're doing, focus on calling your teammates' needs, and then continue with your role. Calling is the core mechanic of Barbarian Assault. Every 30 seconds, the call changes.
 Attacker calls for the Collector.
 Collector calls for the Attacker.
 Healer calls for the Defender.
 Defender calls for the Healer.
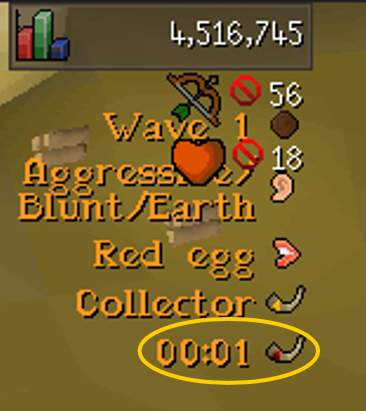
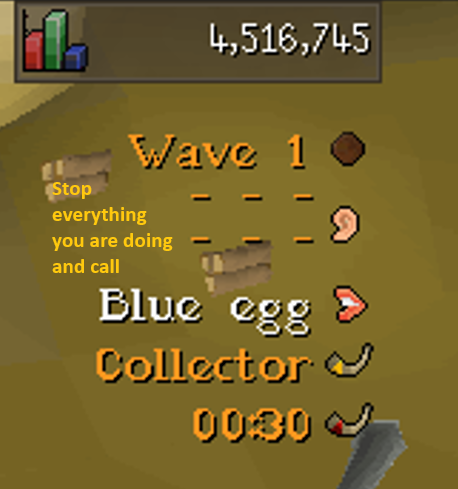
When the timer in the top-right corner hits 3 seconds, stop attacking, dropping food, or picking up eggs. Open your Horn interface, wait for the timer to reach 0, and click the new call immediately. A wrong call deducts points from your team at the end of the wave.
Barbarian Assault Roles Explained
The attacker is responsible for defeating Penance Rangers and Penance Melee players during the rounds and must be aware of which style to use when the Collector calls.
Ranged is the most effective style, as NPCs have zero Ranger defense bonuses, unlike Melee, where they are stronger. Penance NPCs have zero Ranged defense, making Ranged much faster than Melee or Magic.
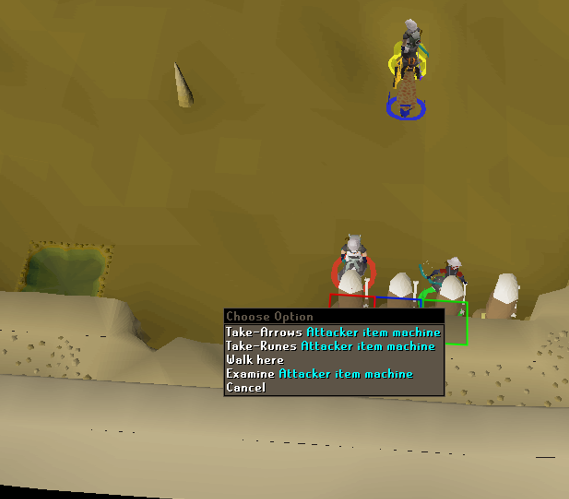
Click the Attacker Dispenser at the start and look at the top-right corner of your screen. The text shows your current attack style (e.g., Controlled, Accurate, Aggressive, or Defensive).
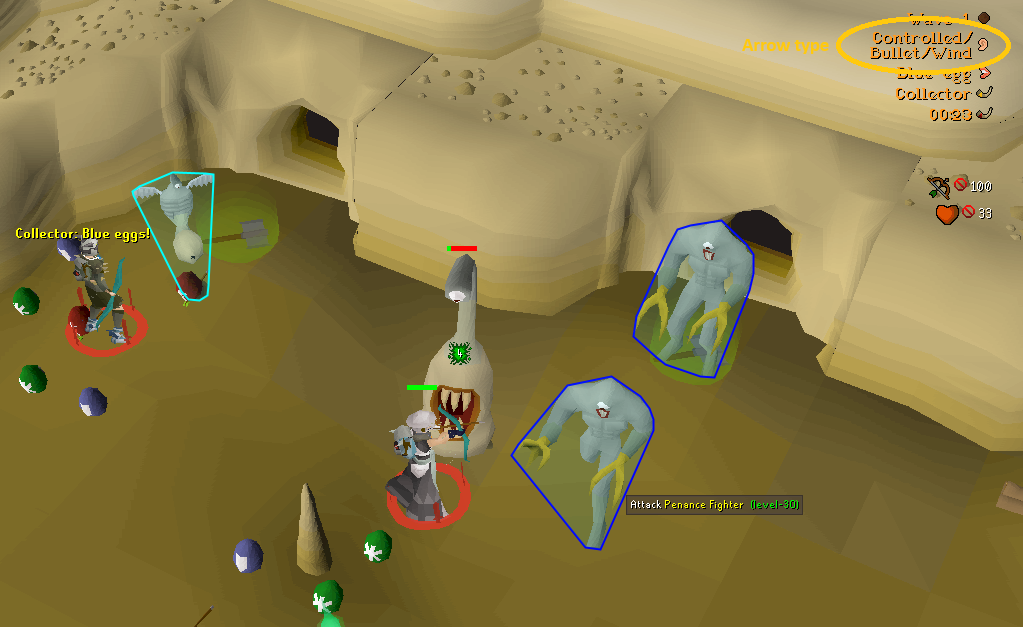
Make sure you are wearing the arrows correctly. When the countdown is on 3, you stop attacking and wait for the next call to ensure you never hit zero.
Attacker Goal: Kill Penance Rangers and Penance Fighters.
Note: If you run out of health, you can go up to the cannon where the NPCs can’t attack you and call the healer by right-clicking on the Horn to heal you.
The Collector is responsible for collecting the Eggs dropped by all the NPCs in this minigame and then loading them into the Hopper so that anyone who wants can shoot the specific NPC.
It doesn't matter what armor this role uses; some even go without any. Wear your best tank gear to make the healer's job easier (so they don't have to heal you as much). The more eggs the Collector picks up, the more points the teammates will earn.
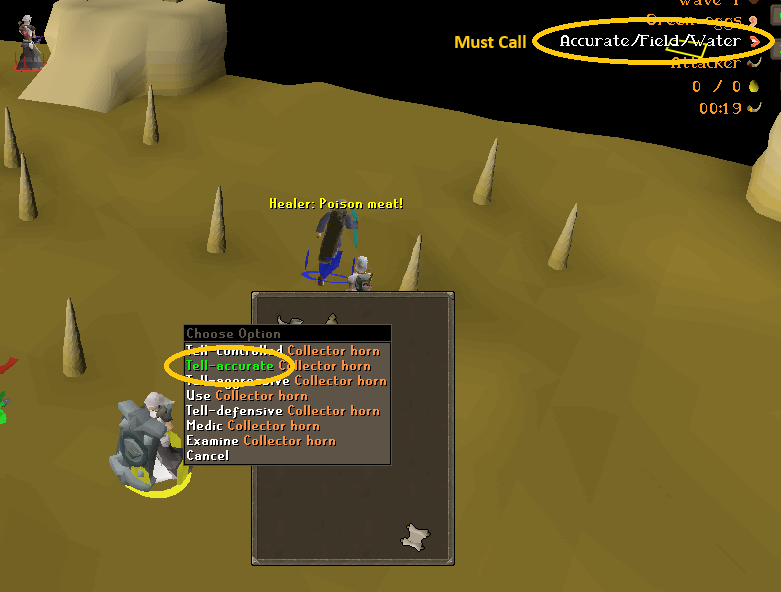
Check the top-right corner to see which attack style you must call and which egg type you must pick up (Red, Green, or Blue). Call fast because attackers depend on you.
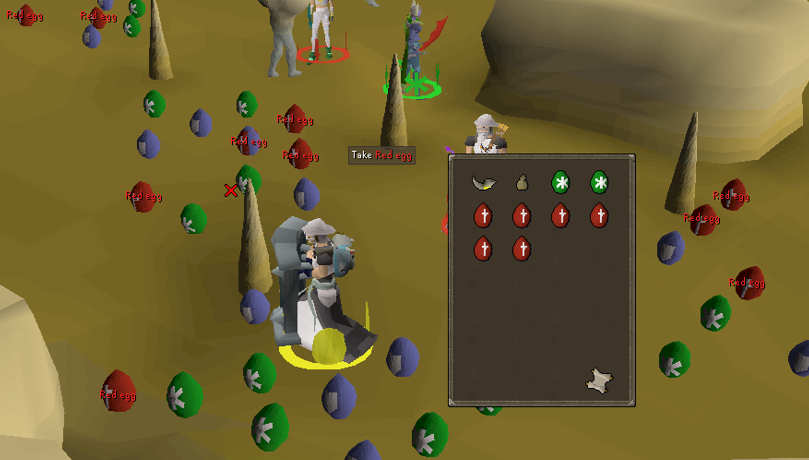
The most commonly used eggs are the Red ones, as they have the highest hit points, followed by the Green ones, which hit less but poison the enemy.
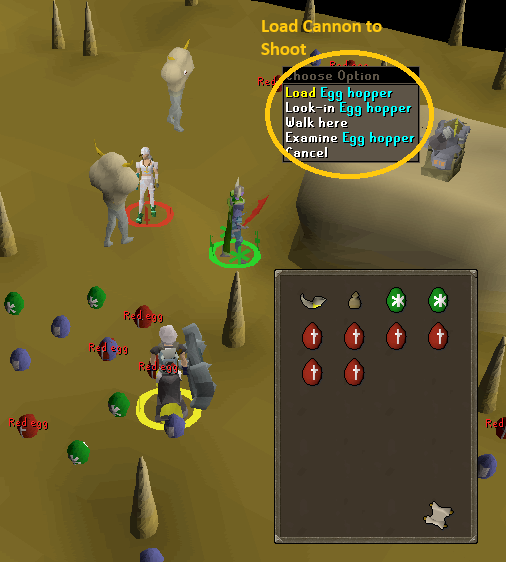
Run to the center cannon, right-click the Hopper, click "Load," and go back to picking up more eggs. This allows any teammate (including you) to fire the cannon and clear remaining enemies and earn more points.
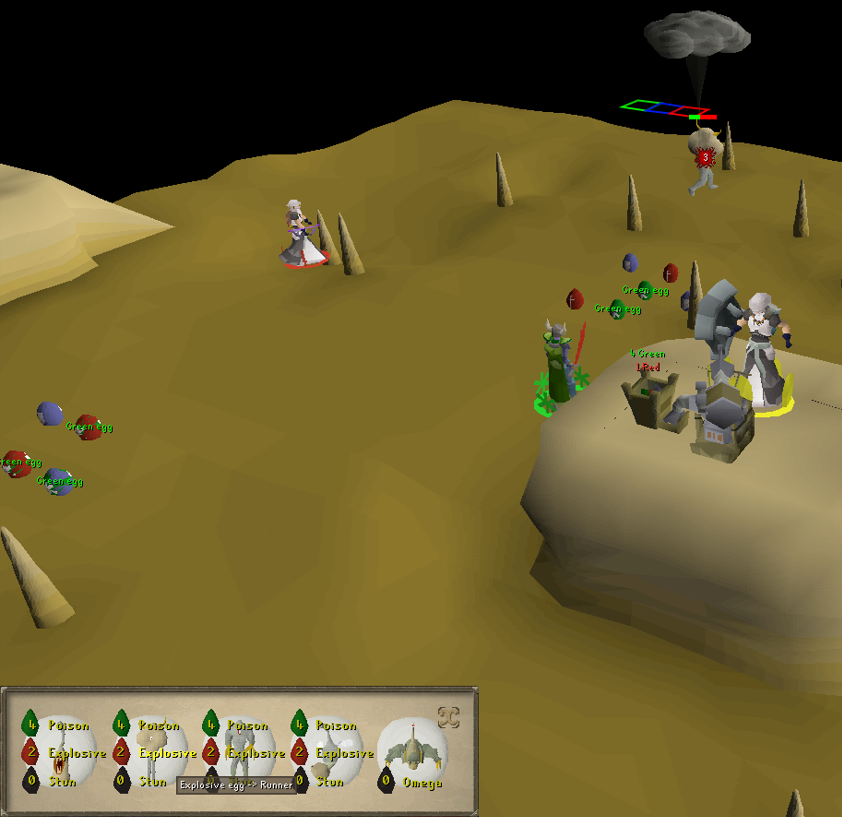
Note: Do NOT shoot blue eggs since they don't cause any harm and only stun NPCs.
The healer is responsible for killing Penance Healers using a specific food on Penance Healers called out by the Defender.
At the start of the round, the first thing you should do is stock up on the Healer item machine; if you run out of food, you can return to this site for more.
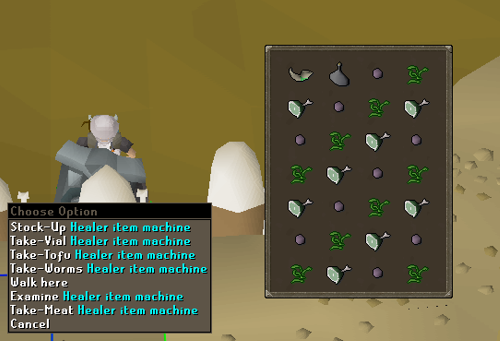
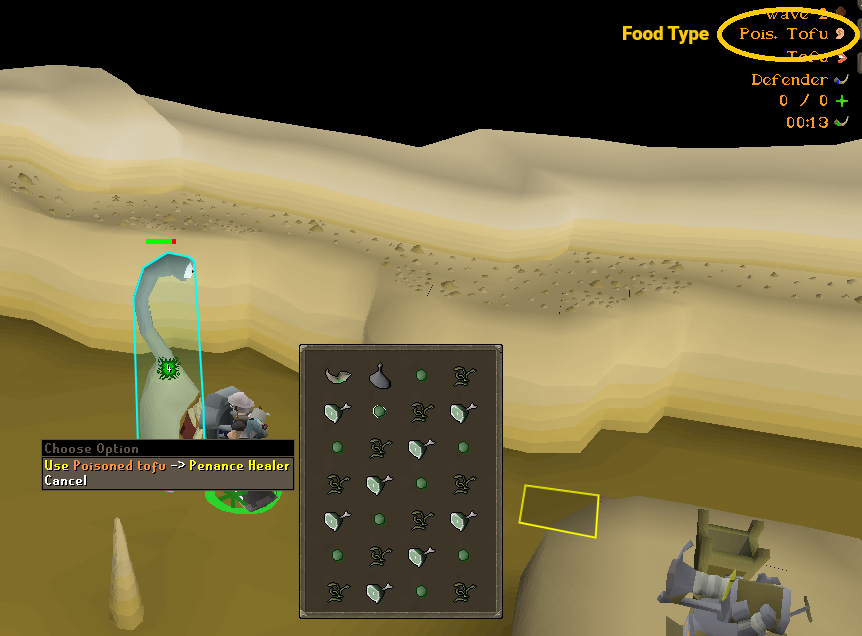
Read the Defender’s call in the top-right corner. Use the called food item directly on each Penance Healer.
Waves 1 to 3: Click 2 pieces of correct food on each Penance Healer.
Waves 4 to 7: Click 5 pieces of correct food on each Penance Healer.
Waves 8 to 10: Click 6 pieces of correct food on each Penance Healer.
Each food item used correctly on a Penance Healer will cause 4 damage and leave them poised.
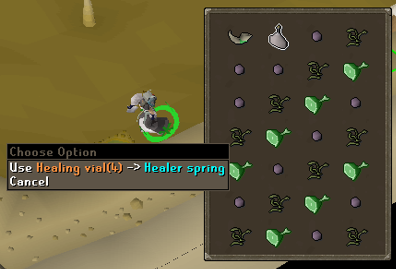
This role is also responsible for preventing any teammates from dying, as food cannot be used within the minigame. The only way to heal is through the Healing Vial, which must be filled at the Healer Spring.
The Defender is one of the hardest roles to learn. Its function is to lure Penance Runners by dropping food near them until they fall into the trap. As this role levels up, luring Penance Runners becomes easier.
The Imcando Hammer is the only gear needed (or your best tank gear to make the healer's job easier) since it functions as a wearable hammer and you don't have to pick one up from the floor, saving a few extra seconds on each wave.
At the start, you must stock up at the Defender item machine to receive food drops; if you run out of food, you can return to this site for more.
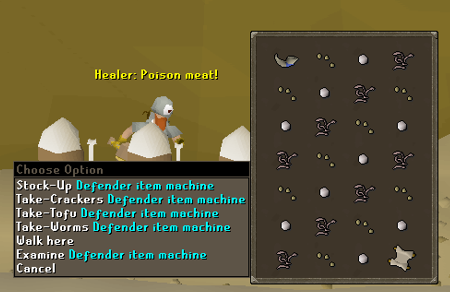
Look at the top-right text called by the Healer to identify your active lure food.
You can check the marked tiles I have marked to make sure they are dropping in the correct place.
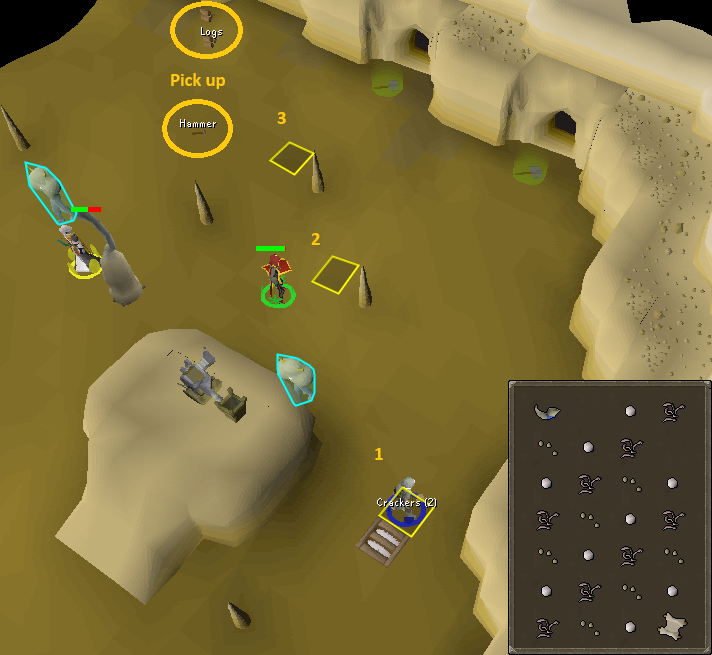
Defender steps to follow:
4 Right Foods
2 Right Foods
2 Right Foods
Pick up Hammer & 2 Logs
Go back to Point 1 and wait for Penance Runners to stack up
Fix the trap
Ideally, you should drop large amounts of food in the same place as the trap so that they all die one by one while you repair the trap.
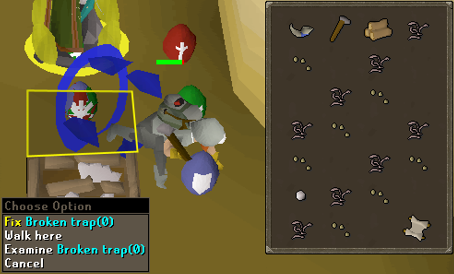
Leveling up your Defender role to level 2 increases your food drop lure range from 2 tiles to 5 tiles, which is the maximum. Read my Barbarian Assault Level 5 Role Guide to see how role levels boost your team speed.
Need help? We can help you obtain your first Fighter Torso, just click the link and get your best untradeable body slot item in the game in less than 1-4 hours depending on the worker’s speed and knowledge.
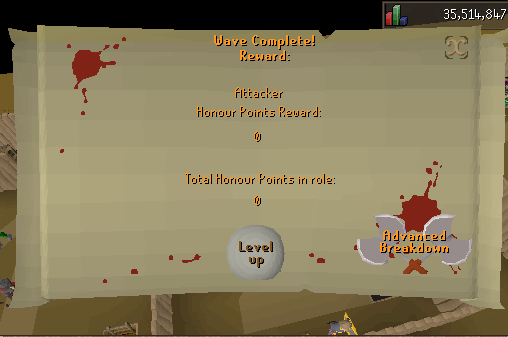
Note: All roles have the power to make other teammates earn more or fewer points, depending on your performance within the minigame. If you do everything right, you and your entire team will have more points, but it also works the other way around: if you do everything wrong, you’ll lose all your points earned in that wave and get 0. That's why it's very important to learn before entering the Barbarian Assault Minigame.
Buying Your First Fighter Torso
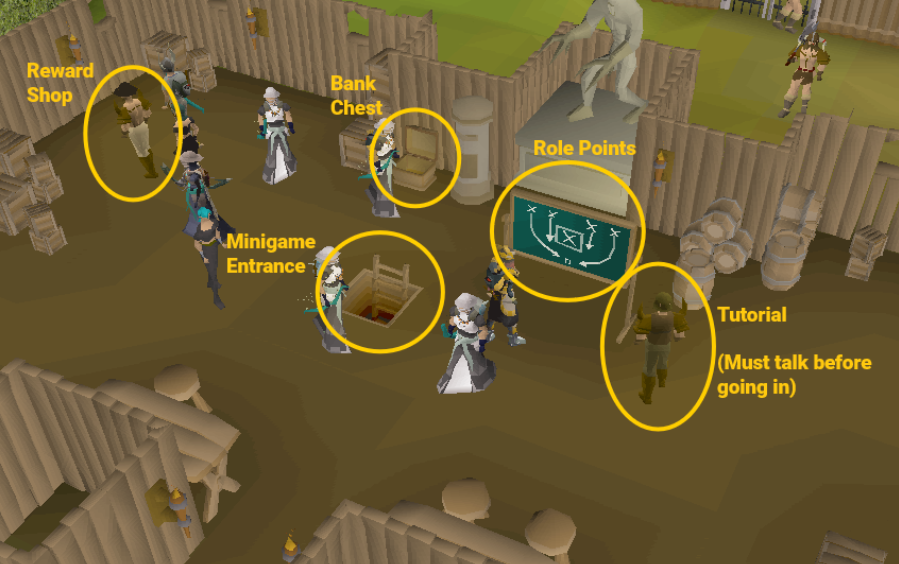
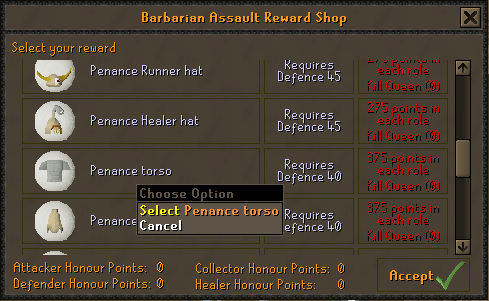
Once you have 375 or more in each role, you can go to the Barbarian Assault Reward Shop, located upstairs next to the bank. Talk to Commander Connad. Make sure you choose the correct option, as a wrong click could make you buy something else since there's no confirmation window.
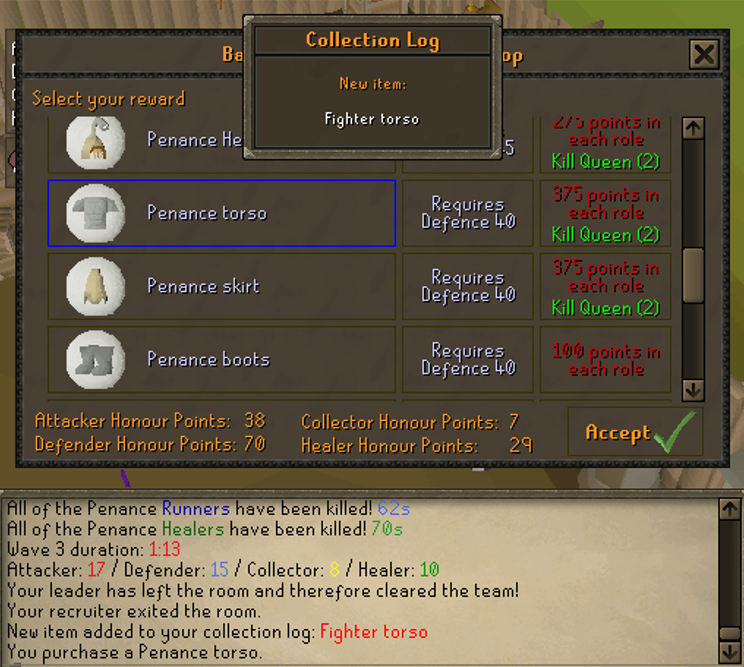
 Congratulations, you have successfully obtained your first Fighter Torso!
Fighter Torso Ornament Kit
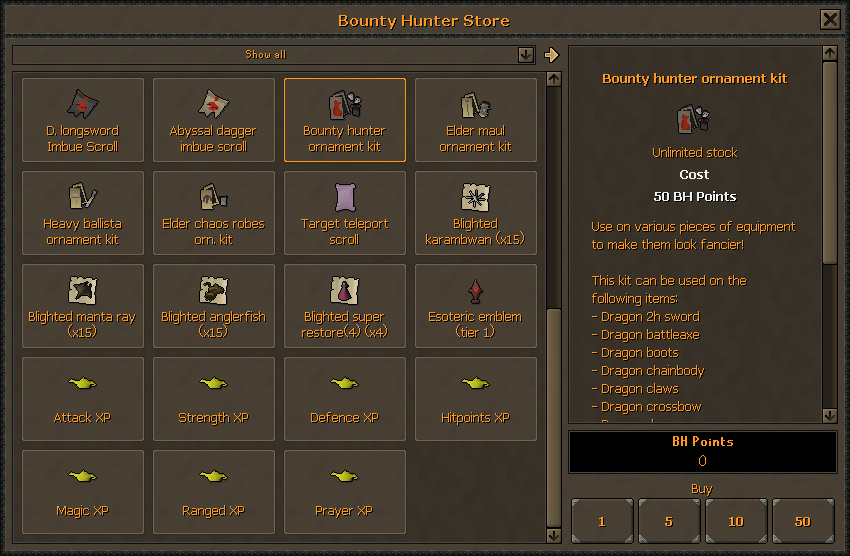
 Adding a Bounty Hunter Ornament Kit to your Fighter Torso for 50 BH points will update its appearance. This doesn't affect the Fighter Torso's existing bonuses. It's only recommended to do this if you won't be using it for PvP/PK, as it would be a waste of money if you get killed.
Other Barbarian Assault Rewards
Fighter Hat 
Ranger Hat 
Healer Hat 
Cost: 275 Points in all 4 roles + 1 Queen Kill
Who Needs It: Mid-tier magic setups needing a budget +6 Magic accuracy headpiece, fashionscape accounts, or anyone who wants an alternative helmet to a Mystic hat or Ahrim’s hood.
Runner Hat 
Cost: 275 Points in all 4 roles + 1 Queen Kill
Who Needs It: Completionists, specific fashionscape builds.
Penance Skirt 
Penance Gloves 
Runner Boots 
High Gamble (Chance to get a pet) 
All these items can be added to your account for a set price. If you want the exact price of each one, you can check our extensive catalog of OSRS Barbarian Assault Services that we offer.
Fighter Torso FAQ
How long does it take to get Fighter Torso?
The time to obtain a Fighter Torso is 2 to 4 hours; this time will depend on factors such as your equipment, your internet connection, and your knowledge of the minigame.
What requirements do I need to obtain it?
Any player from level 3 can obtain a torso. Low-level players (especially in the attacker role) will struggle a bit more, unless they use the Leech method, where a person without attacking any NPCs can obtain Attacker Role Points.
What level of Defence is needed to use it?
40 Defence is the minimum requirement to wear it.
Why should I get a torso instead of buying a Bandos or Moon Chestplate?
The Bandos and Moon Chestplates offer similar bonuses to the Fighter Torso, but the Fighter Torso is a unique item that's free; you don't have to spend any GP on it.
If I die in Wilderness/PvP/Bounty Hunter, will I lose it and have to get it again?
Yes and no. If you die in the Wilderness below level 20, the Fighter Torso will remain in your inventory, but it will become broken and unusable until you pay 150,000 coins to Perdu or an armor stand in a PvP world to repair it.
If you die above level 20 Wilderness, you will lose it unless you have previously "locked" it by using a Find patch and 500,000 coins on Perdu (NPC); if locked, you will keep the item upon death, although it will still require the repair fee to be usable again.
Do I have to give my account details, or do you put together a team and I join as a leecher?
We currently do not offer Leech services. To obtain a Fighter Torso or any Barbarian Assault service, you will need to provide your account details. However, don't worry; we have the highest level of security to keep your account safe before, during, and after the service. You can read more about our LuckyCharm's Security Plugin. so you can have peace of mind, because we know how hard it is to trust.